Suede hiking boots are a great investment for hikers looking for comfort and durability on the trails. However, cleaning them can be a bit of a challenge due to the delicate nature of suede.
In this article, we’ll guide you through the process of cleaning your suede hiking boots to help you keep them in tip-top shape for your next hiking adventure.
Key Takeaways
- Use a suede brush or eraser to gently remove dirt and stains
- Avoid using harsh chemicals or cleaning products, and use a suede-specific cleaner or mild soap and water solution instead.
- Allow your boots to fully air dry before wearing them again, and avoid exposing them to direct heat or sunlight.
Regularly brush your suede hiking boots, use a protectant spray, and store them properly to keep them clean and well-maintained.
Read more:
- How To Care For Nubuck Hiking Boots?
- How To Clean Hiking Boots Inside?
- How To Clean Mold Off Of Hiking Boots?
Materials Needed
Before we dive into the cleaning process, let’s talk about the materials you’ll need to get the job done. To clean suede hiking boots, you’ll need the following:
- Soft-bristled brush or cloth
- Cornstarch or talcum powder (For oil-based stains)
- Suede cleaner
- Suede eraser or brush
- Suede protector spray
- Boot dryer
Last update on 2023-11-11 / Affiliate links / Images from Amazon Product Advertising API
Step-by-Step Guide to Cleaning Suede Hiking Boots
Now that you have the necessary materials and tools, let’s jump into the step-by-step guide for cleaning your suede hiking boots.
Step 1: Remove Loose Dirt and Debris
The first step in cleaning your suede hiking boots is to remove any loose dirt or debris on the surface of the suede.
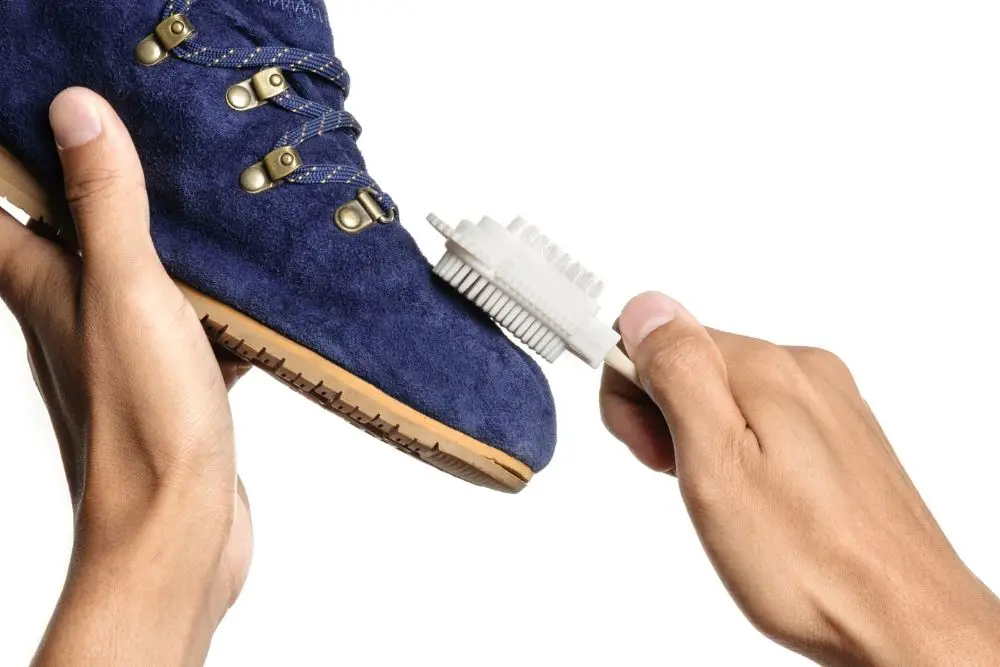
Use a soft-bristled brush or cloth to gently brush off any dirt or dust, making sure to brush in the direction of the suede’s nap. Brushing against the nap can damage the suede’s fibers and change its appearance.
Step 2: Remove Stains and Spots
For oil-based stains, sprinkle cornstarch or talcum powder on the affected area and let it sit for a few hours. The powder will absorb the oil, making it easier to remove. Use a soft-bristled brush to gently remove the powder.
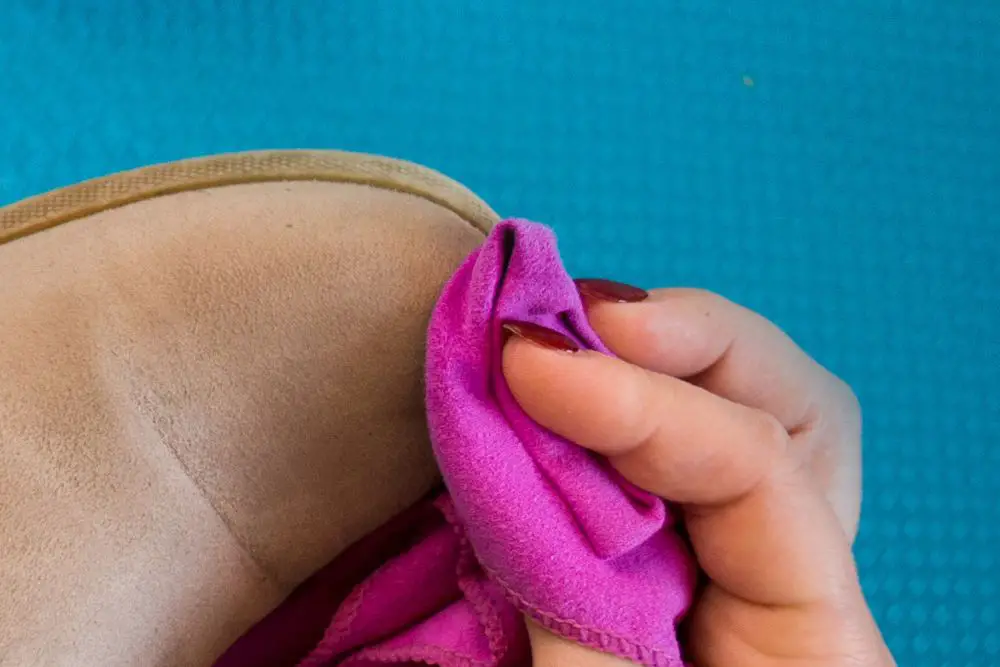
For water-based stains, use a clean, damp cloth to blot the stain. Avoid rubbing the stain, as it can spread and damage the suede’s fibers.
Step 3: Treat Stubborn Stains with a Suede Cleaner
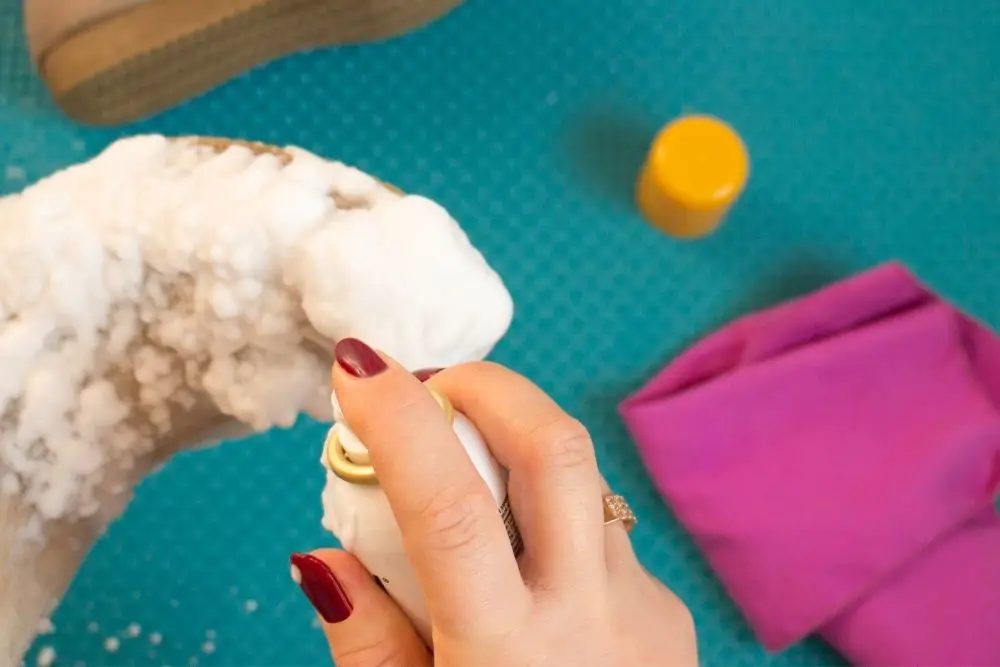
If the stains are stubborn and won’t come out with cornstarch or a damp cloth, use a suede cleaner to treat the affected area.
Use a clean cloth to apply a small amount of cleaner to the stain and gently rub it with a soft-bristled brush. Make sure to follow the cleaner’s instructions and use it sparingly, as overusing it can damage the suede’s fibers.
Note:
Some suede hiking boots have a very durable and resistant surface as well as short fur.
For such heavy-duty boots, you don’t necessarily have to rub lightly but can do it strongly in a circular motion to remove stubborn stains and mud (watch the below video).
Step 4: Restore the Suede’s Texture and Color
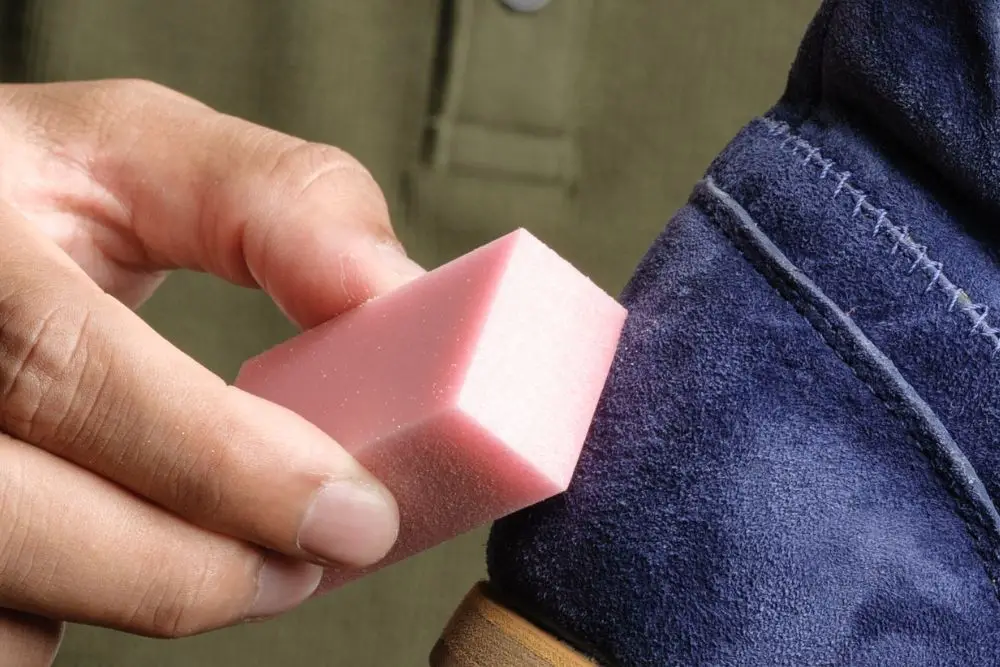
After removing the stains, use a suede eraser or brush to restore the suede’s texture and color.
Gently rub the eraser or brush against the suede’s nap to lift the fibers and restore its soft texture. This will also help to remove any remaining dirt or debris.
Repeat this rubbing process 2 to 3 times or until you see the effect appear (steps 3 and 4).
Step 5: Let Your Suede Boots Dry
After cleaning suede hiking boots, allow them to dry completely before you put them on.
To accelerate this process without putting your boots in direct sunlight, you can use a boot dryer. Set the dryer at a moderate temperature when drying and don’t hover it in one place for too long, or you will regret melting the suede surface.
Keeping suede boots dry is crucial to prevent moisture build-up (which might grow mold and fungus) and help them stay in shape better.

Step 6: Use Suede Protector Spray
To prevent future stains and damage, apply a suede protector spray to your hiking boots. Spray the protector evenly over the surface of the suede.
After spraying, you should use the suede brush to gently rub the surface once again!
Do it 2 or 3 times to make sure the protector spray is absorbent deeply and evenly to protect the suede from dust, water, etc. better.
Some notes to keep suede hiking boots clean
When going home, here are a few things you can do to keep suede hiking boots stay clean and last longer:
- Brush them regularly
Use a suede brush to remove any dirt or debris that has accumulated on the surface of the boots. Regular brushing can help prevent dirt and stains from setting in and becoming more difficult to remove.
- Use a protectant spray
Apply a suede protectant spray to your boots to help repel dirt and water. This way, you can protect your suede boots from stains and damage. More than that, it is much easier to clean your boots in the future.
- Store them properly
When you’re not wearing your suede hiking boots, be sure to store them in a cool, dry place away from direct sunlight. This can keep the material from becoming faded or discolored, and can also prevent moisture from building up inside the boots.
Another gift: I found a great video on how to clean suede hiking boots on Youtube, you should check it out!
Conclusion
Cleaning suede hiking boots can seem like a daunting task, but with the right tools and materials, it’s easy to do.
By following the steps outlined in this guide, you can keep your suede hiking boots looking and feeling like new.
Remember to always take care when cleaning suede, as it is a delicate material. With proper maintenance and care, your hiking boots will be ready for your next adventure on the trails!

