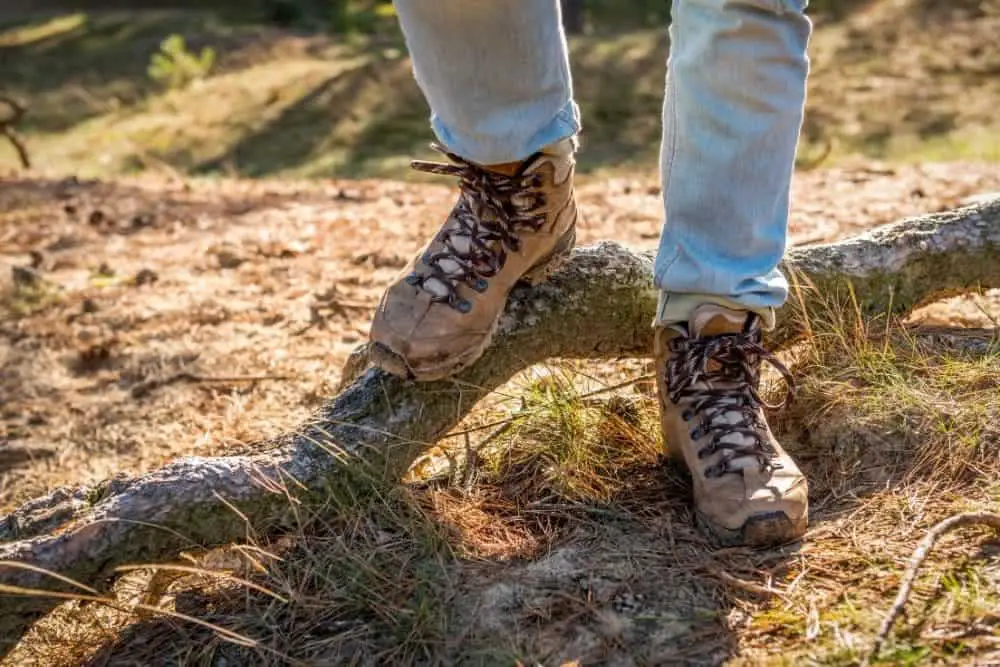
When you are hiking, especially on steep slopes and slick surfaces, the good hiking boots are undoubtedly your trustworthy partner. The excellent grip they deliver plays a very important role in keeping you hike stably and comfortably.
So what will happen if your hiking boots provide poor grip? Well, surely you will find it annoying and have to seek ways to keep slipping or sliding problems at bay.
If you are one of those struggling to deal with the feet sliding forward in hiking boots, don’t worry! We are here to help you out.
We have researched and compiled a list of ways to handle this problem, along with other helpful information like the causes and some recommended products for your consideration.
Are you eager to know? Let’s start with figuring out the reasons behind the problem.
Contents
- Why Do Your Feet Keep Sliding Forward In Hiking Boots?
- How To Keep Your Feet From Sliding Forward In Hiking Boots?
- Method 1: Tighten The Laces Of Hiking Boots
- Method 2: Choose Proper Socks & Wear Additional Socks
- Method 3: Try Other Lacing Techniques
- Method 4: Get The Help Of Lace Anchors
- Method 5: Use Tongue Pads
- Method 6: Use Thicker Insoles Or Buy New Insoles
- Method 7: Add Cotton Pads In Front Of Or Behind Your Feet
- Method 8: Tie The Laces Around Your Ankles
- Method 9: Fill The Toe Box With Soft Fabric Or Tissue Paper
- Method 10: Utilize Double-Sided Tape To Fix The Insole
- Method 11: Buying Another Pair Of Hiking Boots
- Wrapping Up
Why Do Your Feet Keep Sliding Forward In Hiking Boots?
The big reason behind your sliding feet problem is because you choose the wrong-sized hiking boots. It means your footwear might be too big to keep your feet fixed in place.
In fact, a little bigger pair of hiking boots does not cause much impact. But if your feet are constantly sliding forward, it can result in blisters before your toes. We think it’s time you should choose another pair of hiking boots.
Plus, another culprit for the feet slippage in hiking boots issue is due to the excessive sweating feet. As the interior of your footwear is quite smooth, your feet cannot be held in place; instead, it will slide forward.
Moreover, that your feet keep sliding forward in hiking boots is attributable to wrong socks and improper laces.
So the question is, “Should your feet move in hiking boots?” We have to say, it is a big No.
There are some issues you will have to cope with if your feet constantly slide forward when you hike. What are they? Keep scrolling down to the next part to know.
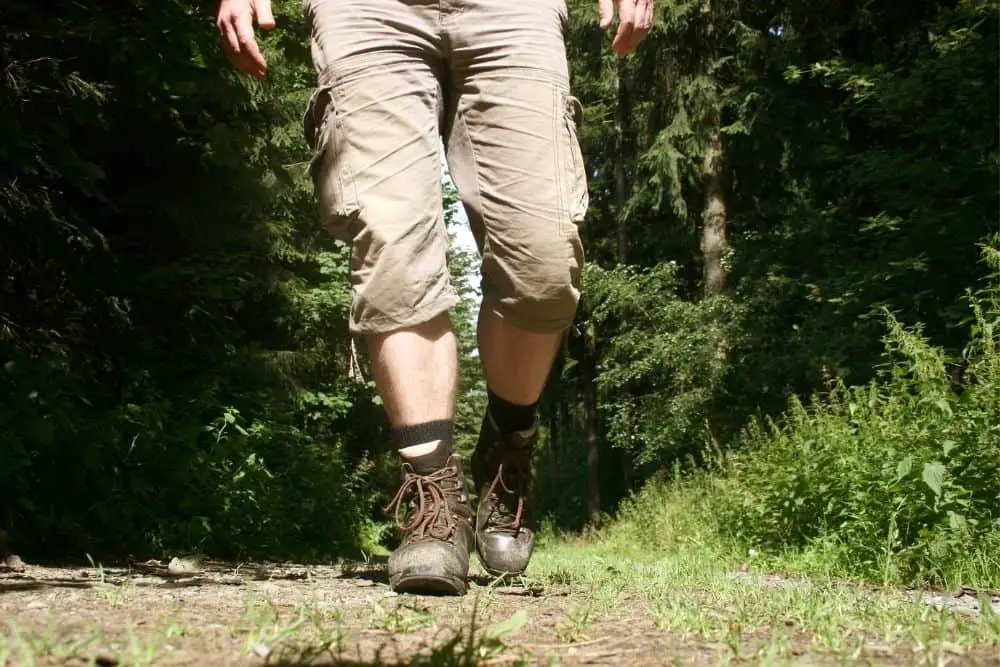
What Will Happen If Your Feet Keep Sliding Forward in Hiking Boots
As we mentioned above, when you let your feet continuously slide forward in your hiking boots, you can have huge blisters before your toes due to the constant rubbing between the boots and the toes.
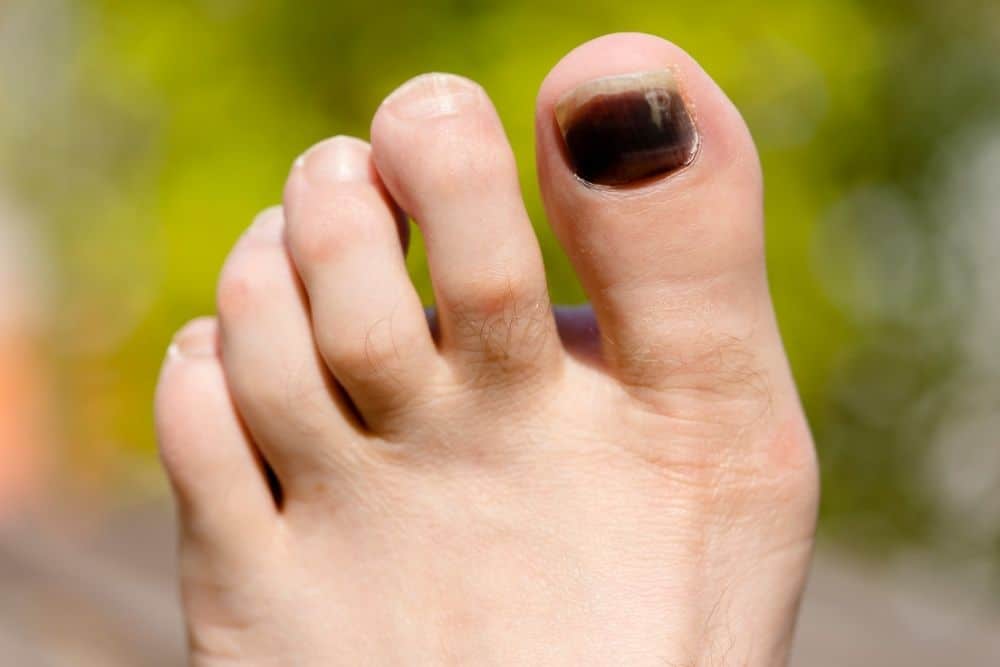
More seriously, this can result in hiker toenails or black toenails. And you know, it is not a good experience at all when hiking with this toe condition.
So before we move to the next section to know how to deal with the issue, it is advisable to choose a pair of hiking boots that can allow your toes and insteps the right spaces, not too roomy, to keep your movements comfortable, especially when hiking.
How To Keep Your Feet From Sliding Forward In Hiking Boots?
After identifying the problem, it’s time to dive into what you can do to handle the issue. If you find your hiking boots do not fit your feet well, it is best to replace them with new hiking boots.
But if you want to try some methods before switching to wearing new footwear, you can consider the following ways to handle your problem.
Method 1: Tighten The Laces Of Hiking Boots
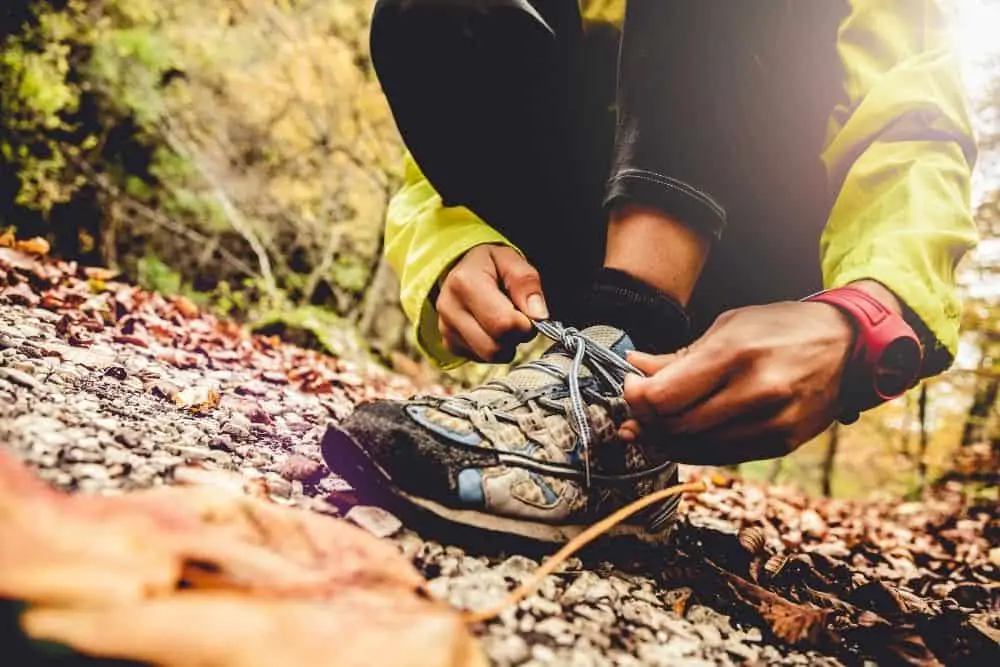
The first method you can consider to keep feet sliding issue at bay is to tighten your hiking boots’ laces more. If you see your feet slide forward, you can try to tightly tie the laces around the ankle.
This method can keep your feet stay in place better. But we have to say, it is just a temporary method.
If your hiking boots are quite big to your feet, you probably have to tie the laces many times during the hike, affecting your experience and wasting your time.
Method 2: Choose Proper Socks & Wear Additional Socks
Since your hiking boots are big, causing your feet to slide forward, you can fill the space between your feet and the footwear by wearing additional socks.
As a result, you will have a better fit and do not worry about any extra space between your feet and your footwear that facilitate your feet to slide forward when hiking.
One more thing, it is also imperative to consider the materials of your socks.
As you might know, sweaty feet are also a cause of your sliding issue. So to thwart this situation from happening, you had better choose a pair of socks that can wick away moisture.
Today, socks are made of many materials such as merino wool, nylon, polyester, spandex, bamboo, and cotton. You might wonder, which material is the best choice?
We have to say, it’s merino wool. This material comes with the great moisture-wicking ability, along with breathability and antibacterial properties.
Moreover, nylon and polyester are two other common materials used to produce sweat-wicking socks thanks to their highly breathable and lightweight features.
- True Seamless construction provides a smooth performance fit; no slipping, no bunching, and no...
- Constructed from fine gauge Merino wool which is naturally antimicrobial and antibacterial
- Still made in Vermont, USA
Last update on 2023-11-10 / Affiliate links / Images from Amazon Product Advertising API
Besides picking materials, another way to prevent sliding in your hiking boots is to wear non-slip socks. It’s very effective especially when you go down hill as these socks provide good grip inside your boots.
That said, a proper fit is still a better way to stop the sliding than wearing extra socks. But if your upcoming hike is close and you don’t have time to buy another new pair of hiking boots, this way is a great option for you.
Method 3: Try Other Lacing Techniques
If you find the two above-mentioned methods do not work, you can change your hiking boots’ lacing to help you get a tighter ankle.
There are many ways for you to tie your laces. Below are two popular and easy-to-do techniques you can consider.
Surgeon’s Knot Lacing Technique
Another way to keep the feet from sliding forward in hiking boots is to try the Surgeon’s Knot technique for lacing.
We have researched and compiled the step-by-step instruction for your consideration as follows:
- First you start with a left-over-right knot with your shoelace.
- Then you make the right shoelace end into a loop by doubling it back on itself.
- You hold the left end and let it go through the right, remember to put it behind the right loop.
- Do the opposite by taking the left end to pass through the right loop, but go front.
- Push the left shoelace and go through the hole you have just made to make a knot.
- Then you pull the left lace to let it pass the hole to create a loop.
- The following step is to wrap the loop on the right around the left loop to let it end up front.
- To make the knot secure, you thread the right loop through the hole again.
- Finally, you pull all the loops in order to tighten the knot. Now you get surgeon knots on your own.
Tutorial video for more visual instruction:
Heel-Lock Lacing Technique
This technique of lacing can keep your feet in position, especially when you go down when hiking, preventing your feet from sliding forward in hiking boots.
Moreover, this lacing technique can allow you to get away with hiking boots that are slightly big for your feet. We don’t want to waste your time any longer; take a look below for a guide.
- First, tie your laces with your favorite method and stop before you lace through the final eyelet of your hiking boots.
- Then take your hiking boot’s left lace and thread through the eyelet at the top left to let the lace come out on the footwear’s inside. Do the same with the right side. You take the lace on the right and thread it via the top-right eyelet.
- You now get loops on both the left and right. Cross the laces and let them go through the loop on the boot’s opposite side. In other words, you take the right lace and then insert it through the left loop, and vice versa.
- Pull the lace and tighten the boots around your feet, creating a firm lock. But keep in mind do not let your hiking boots uncomfortably tightened.
- To finish this lacing technique, you tie the hiking boots as normal.
Tutorial video for instruction:
Method 4: Get The Help Of Lace Anchors
As the above mentioned ways, this method is also not a permanent solution. But when you are in a hurry, a lace anchor will be a great savior.
The lace anchor can stabilize your hiking boot laces (you already tried some lacing techniques, but they did not work). Moreover, you can replace them whenever you get the replacement laces.
So how to install lace anchors? Just follow our step-by-step guide, you will find it quite easy.
- First, you have to ensure the shoelace goes into the shoe, then you thread it through a lace anchor.
- Continue to let the shoelace go through the hole near the lace anchor’s teeth.
- Then you need to lift it over the teeth and thread it through your footwear’s last hole.
- Finally, it is imperative to tuck in the shoelace or cut its ends.
- It’s done! Sounds easy, right?
- No-tie Lacing System
- Provides your sneakers a stylish clean look
- Lock your elastic laces in place, No more tying knots
Last update on 2023-11-11 / Affiliate links / Images from Amazon Product Advertising API
Method 5: Use Tongue Pads
Another way to help you handle your loose hiking boots is to use tongue pads.
These simple pads can make up the space and provide you a better snug fit. This method also appears to be an affordable and simple-to-do option.
You can easily attach a tongue pad into your hiking books within only seconds. It can significantly help you to push your feet back in hiking boots so that you can rest assured about heel slippage problems.
Another small tip when using a tongue pad in your hiking boots is to place it slightly lower down the tongue of your hiking boots for the best result.
- Our shoe tongues are made using the finest grade of super soft material for ultra-comfort.
- Ergonomic Design: These tongue pads gently and perfectly cushions the instep of your feet to prevent...
- Unisex Shoe Saver: Balance out looseness for all kinds of footwear. Prevent discomfort, rubbing and...
Last update on 2023-11-11 / Affiliate links / Images from Amazon Product Advertising API
Method 6: Use Thicker Insoles Or Buy New Insoles
Your toes can push against the footwear toe box when the arch support gets worn down.
The reason is because the bottom of your hiking boots turns flat when the arch support is too thin, making the feet slightly longer. Hence, your toes will be pushed forward.
In this case, there are two ways for you to choose from:
1. Buy New Insoles
You can buy a new pair of insoles for your hiking boots (remember to choose those with thick cushioning) to replace the old ones. Quality insoles can fix the problem of heel slippage in your hiking boots relatively well.
2. Add Extra Insoles
If you have more extra insoles at home, you can put them into your footwear (above the old insoles) to have thicker insoles. This way can help you remove the gap in the bottom of your hiking boots and keep your feet in place.
- PLANTAR FASCIITIS INSOLES: EASYFEET Black is the premium model of arch support orthotic shoe...
- OVER 46% OF SHOCK ABSORPTION RATIO: Our plantar fasciitis insoles for men and women are made from...
- MULTI-PURPOSE ARCH SUPPORT INSOLES: Our insoles offer a number of benefits, including better shock...
Last update on 2023-11-11 / Affiliate links / Images from Amazon Product Advertising API
Method 7: Add Cotton Pads In Front Of Or Behind Your Feet
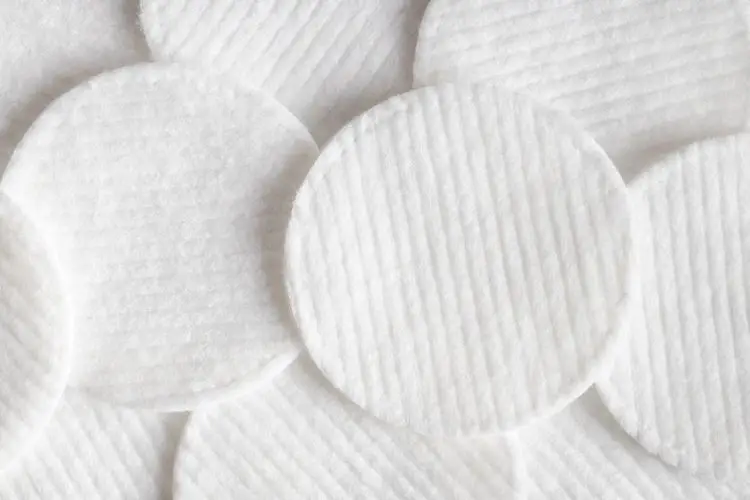
If you do not have tongue pads but cotton pads, you can take advantage of them to make up the roomy space in your hiking boots.
This easy-to-do method requires you to put cotton pads behind or in front of your feet in the way you feel comfortable most. As a result, your feet can feel snug in your hiking boots without sliding forward.
But keep in mind that the cotton pads can move when you hike if you put them behind the heel. Therefore, you can use tape to secure the cotton pads to your hiking boots if possible.
Method 8: Tie The Laces Around Your Ankles
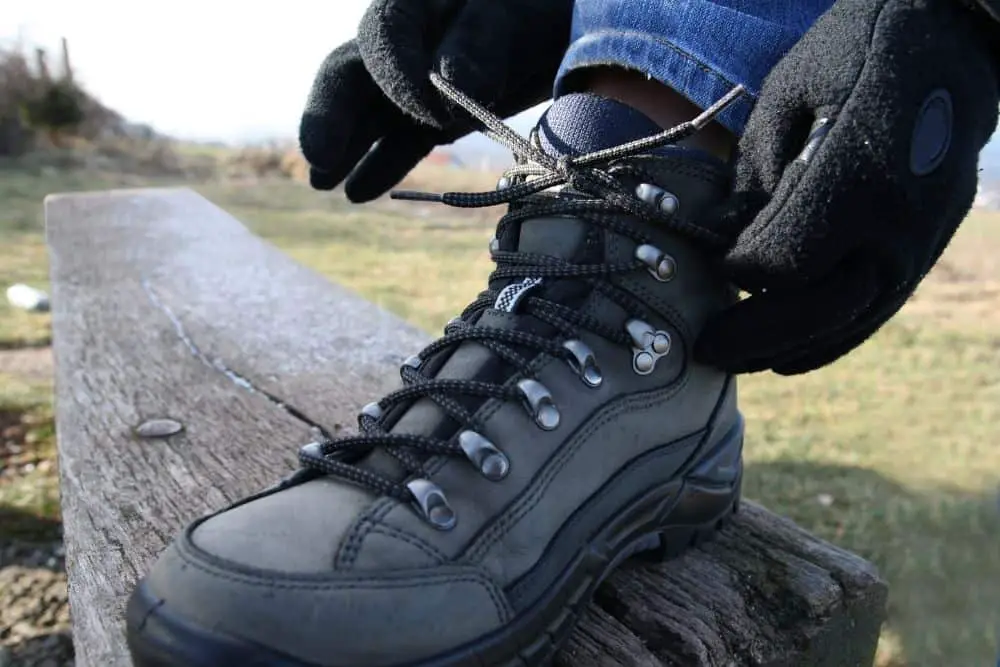
Another way you can do to keep your feet from sliding forward is to tie the laces around the ankles.
You start with your favorite lacing technique. Then at the two final eyelets, you let the shoelaces wrap around your ankles and have a knot at the back of your ankle.
This way will help keep your hiking boots held firmly and somehow increase the support for your ankles.
Method 9: Fill The Toe Box With Soft Fabric Or Tissue Paper
When you are in a hurry, you can quickly fix the problem by putting soft fabric or tissue paper in the toe box of your hiking boots. You can easily find these materials in your house or your bag.
But it is worth noting that you should use an adequate amount of fabrics and tissue paper to help your feet feel snug in your boots. Too much will make your feet feel slightly tight.
In some cases, they can make the feet sweat more than regular as when you move, the rubbing between the fabric or tissue paper and your feet results in friction which is known to produce heat, making your feet hot.

Method 10: Utilize Double-Sided Tape To Fix The Insole
A DIY method to keep the feet from sliding when wearing hiking boots is to take advantage of a double-sided tape to keep your insoles stuck to the boots.
But this way is only suitable for light hiking as the tape can become less sticky when you release more heat and moisture.
- 【Multifunctional EZlifego Nano-tech Tape】- By using the most advanced nano-technology, made of...
- 【Easy to Use】- No Tools Required. Powerful 2-Way Bond capability makes objects firmly attached...
- 【Removable & Traceless & Weatherproof】- The reusable transparent two sided sticky tack tape...
Last update on 2023-11-11 / Affiliate links / Images from Amazon Product Advertising API
Method 11: Buying Another Pair Of Hiking Boots
As we mentioned above, the best way is to wear a pair of hiking boots that fit your feet properly.
This way can eliminate the issue of the foot sliding forward thoroughly. But it only happens when you choose the right pair of hiking boots.
If you are not new to buying hiking boots, you can find it less difficult to choose the suitable pair of hiking boots according to your preference and demand.
But if you are a hiking novice, you might need some help from other experienced people.
- Naturally, your feet will become bigger in the evening than in the morning. This means you will likely get a tight pair of hiking boots if you buy them early in the day. So it is advisable to go to a boot store and buy hiking boots after noon for the more proper fit.
- When you try hiking boots, you need to check if your whole feet feel snug, but the heel. It is due to the fact that the heel can slip slightly in new properly-fitting hiking boots. This issue disappears when you break in the footwear.
- Moreover, your foot ball should sit at the sole’s widest part. Or you can understand that the foot widest part should be at the hiking boot widest part.
- Do not forget to try hiking boots with thick socks as the hiking boots are designed to be worn with a thick pair of socks.
- Premium full-grain waterproof leather uppers
- TimberDry eco-conscious waterproof membrane keeps feet dry in any weather
- Fully gusseted tongue keeps out debris
Last update on 2023-11-11 / Affiliate links / Images from Amazon Product Advertising API
Wrapping Up
In short, when the feet move up and down, slide forward in hiking boots, do not give up finding the suitable method to fix this problem.
You can try applying some lacing tying techniques to keep specific parts tighter, along with other solutions like wearing socks, adding insoles, tongue pads, to name a few. The most important point is to make your feet feel comfortable when moving, especially hiking for an extended time.
Anyway we hope our article can be helpful for you. Do not forget to share your story with us and stay tuned for our further interesting information.
Thank you for reading.

