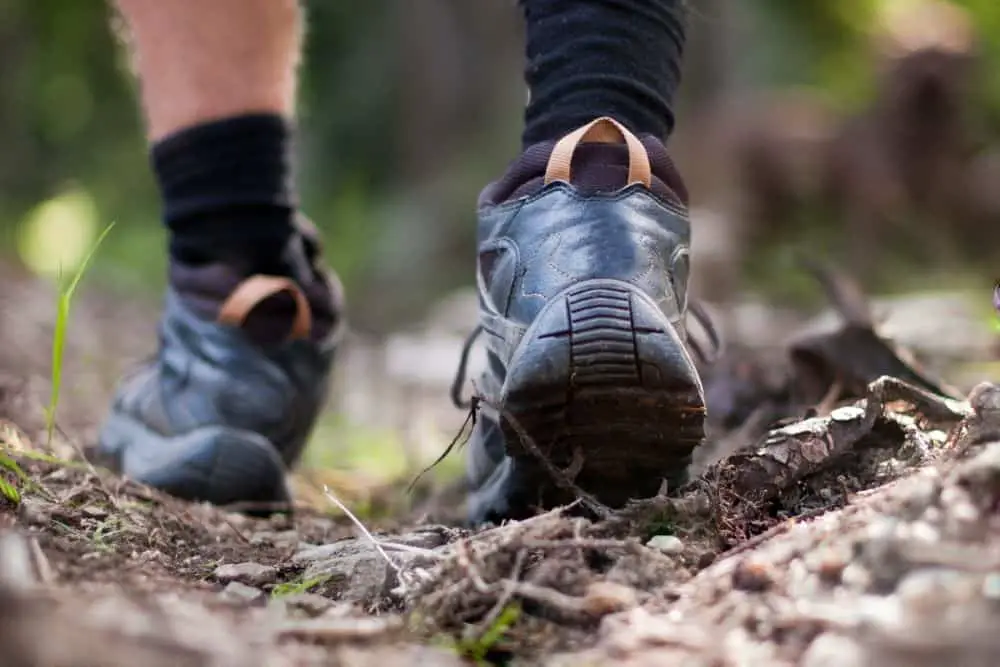
For solo hikers, hiking boots are probably your best companion. That explains why unboxing a new pair of boots is always an emotional moment because it signifies the start of preparation for the next hike.
However, trouble usually starts when your heels start to lift in the hiking boots.
Heel lift in hiking boots creates friction between your hills and the back part of the boots. It is not only uncomfortable to walk in boots if the heels are slipping but it can also lead to blistering of the heels.
If you are wearing a boot that your heel lifts, you will discover that it gets worse when ascending a hill.
In fact, it is hard to trust your boots if your heels lift—and it is paramount that you hike with boots that you can trust. With lifting heels, it will be hard to keep up with the pace you had in mind before the hike.
Also, heel lift can be a serious source of distraction which causes you to trip on obstacles and fall.
If you are hiking during the winter, it is always important to stick to schedules for safety reasons and anything that can slow you down can cause you to derail from your schedule.
Considering how fast the weather can change, this can be really costly.
Heel lift is more common among hiking boots made of stiff leather or plastic because it is hard to break them into a snug fit. Unless you are getting custom-made boots, heel lift may be unavoidable.
So, what will you do if your heels lift in your boots?
Many people will suggest that you return it.
But, what happens if you have voided the warranty because you have already used it for a hike where you discovered the problem?
What if you really like the boots because they have a unique design or the price was really great?
It will interest you to know that there are techniques you can use to prevent heel lift in hiking boots. We will highlight all the techniques that we have tried.
Hopefully, one or a combination of a few of the techniques will solve the problem so that your next hike will be a smooth cruise.
How to stop heel lift in hiking boots?
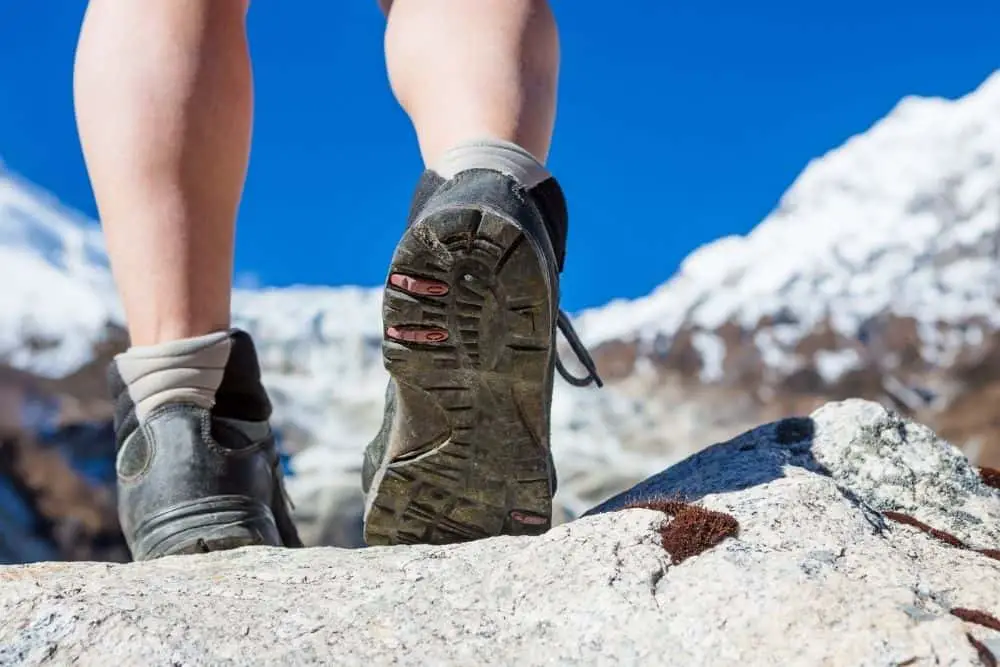
When heel lift is not fixed, the heels continue to rub against the back of the boots which increases the stress on the tissue.
The end result is micro-tears at the bottom of the heels and inflammation. This will not only slow you down but can lead to more severe problems.
Knowing the cause of heel lift in hiking boots will help you to think outside the box on ways to stop it. The first thing that you need to know is that there are numerous facets that can cause your heels to lift in hiking boots.
This includes wearing the wrong boot size, no or inadequate break-in, pairing with wrong hiking accessories, wrong lacing, and bad insoles. Dealing with the source of the heel lift will help to resolve your problem.
When the cause of your heel lift is not from purchasing the wrong boot size, fixing the problem will make the boots more comfortable. Below are some of the ways to stop heel lift in hiking boots.
1. Purchase the right boot size
Inasmuch as you can still experience heel lift with the right boot size, it is almost unavoidable when you wear oversized boots. Therefore, when shopping for a hiking boot, it is important to make sure that you get the best fit.
Most people will discover heel lift in their first hike and at this time it may be too late to return the boots for replacement or refund—if you want to go that path.
If you are making your purchase from a walk-in shop, make sure you test the boots before purchasing them. Here are a few tips that can help you to choose snug hiking boots from your retailer.
- It is always a smart idea to start your search online and do thorough research before walking into the neighborhood shop to make your purchase.
- The feet swell in the afternoon and evening—and this should be the best time to shop. During a hike, your feet will likely swell too and you need a boot that will stay comfortable when that happens.
- Choose a pair of boots that matches the length, width, and arch of your foot.
- Test the boots you want to purchase with the pair of socks that you will be using for the hike.
- While the boot is still unlaced, push your leg forward. You should have about a quarter of an inch space between the back of your leg and the boot—a space big enough for you to slide in a finger. This space is necessary to maintain comfort when climbing up or down a hill.
- Lace the boots and try walking up and down an incline. If you feel any pain change the lacing style of your boots.
Since hiking boots can be the difference between a safe and enjoyable hike and a disastrous short-lived hike, it is important that you don’t rush through the process. If possible, test up to five boots before settling on one.
Pros
- Takes away the stress and rigors of shipping back the boots for a refund or replacement.
- Can start using the boots right out of the box with little or no break-in.
Cons
- The journey towards purchasing the right boot size can be tedious and time-consuming.
- Getting a perfect fit may be impossible unless the boots were custom-made.
- If you are determined to find a perfect fit, you may end up rejecting multiple boots—including the ones with designs that you really love.
2. Break in the hiking boot
Proper break in can help your foot and new pair of boots to get along faster. We have already covered all the techniques you can use to break in new hiking boots. Search through our posts to find it and try some of the techniques.
The rigorous process of break in will not only soften the leather but will also help your foot to adapt to the boot.
During the break in process, the boots become flexible and literally take the shape of your foot. Also, your foot adapts to the arcs of the boots.
Wearing new boots to hikes without breaking them can lead to multiple foot problems including heel blistering and toe box crushing.

Pros
- Break in can be done from the comfort of your home.
- It is a way of customizing your boots to achieve a snug fit.
- There are numerous break in techniques meaning that you have a plethora of options to try.
Cons
- The break in process is time-consuming that can take a week, several weeks, or up to a month.
- If not properly done, some of the break in techniques can even damage your boot.
3. Change your hiking socks
A small behavioral change such as changing your hiking socks can be enough to stop heel lift in hiking boots. Thin socks leave more room in the boots which can allow your legs to move around.
However, when you replace them with thicker socks made of merino wool, the socks fill up the space to give a better fit making it more difficult for your foot to move around.
- MAKE HIKING A COMFORTABLE EXPERIENCE These Merino wool hiking socks are built to provide you with...
- ITCH FREE MATERIAL These wool hiking socks come blended with nylon to promote a comfortable, itch...
- KEEP YOUR FEET WARM DURING COLD WINTER HIKES With these hiking socks, women and men alike can enjoy...
Last update on 2023-11-11 / Affiliate links / Images from Amazon Product Advertising API
Cotton socks have the ability to lock in moisture and this can increase your chance of coming down with blisters. When choosing socks for your hiking boots, some of the factors that should guide your purchase are:
- Height: the socks need to be higher than the boots ankle height to protect your skin from rubbing on the boots which can lead to irritation
- Fabric: the material used in making the socks will determine its properties like how much moisture it can absorb and how it will feel on the skin
- Cushioning: you need to consider the time of your hike and decide if you need thick socks that will provide warmth and comfort or more breathable socks
- Fitness: the right socks should be the one that offers the most fitness which is necessary to stop heel lift
If your feet still move around after changing your socks, wearing additional socks can help to fill up the excess space and keep your foot steady.
Non-slip socks are a great assistant for your hiking, they play an important role in contributing to the foot balance in hiking boots. They help your feet stay in place and not slide, thus avoiding heel lift problem.
Pros
- Changing your hiking socks is an easy behavioral change that anyone can easily adopt.
- It is a way of adding custom fitness to your hiking boot.
- The right socks will also serve as an additional layer of protection for your feet.
Cons
- If you are already used to a certain type of socks, changing to a pair of socks made of entirely different material can take a while to get used to.
- Produce a huge financial implication for changing socks periodically.
- Wearing multiple socks will make your feet sweat more which can also increase the risk of having smelly boots.
4. Adopt a new lacing technique
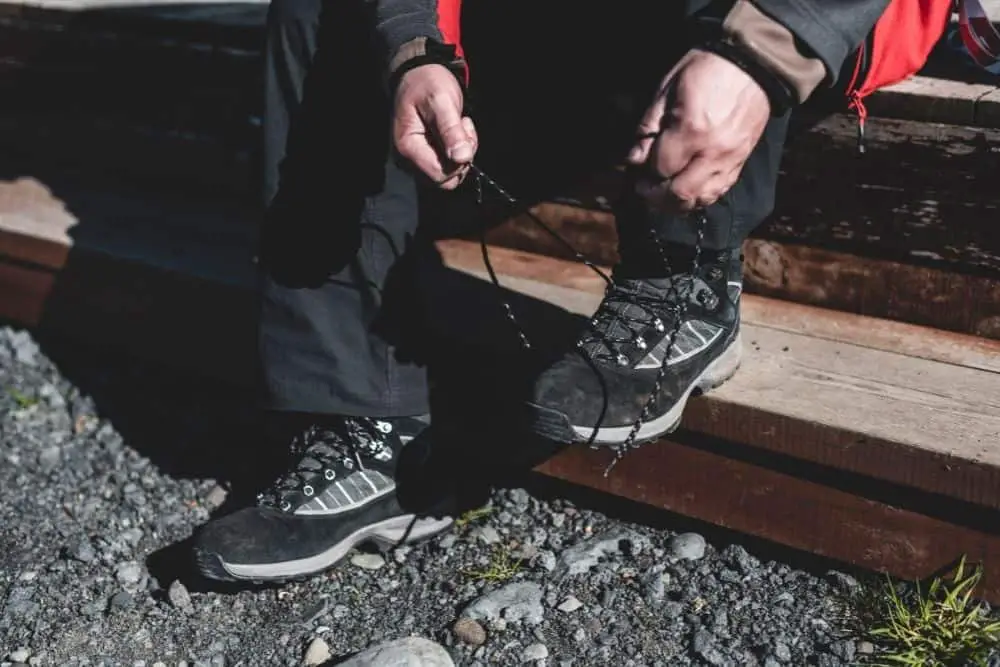
Interestingly, the way you lace your boots can increase the chance of heel lift. In fact, when heel lift occurs sometimes it is not as a result of a problem with the boot, rather, the problem is from your lacing technique.
When lacing your boots, make them extra tight but still comfortable. How tight you tie your laces can make the difference.
The tighter the lacing of your boots, the higher the chance that it will be able to restrict your foot from moving around in the boot.
If your laces are not thick or strong enough, you may need to replace them by purchasing thicker and longer laces. (Check out: Why Do Hiking Boots Have Round Laces?)
It is important to mention that laces can get worn and leave you with a heel lift. Make sure that your replacement lace is of the same shape (oval, round, flat) as the one you want to replace.
A heel lift can also occur when the laces come undone during hikes. A lot of hikers struggle to keep their laces tied.
If the cause of your heel lift is from loose lacing, one of the ways that you can keep the lacing tight is by using lace locks.
- No-tie Lacing System: Turn any pair of lace-up tennis shoes into slip on sneakers. Lock Laces are...
- Stretch Fit Comfort: Our elastic laces conform to your foot for a custom fit. Added compression...
- Perfect For Everyone: Lock Laces, originally designed for triathletes to decrease transition time,...
Last update on 2023-11-11 / Affiliate links / Images from Amazon Product Advertising API
Always make sure that the lacing at the top of your boot is tight to prevent movement of the foot. The surgeon knot or double overhand knot helps to provide adequate tension to the laces.
This technique is used to keep the toe box loose and the ankle tight.
Pros
- Changing your lacing technique is a behavioral change without affecting the integrity of your boots.
- There are many lacing techniques you can try until you find the best fit.
Con
- Learning and perfecting new lacing techniques take time thereby extending your period of pain. For those replacing their laces, getting the right pair can be a serious challenge.
5. Replace the insoles
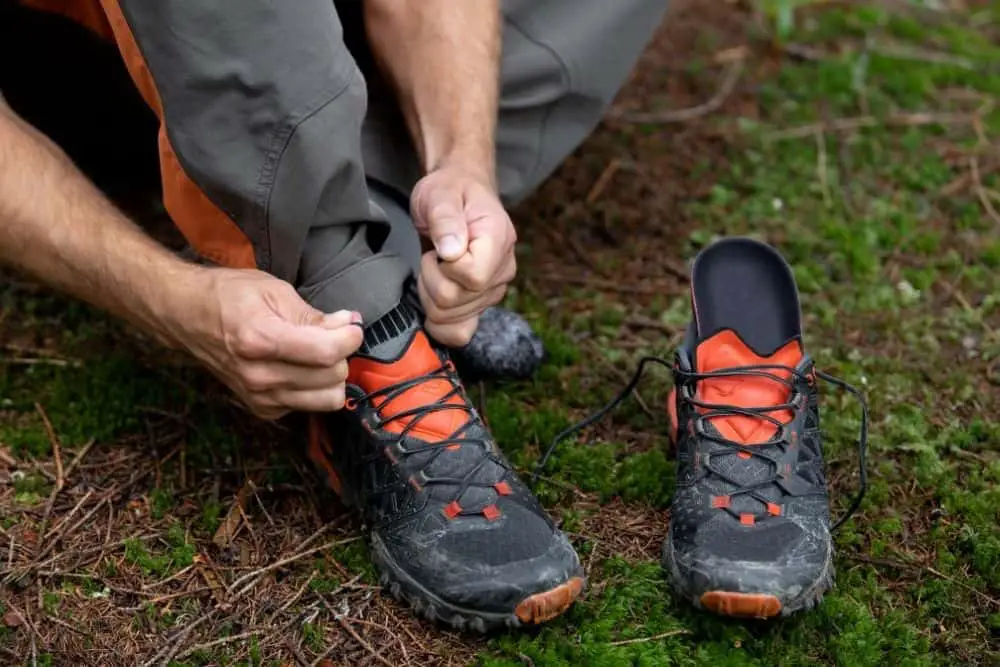
Most hiking boots come with basic insoles that do no more than protect your feet from coming into contact with the hard outsoles. However, there are specialized insoles that are specifically designed for hikers.
These special hiking insoles have high volume and often feature carbon fiber stabilizers for improved weight support.
The most important feature of hiking insoles is the supportive heel cups. The shape helps to keep the foot in place and minimize movement including heel lift.
It can also make the boot tighter so that you have less chances to encounter higher risks of heel lift.
- Trim to Fit: Superfeet insoles are made to be trimmed to fit your shoes and boots; follow cutting...
- Medium to High Arch Support: Made in an orthotic shape to stabilize the foot on rough terrain,...
- Durable Arch Support: Proprietary EVOLyte carbon fiber and polymer blend provides responsive,...
Last update on 2023-11-11 / Affiliate links / Images from Amazon Product Advertising API
Pros
- You don’t need any specialized training to be able to change the insoles of hiking boots.
- In addition to filling up the space in hiking boots, insoles can increase stability and comfort during hikes.
Cons
- Finding insoles that will perfectly match your boots can be a serious challenge.
- You may need to carry the boots from store to store in search of the right fit.
6. Tape your foot with athletic tape
Athletic tape is used by soccer players to immobilize the joints to prevent fractures while playing soccer. You must have seen one or two players wrap it around their wrist.
Well, you can use this tape on your heels to stop the direct contact of your heels with the back of the boots and prevent the blistering that arises from such motion.
When used correctly, an athletic tape will also fill up the space in the boot thereby limiting the movement of the foot in the boots.
Duct tape will also serve the same purpose. However, athletic tape is stickier and more resistant to wear. Wearing appropriate hiking socks over taped feet will make it more comfortable.
- Cramer 750, single 1 1/2" X 10 Yard professional grade tape roll in retail blister package
- Perfect for creating support for ankles and wrists with chronic instability. Also minimizes the...
- High quality athletic tape at an affordable price with colors for every team and occasion
Last update on 2023-11-11 / Affiliate links / Images from Amazon Product Advertising API
Pros
- Easier to achieve a perfect fit faster using athletic tape than wearing multiple socks.
- With athletic tape, you can target the particular areas of your foot that feel loose and add more tape to the area to give it a snug fit.
- The use of athletic tape will not cause any harm to your boots or foot.
Cons
- The adhesive on some of the tapes is questionable.
- Some of the tapes leave residue on the skin and may cause irritation of the skin and rashes.
7. Use heel grips
Heel grips are designed to fit at the back of the boots. They have back glue that sticks to your boots.
Heel grips prevent the direct contact of your foot with the back of the boots which prevents the abrasion from heel lift that leads to blistering.
- High Quality Materials: Made of microfiber materials,ensure breathable, comfort and cushioning
- High quality back glue: adopt three layers of mixed material double-sided glue, two layers of glue...
- Solve Your Problems Easily:Instead of insoles and inserts,Improve Shoe Fit and Comfort; Forget...
Last update on 2023-11-11 / Affiliate links / Images from Amazon Product Advertising API
Pros
- The glue on the heel grips don’t come in contact with the body.
- No irritations or glue residue on your skin.
Cons
- Adhesives are sometimes not strong enough and may come off when you need them the most.
- You may have to cut the grips to achieve snug fitness but the outcome is usually messy.
8. Use tongue pads
Tongue pads can make your lacing feel more comfortable as well as push your legs backward to prevent heel lift.
The rubbing of the tongue of your boots on your instep can lead to irritation of the skin around that area.
This effect can become more pronounced if you are using a tighter lacing technique to prevent heel lift.
Placing the tongue pad between the tongue of your boots creates a barrier that prevents the direct contact of the skin on your instep with the tongue of the boots.
When you place the tongue pad, it allows you to lace your boots tighter without causing pressure pain to your instep.
- SOFT & COMFORTABLE: This pack of 3 pair of shoe instep pads is made of a high quality super soft...
- FORM FITTING: No one likes wearing loose shoes which is why our shoe size cushion pads are the...
- SELF ADHESIVE: Applying these Soft Tongue Cushion Pads to the tongue of your shoes is extremely easy...
Last update on 2023-11-11 / Affiliate links / Images from Amazon Product Advertising API
Pros
- Anyone can use tongue pads with ease
- Readily available
- Leaves a clean finish
Con
- Weak adhesion (often)
9. Choose brands that favor your feet
Some brands make boots specifically for people with certain types of feet. For example, there are brands that make boots for people with narrow feet—and you should search for such brands if you fall in this category.
You can expedite your search by talking to a hiking boot sales associate at your local store.
Alternatively, a generic search on the Internet using generic keywords that defines your problem can bring up a list of brands that will help you to narrow your search.
Pros
- It is easier to get a product that will fit snugly and eliminate heel lift.
- Opportunity to meet a community of people with a similar foot type to yours which may help you to overcome any self-esteem issue that you are going through.
Cons
- It narrows your choice of hiking boots to just a few brands.
- The good products may not be your cups of tea.
Should your heel lift in hiking boots?
Heel lift should never happen if the hiking boot is the right fit. When heel lift occurs in a hiking boot, it is a sign that the boots don’t fit properly.
Persistently wearing such boots without doing anything to stop the heel lift will lead to blisters on the heels and plantar fasciitis.
The best hiking boot for you should be the one that holds the foot securely without causing constriction at any point on your foot.
Follow the tips we outlined earlier when making your purchase to ensure you get the boot with the best fit.
Conclusion
If you have tried all the hacks that we mentioned and none of them seems to be working, it is time to consider getting a new pair of hiking boots.
Depending on the type of trail that you plan to hike, you may decide to choose hiking shoes instead—as long as it is safe.
Perhaps, you may need to try two or more of the techniques we have outlined and choose the one that works best.
Also, it is possible to combine two different techniques like heel grip and changing lacing technique or tongue pad and changing lacing technique. Once you discover what gives your feet snug feet, stick to it.

