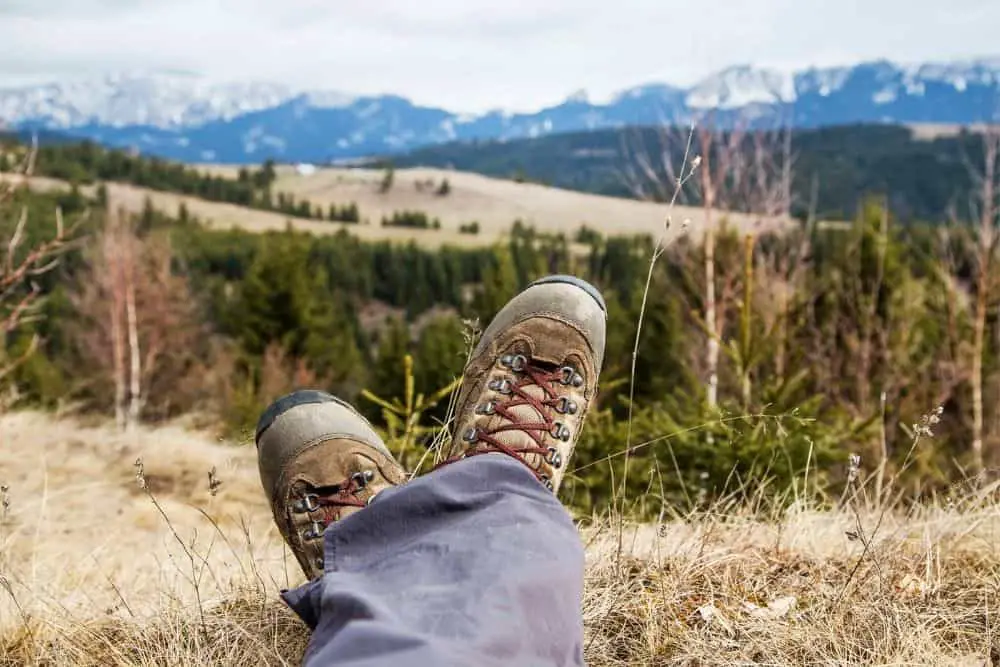
You can compromise on a lot of things when it comes to hiking because if you want to carry every recommended accessory with you, your backpack will be way too heavy. However, the one area you should never compromise on is using a fitting hiking boot.
Every hiker understands that the fitness of your hiking boots directly affects your hiking experience. For an amateur, fitness is all about how the boots fit on your feet, but there is more.
In fact, armatures find it hard to explain what fitness really means. However, a professional will tell you that fitness has to do with how easily you can wear or take out the boots, how comfortable they feel without pain in any area of your feet, and how much room they give you in different parts of your leg.
When you walk into a store to buy a pair of hiking boots, it is important to test them out and note the room at the toe, heels, ball of the foot, top of the foot, instep, and arch. Each of these areas has the amount of room they should allow.
Too little will make you scream in pain after some time, while too much space will make your feet move around in the boots, which can eventually lead to blistering in different areas of your foot.
If you have been wondering about the amount of room that your hiking boots should have, you are in the right place. We will break down all the details and tell you how much space you need on every part of your foot. Keep reading to find out more.
Contents
How much room do you want in hiking boots?
Finding the right hiking boots can be a stressful process, but it is worth all the pain. The price and high quality of your hiking boots will all come to naught if they don’t fit properly.
The main reason why a lot of people get it wrong with their hiking boots’ fitness is that they live under the assumption that they already know their size.
While your boots should fit snugly, they should have enough room for you to stretch your toes. But, the room should not be too big such that your feet move around in your boots.
Hikers will normally try to expand the room in their hiking boots by using different break-in techniques. However, don’t ever think that breaking in will suddenly make your boots feel more comfortable if they were initially the wrong fit.
For a break in to have a noticeable impact, the boots must be fitting upon initial purchase. Your heels should lock firmly into the boot’s heel while your toes should be able to wiggle when ascending or descending a ramp.
Below are detailed insights on the amount of room your boots should have in different areas. As you walk into the shop to purchase your next hiking boots, pay attention to these details to help you find the right fit.
1. Toe room
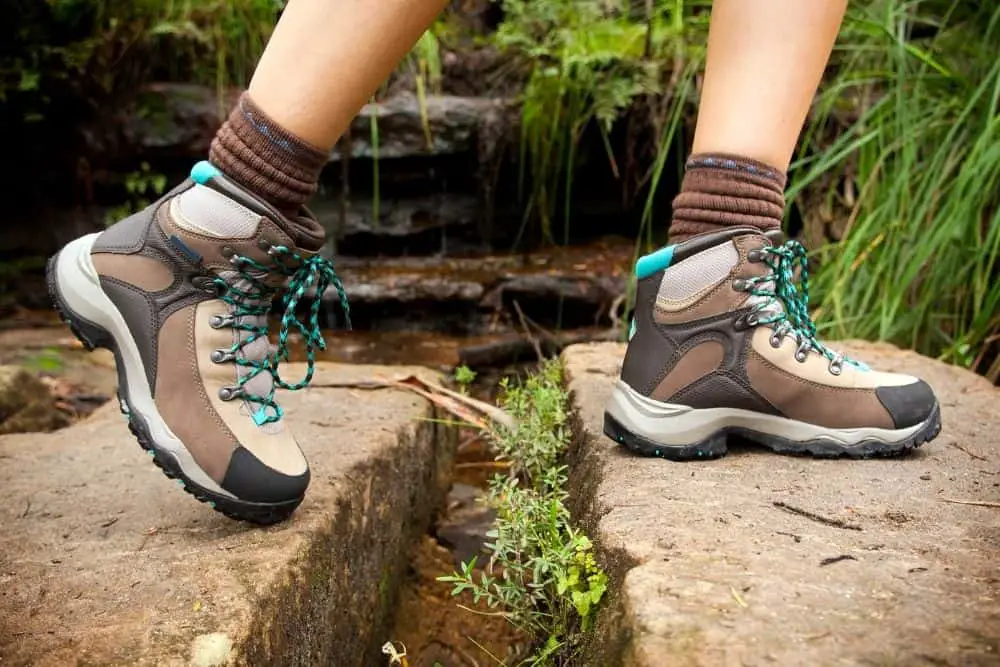
When your toe keeps sliding and hitting the toe box when you ascend or descend a ramp, you risk ending up with black toenails, swelling, blistering, or other severe toe injuries. When it comes to the toe room, there is no universal measurement.
It is all about personal comfort. Therefore, if you have big toes, look for boots with a wide toe box that will have enough room to accommodate your toes.
Most professional hikers recommend getting hiking boots that are half an inch bigger than your regular size. So, if you are a regular size eight, shop for a size eight and a half.
The extra half-inch ensures your toes move around freely within the boots. Other hikers usually choose hiking boots that are 1 or 2 inches bigger than their regular size so as to get more toe room.

It is important to mention here that bigger boots may not give you a snug fit, which leaves your feet moving around in the boots and makes you susceptible to injuries.
As a rule of thumb, there should be enough toe room to allow you to wiggle your toes. A simple way of carrying out this test is to take out the insoles and place your feet on them. There should be a thumb’s width space between the tip of your big toe and the end of the boot.
The value of this number should vary from half an inch to one inch depending on the size of your big toe and thumb. This also justifies the saying that fittingness is a personal journey because we are all different with different body sizes. What’s working for your friend may not work for you.
See the complete guide to the amount of toe room you need here.
2. Heel room
Blistering of the heels resulting from heel lift and slipping of the feet are some of the major signs that your hiking boots are too big. If there is too much room between your heels and the back of the boots, your heels will lift each time you want to take a step.
The repeated rubbing motion is what eventually leads to blistering. For the record, a boot that fits properly should lock in place with your heels after lacing.
For the right-fitting boots, there should be no baggy areas. However, that doesn’t mean that it should press against your skin or cause any pain.
Surprisingly, experts say that a ¼ inch or ½ inch slippage in the heels is perfectly acceptable. This slippage should disappear when you break in the boots.
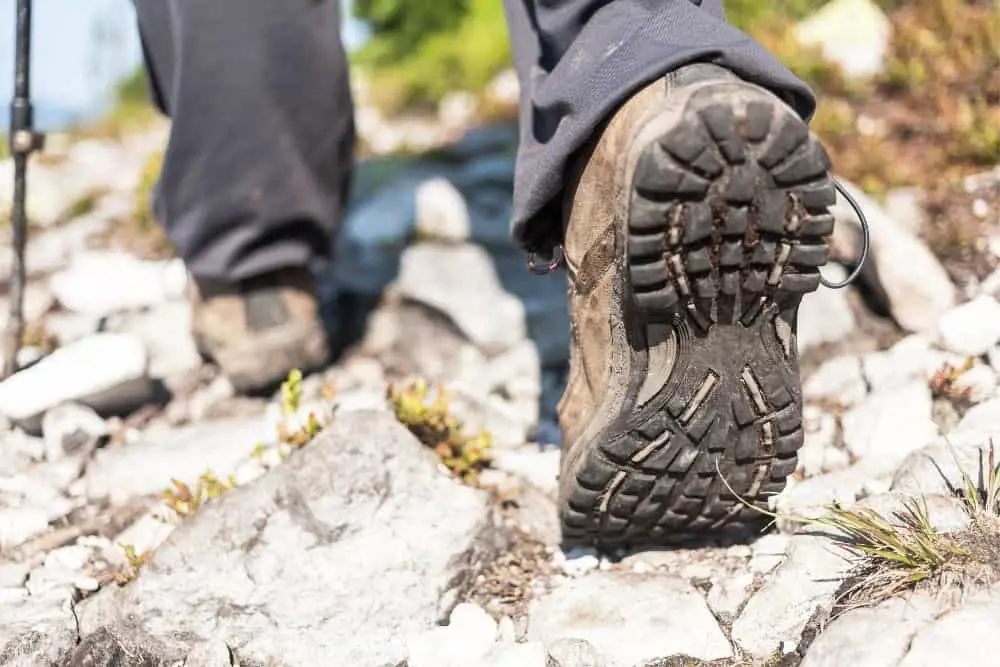
The rule of thumb when it comes to heels is that the space between your heels and the back of the boot should be wide enough to accommodate your index finger.
If you can’t find hiking boots that lock snugly to your heels for whatever reason, choose another pair with no more than a ½ inch gap between your heels and the back of the boots.
When it comes to heels, it is always better to choose hiking boots that are slightly bigger than your feet than those that are smaller than your feet.
There are so many techniques you can use to enhance the fit of your hiking boots if they are slightly bigger than your feet. This includes stuffing them with soft materials like cotton and rags, wearing thick socks, and the use of heel grips.
However, if the boots are smaller than your feet, breaking them in may not be enough to give them a snug fit. The best solution, in this case, will either be to return them for a refund or to give them to someone with smaller feet.
3. Arch room
The foot arch is the area between the ball and the heel. Pain in this area is usually common among athletes and hikers. There are three types of foot arches, namely pes cavus, normal arch, and pes planus (flat foot).
When shopping for a hiking boot, you should consider the shape of your arch. For normal arches, you can afford to have ¼ or 1/8-inch space in the arch area of the hiking boot you plan to purchase.
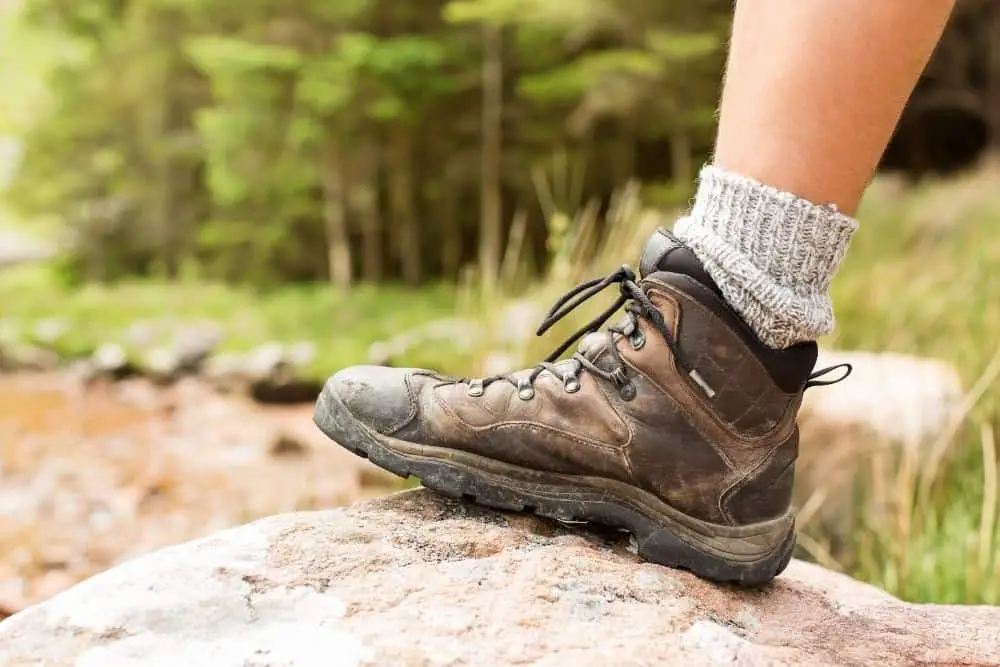
You need this area to be as snug and tight as possible to prevent your feet from moving around, which will eventually lead to blisters. Those with flat feet will need a little more space to accommodate their unique arch.
This is because manufacturers design their boots for people with normal arches and don’t make provisions for special cases.
If you are one of the few with a special foot arch or use orthopedic insoles, you can compensate for the shape or make provision for the insoles by choosing boots that are half an inch bigger than your regular size.
That is to say, if you wear size 8 boots, you should purchase boots that are 8.5 in size. This should give you enough room for arch support.
Most of the time, all you need to get arch support from your boots is to remove the factory insoles and replace them with a high-quality orthotic insert. In some foot disorders, you may need your ankle orthopedic surgeon to prescribe special orthotics, but this is rarely required.
4. Ball of the foot room
The ball of the foot is the widest part of the foot, just before the toes begin. The balls of the feet of some people are so prominent that they may still find it hard to get the best-fitting boots.
In most cases, you may feel a sharp pinch in this area even when other areas of the foot fit snuggly. The room at the ball of the foot should not exceed 1/8 of an inch.
Since this is the widest part of the foot, you need it to fit snuggly to keep the foot steady in the boots. However, the reason you need some room in this area is to accommodate the swelling of your feet during the day.
Another way you can check if the width of your hiking boot matches the width of your foot is to take out the insoles and place your leg on them. Ideally, the insoles should match the contours of your feet.
If the outside of your foot is protruding out of the insoles when you place your leg on them, it is a sign that you need a wider boot.
Also, if more than a quarter of an inch of the insoles can be seen along the edges of your foot, it is a sign that the boots are wider than your feet. In that case, you will need a narrower boot.
If there is no room in the area, you will likely start feeling a sudden sharp pinch as you hike during the day when your feet start to expand. Hikers with a protruding ball of the foot should opt for brands that specialize in making boots with wide toe boxes.
If you can’t find boots with 1/8 inch of space at the ball, you can get one that is exactly the same width as the length of your ball and stretch it out using various break-in techniques.
5. Instep room
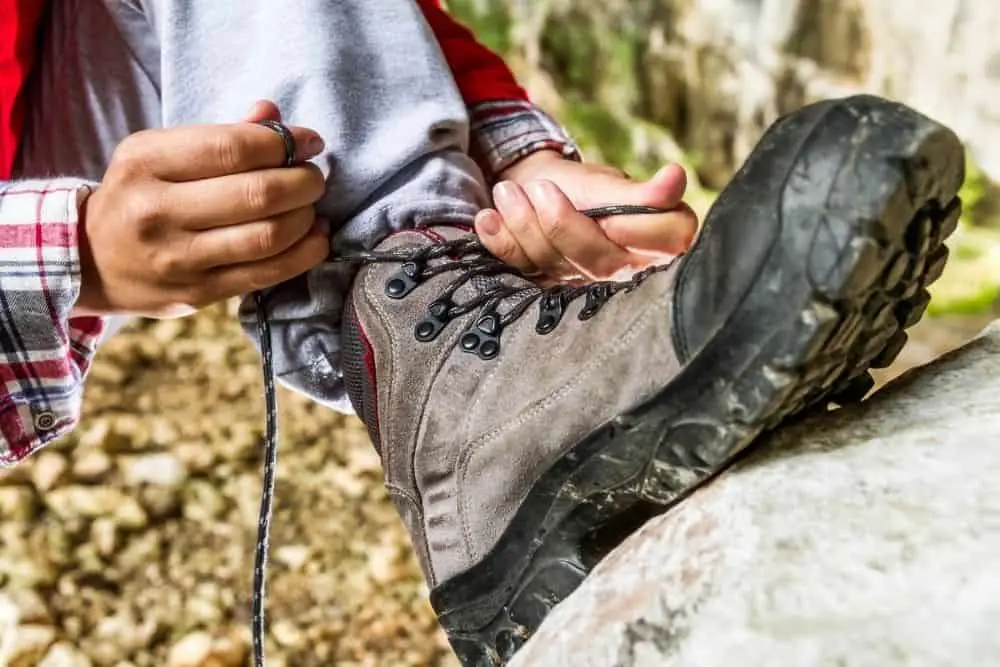
The instep of the foot is what some people call the top of the foot. This is the part of your foot where the tongue of your boots will rest.
Having the right amount of room in your instep makes walking easier. If the boot is too tight around the instep, you will find it difficult to move your ankle, and that can lead to severe pain if you are hiking in an area that needs lots of climbing.
Ideally, your boots should fit snugly around your instep but be loose enough to allow the flexing of your ankle. While there is no standard measurement for the amount of room your boots should have around the instep, we believe that ¼ of an inch to ½ inch in this area should be enough, depending on how wide or narrow the boot is.
6. Ankle room
Just like the instep, the ankle should not be too loose or too tight. If it is too loose, you lose any form of ankle support that the boots should normally give.
Also, if the boots are too tight around the ankle, it makes walking difficult because your heels will lift each time you try to take a step. You even risk falling if the boots are too loose around the ankle.
For a snug fit that still delivers ankle support, you should have at least 1/8 inch of space around the ankle.
How much room is the best?
The weather as well as the terrain you plan to hike can affect the amount of room you should have in your hiking boot. The reason is that hot weather causes materials to expand, while cold weather causes materials to contract—and your boot is not an exception.
If you notice, most of the foot room is in a range from 1/8 to 1 inch. When you are hiking in hot terrain like Joshua Tree, you need to adjust your size downward, i.e., choose the lower fitting boundary.
For example, if the records state that you should have ½ to 1 inch of toe room space, choose a boot with ½ inch of toe room space when hiking in hot terrain.
This is because the hot weather will cause boots, especially those made with leather, to expand. If you initially choose boots with more room, when the boots expand, they may feel loose around your feet, which will make hiking difficult.
The opposite is the case when choosing a boot for hiking in cold terrain or snow. Snow and extremely cold weather will usually cause leather boots to shrink. So, you will need boots with more room in all the areas to compensate for this shrinking.
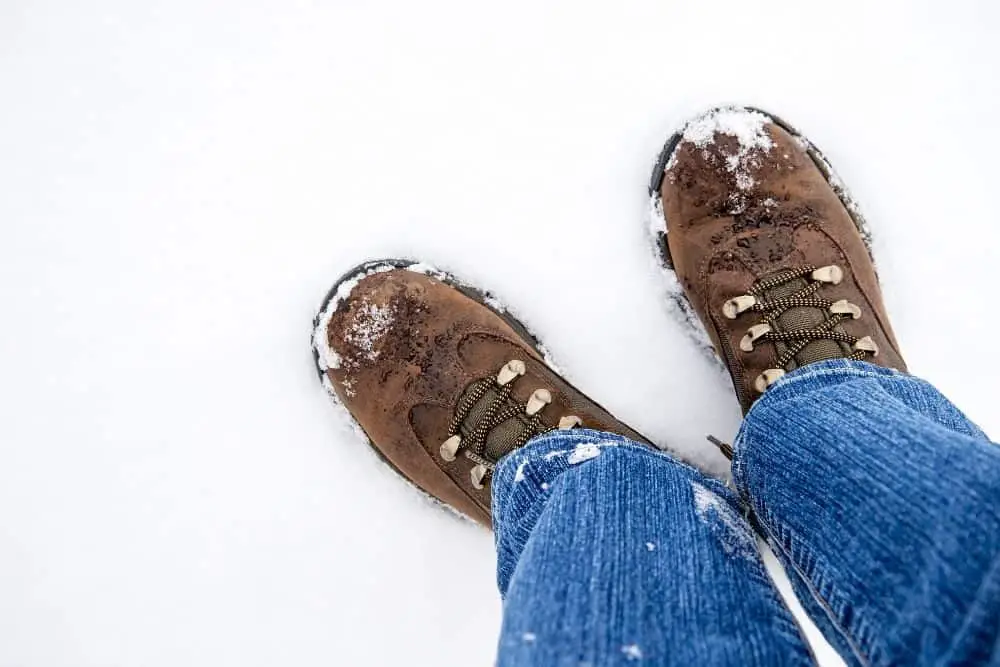
The nature of the terrain that you plan to hike on will also affect the amount of room you should aim for in your boots. While tight boots or those that are a bit loose will not pose too many problems when hiking on flat terrain, you need a snug fit for mountainous terrain where all the parts of the foot will need room for movement.
Most importantly, you will need boots with just the right amount of toe room to compensate for inclines.
However, the nature of the terrain has more to do with the choice of your boots than just the amount of room. When hiking on flat and smooth terrain, a pair of lightweight, flexible boots will be a smart choice.
On the other hand, if you expect rocky and mountainous terrain, you will need stiffer and more rugged boots to prevent your feet from hurting as well as to absorb the impact of the hard surface so that it doesn’t get to you.
Conclusion
For most people, one foot is usually bigger than the other—and you will only know this if you have your feet measured. When shopping for a hiking boot, always fit the boots according to the size of the bigger foot.
There are myriads of steps that you can take to make hiking boots that are bigger in size to fit. This includes wearing thicker socks, adding specialized insoles, using heel grips, inserting tongue pads, changing your lacing technique, and so on.
However, when the size is smaller than your feet, there is little you can do, bearing in mind that stretching can only stretch the boots by a few fractions of an inch.
All the figures mentioned above may sound confusing at first, but as soon as you start getting used to hiking boots, you will discover that you don’t need to carry a tape measure when going to shop for your boots.
By simply looking at it and wearing the boots around the store or placing your foot on the insoles you will be able to tell if it has1, ½, ¼, or 1/8-inch room in the right places. This is not magic or some kind of voodoo, rather, a skill that grows over time.

