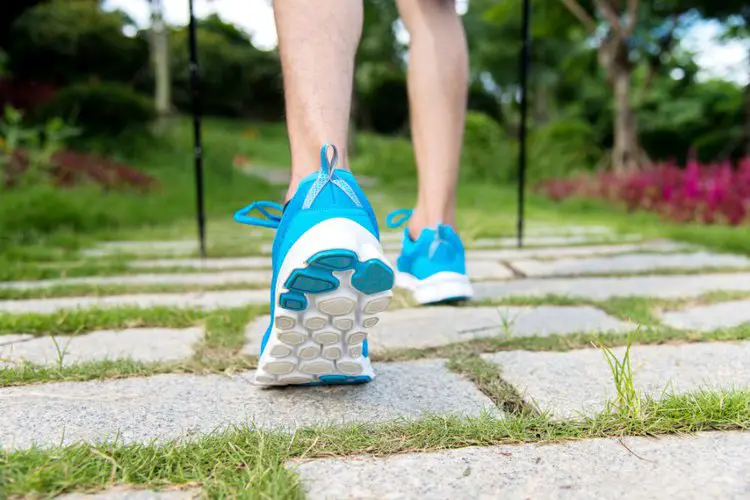
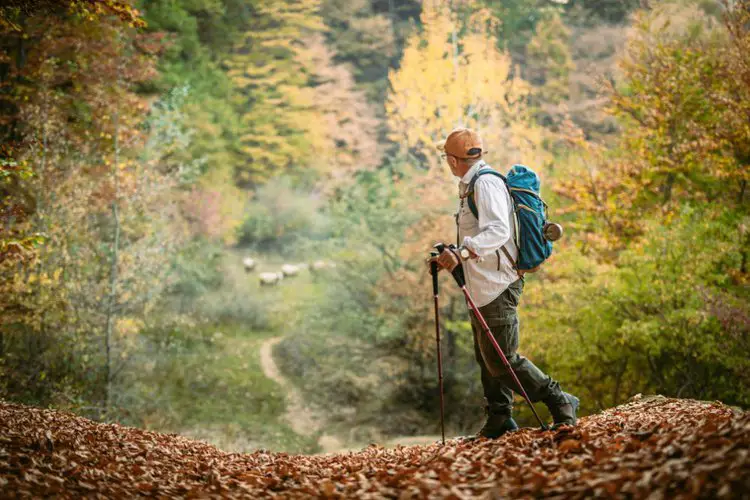
Hiking poles are a great tool for any outdoor adventurer. They help reduce strain on your knees and ankles, increase your stability on rough terrain, and can even be used to set up a makeshift shelter.
However, it’s important to know how to adjust your hiking poles properly to make sure you get the most out of them.
In this article, we’ll cover step-by-step instructions on how to adjust your hiking poles for any type of terrain.
Contents
Step-by-step guide – Overall Look
1. Determine the Correct Length:
The first step is to determine the correct length for your hiking poles. While standing with the poles in hand, adjust the length until your elbow is bent at a 90-degree angle.
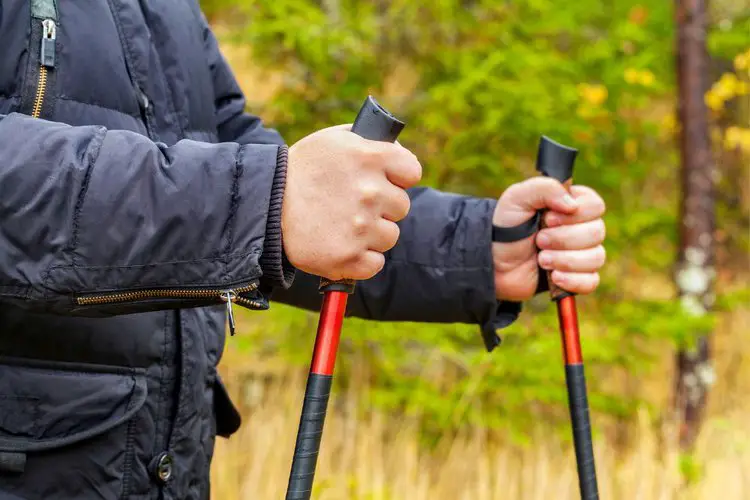
This will ensure the most comfortable and effective use of your poles.
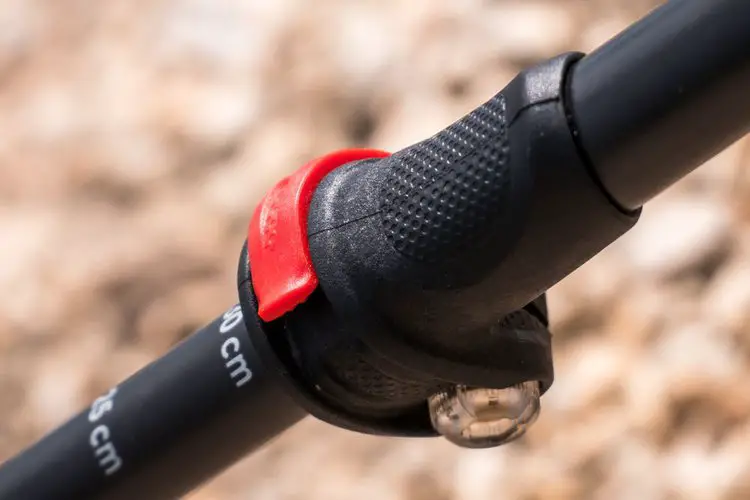
2. Loosen the Locking Mechanism:
The majority of hiking poles have a locking mechanism that holds the sections in place.
Locate the locking mechanism and loosen it by turning it counterclockwise.
3. Adjust the Length:
Once the locking mechanism is loose, change the length of the pole by sliding the sections up or down.
Be sure to keep the sections straight to prevent any damage or wear and tear. And be careful not to over-extend the pole!
4. Secure the Locking Mechanism:
Once you have adjusted the length of the pole, tighten the locking mechanism by turning it clockwise.
Ensure that the mechanism is tight enough to hold the sections in place, but not so tight that you cannot change the length in the future.
5. Adjust the Angle of the Grip:
Some hiking poles have grips that can be twisted to different angles.
Locate the screw or button that allows you to change the angle of the grip and direct it to your desired position.
6. Adjust the Straps:
Hiking pole straps should fit comfortably around your wrists to help prevent dropping the poles.
Adjust the straps to fit your wrist size and ensure they are not too loose or too tight.
7. Test the Poles:
Once you have adjusted all the components of your hiking poles, test them to ensure they are comfortable and functional.
Take a few steps with the poles to ensure they have the correct length while the grip and straps are in the correct position.
Adjusting Your Hiking Poles for Different Types of Terrain:
Adjusting your hiking poles correctly for different types of terrain can help improve your balance, reduce fatigue, and prevent injuries.
Here’s how to adjust your hiking poles for different types of terrain:
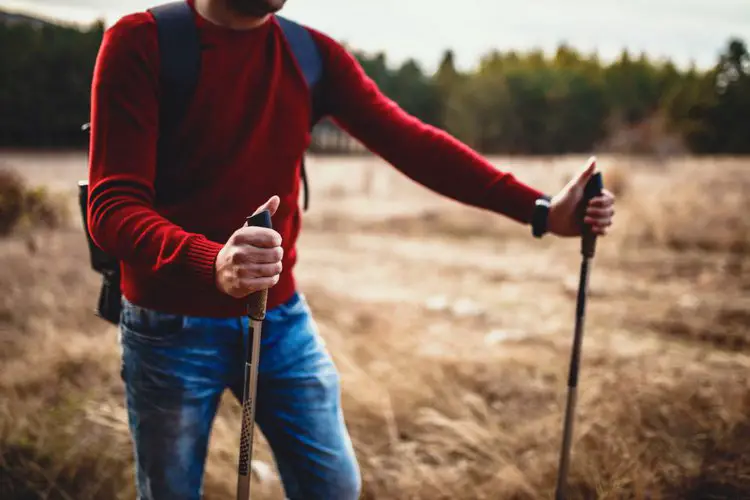
Flat Terrain:
When hiking on flat terrain, your hiking poles should be level with your elbows.
To do this, stand up straight and hold your hiking poles with your arms at your sides.
Adjust the length of your poles until the grips are level with your elbows.
This will help you maintain a natural arm swing while you hike.

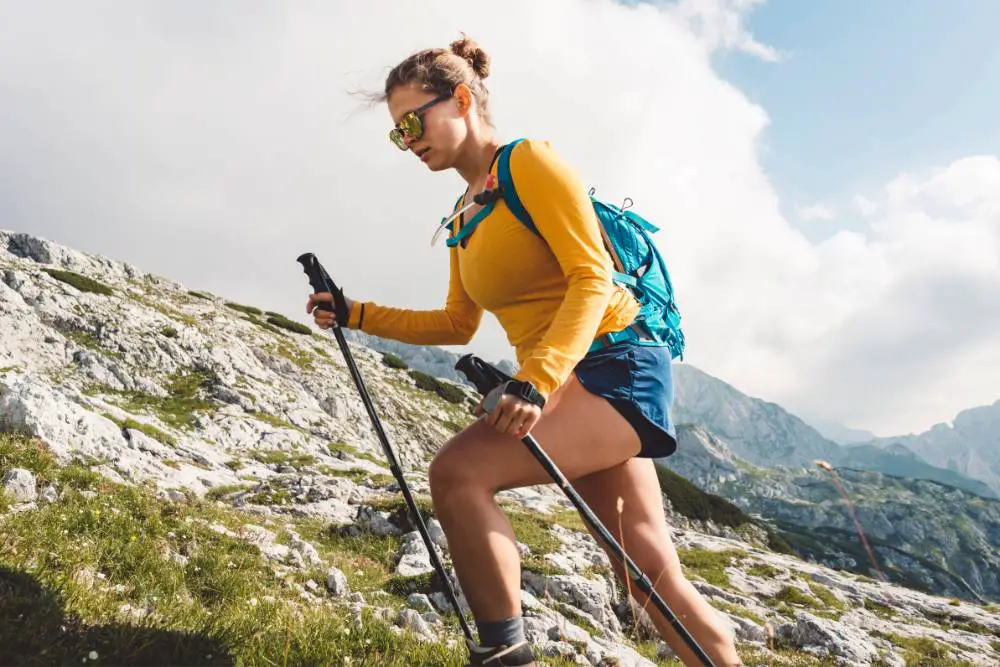
Uphill Terrain:
When hiking uphill, keep your hiking poles slightly shorter than when hiking on flat terrain.
This will allow you to have good posture and reduce the strain on your lower back.
Adjust the length of your poles so that the handles are the same height as your waist.
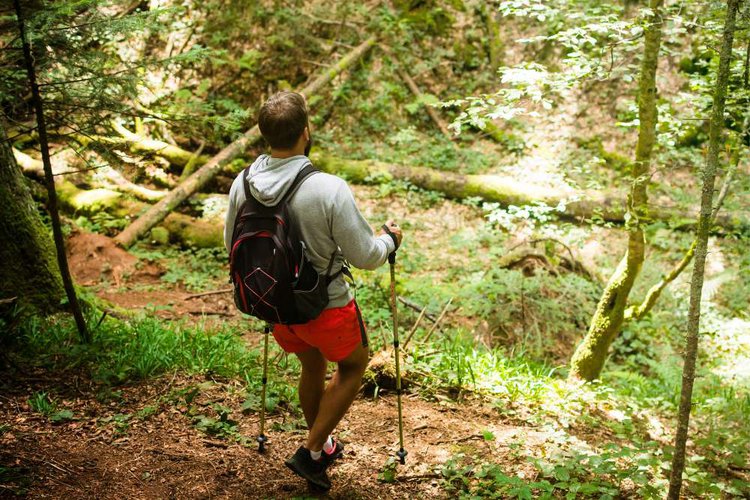
Downhill Terrain:
For downhill, your hiking poles should be slightly longer than when hiking on flat terrain.
This will keep you balanced and reduce the strain on your knees and ankles.
To have the best position, keep the handles of the poles at the same height as your hip. Then do the same to the other pole.
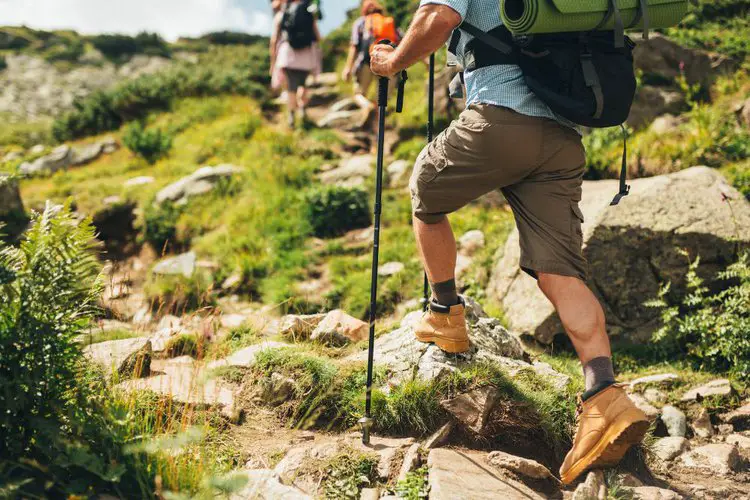
Uneven Terrain:
When hiking on uneven terrain, you should be flexible. The length of your hiking poles should be changed depending on the slope.
- For uphill sections, adjust your poles to be shorter than when hiking on flat terrain.
- For downhill sections, expand your poles to make them longer than when hiking on flat terrain. This will help you maintain your balance and reduce the strain on your joints.
Stream Crossings:
When crossing streams, it is better to keep your hiking poles longer than when hiking on flat terrain. This will keep you stable and reduce the risk of slipping.
At the same time, the long hiking pole can also help you check the depth of the water in the stream.
Adjust the length of your poles so that the grip is at the same height as your chest.

- Built to Last: Whether you're hiking on rugged terrain or snowshoeing on fresh powder, you need...
- Lightweight: These hiking poles are crafted with strong aircraft-grade 7075 aluminum, tougher than...
- Adjustable: Set to your desired height in seconds, from the 54" max height down to just 24.5" when...
Last update on 2023-11-10 / Affiliate links / Images from Amazon Product Advertising API
Some common mistakes to avoid when adjusting hiking poles:
- Over-tightening the Locking Mechanism:
Over-tightening the locking mechanism can cause it to wear out more quickly and potentially become stuck, making it difficult to adjust the pole height.
It’s important to tighten the locking mechanism just enough to hold the pole in place.
- Adjusting the Poles Incorrectly:
Adjusting the poles incorrectly can lead to discomfort, pain, and even injury.
For example, if the poles are too short, it can put too much strain on your arms and shoulders. On contrary, if they are too long, it can cause you to hunch over, leading to back pain.
- Not Checking the Locking Mechanism:
Always make sure the locking mechanism is secure before using the poles. If the mechanism is loose, it can cause the poles to collapse while you’re hiking, which can lead to injury.
- Not Adjusting the Poles for the Terrain:
Different types of terrain require different pole lengths. Keeping the same length for all terrains can cause discomfort, pain, and even injury.
For example, when hiking uphill, adjust the poles to a shorter length, while for downhill sections, a longer length is better for balancing.
- Ignoring the Weight of Your Backpack:
The weight of your backpack can affect the height at which you adjust your poles.
When carrying a heavy backpack, you may need to make the poles shorter to compensate for the added weight.
Conclusion
Adjusting your hiking poles correctly can make a big difference in your hiking experience.
By following these step-by-step instructions, your hiking poles can adapt to any type of terrain.
Remember to always adjust your hiking poles as necessary throughout your hike to ensure maximum comfort and safety. Happy hiking!