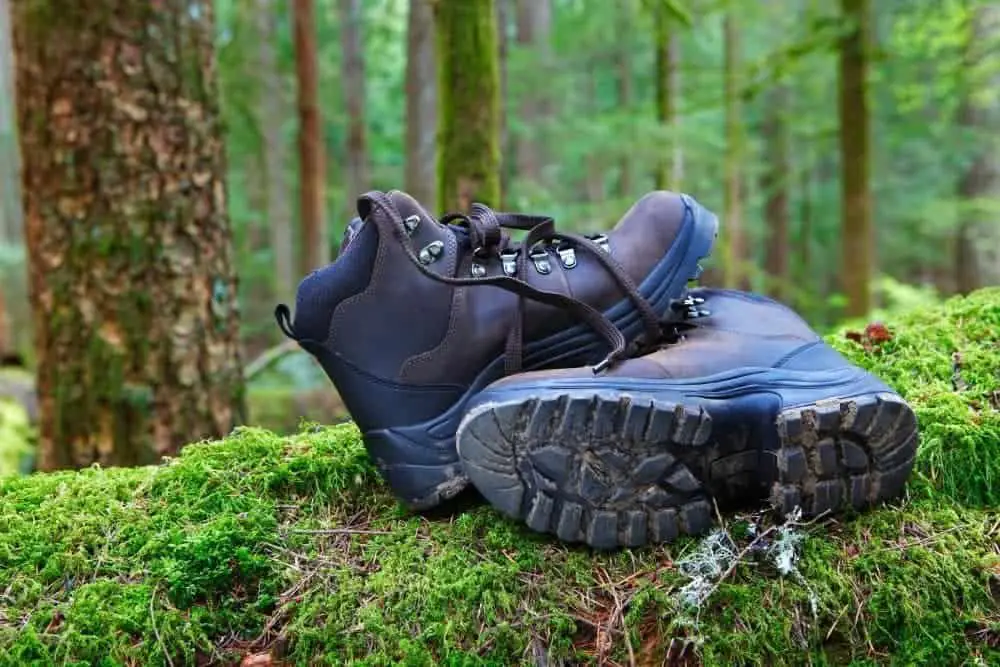
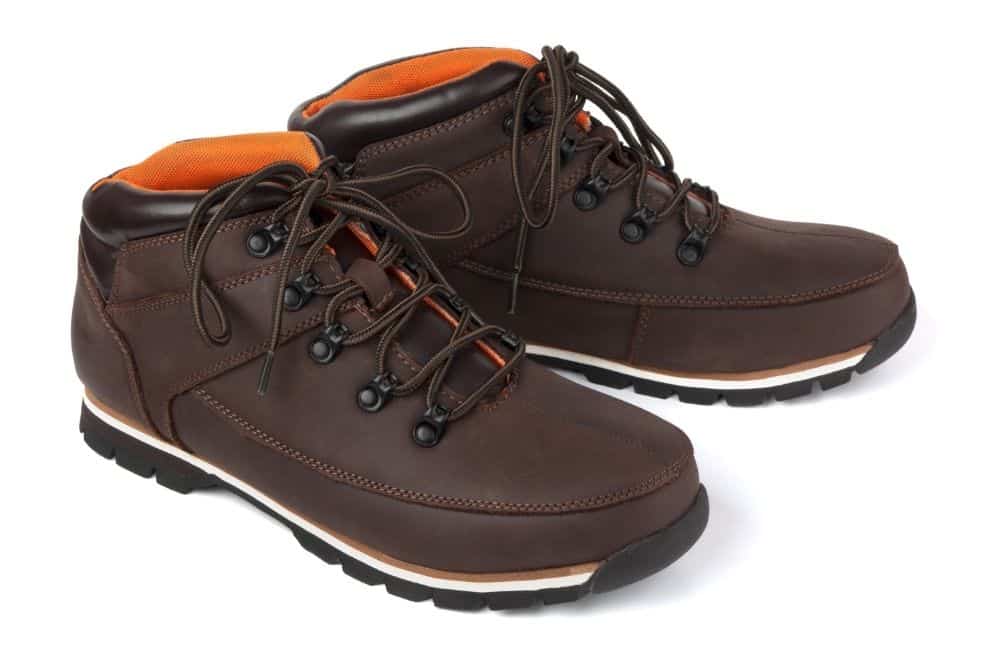
It is always heartbreaking to watch your hiking boots fall apart from accumulated mud and moisture. Hiking boots are tough and made to withstand harsh conditions, but when not properly cared for they fall apart after a few hikes.
Depending on your hiking trail, mud and sand stick to the body—or get inside—your hiking boots. Sadly, some hikers get so tired at the end of the day and toss their boots into the closet only to bring them out on their next hike.
The four ethos that will make your hiking boots outlast the price you paid for it are cleaning, conditioning, polishing, and proper preservation. Perhaps, you have perfected one or two of these practices but the big question is, “are you doing it the right way?”
The majority of hikers will never forget to clean their boots after a hike but the remaining three practices are swept under the rug. Sadly, the four practices must come together for your hiking boots to remain in good shape all the time.
Already worried that you have been ruining your hiking boots? That is why we have put together this step-by-step guide to help you master the four processes.
Without further chitchats, let’s dive in.
Contents
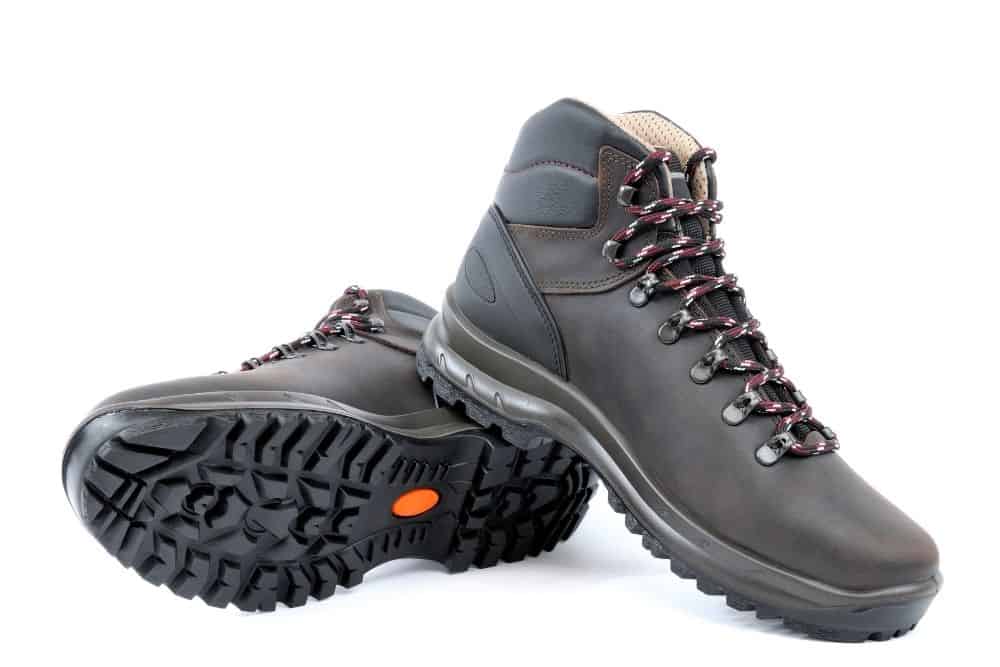
How to care for leather hiking boots?
Irrespective of the nature of the trail you hike, there is always a high chance that you will encounter elements that will scrape your hiking boots. Therefore, all hiking boots will eventually look a little ragged with prolonged use—and you have little control over this.
Besides scraping, cracking, drying, and rot are some of the common hiking boot conditions that are within your control. Interestingly, if you care properly for your leather boots, small scrapes will not be obvious and your boots will always look brand new.
Leather hiking boots need more care to last longer when compared to boots made of suede or nylon. The slightest of neglect will tell on leather boots—especially black ones—in the form of dirt or mold.
We are going to talk about the different ethos one after the other and give you a step-by-step guide on how to properly accomplish each of them.
Step 1: Clean your hiking boots
Type “how to clean hiking boots” on any search engine and you will get a plethora of ideas. However, the cleaning method you will choose will depend on the material used in making your hiking boots.
For this post, our focus will be on how to properly clean leather boots. There are two cleaning methods we will discuss here, so, follow these steps to clean your leather hiking boots.
Solution 1: Cleaning hiking boots with hand
- Use a brush with stiff bristles (an old toothbrush will do the trick) to brush off mud and dirt from the body and soles of the boots. Do this inside a garbage bin to avoid messing up your home.
- Remove the laces to get better access to the tongue. Wash the laces separately.
- Remove the insoles and use the brush to scrub sand particles that may be trapped under the insoles. Wash and hang the insoles to dry.
- Stuff paper towels into the boots to soak up any water that may get into the boot during washing.
- Place the boots in a sink or bathtub and wipe down with a soft cloth soaked in a solution of warm water and mild dish wash soap. Make sure you have removed the chunk of the debris and mud with a brush before proceeding to this step to avoid clogging your sink or bathtub.
- Rinse the boots by either running water over the outer surface or using a fresh clean cloth to wipe off any lather.
- Stuff the boots with a fresh pair of paper towels to absorb any water that got into the boots as well as fast-track drying.
- Hand the boots (preferably in front of a fan) to dry. Never dry boots under direct sunlight or close to an open flame to prevent fading or cracking of the leather.
Pros
- You can control the amount of water that gets into the boots which means faster drying
- Allows you to apply the right pressure to different areas of the boots
Con
- The process is time-consuming
Solution 2: Cleaning hiking boots with washing machine
- Remove the insoles and laces of the boots
- Use a brush with sturdy bristles to dislodge mud, dirt, and debris from the body and outsole lugs of your boots.
- Toss the hiking boots into the washing machine and set the timer
- Once the washing is done, take the hiking boots out of the washing machine and wipe them using a clean cloth.
- Turn the boots upside down to let out any water that may still be in the boots
- Stuff the inside of the boots with paper towels or newspaper to soak up excess water and facilitate drying. Change the paper towels whenever they get wet.
- Hang the boots to dry (preferably in front of a fan). For all the techniques you can use to properly dry your hiking boots, see more here.
Pros
- Faster than using hands
- Gives a more thorough clean than using hands
Con
- Excess water gets into the boots thereby prolonging the drying process
Step 2: Condition your hiking boots
After cleaning and drying your boots (which may take up to 48 hours), the next step is to condition them. While you may have been conditioning your boots, it is possible that you have been doing it the wrong way all this while.
There are different ways to condition your hiking boots and the choice of conditioner will likely depend on the material used in making your boots.
There are specialized spray conditioners for boots made of leather or suede—make sure you buy the right product for the material of your boots. These types of conditioners are made to be sprayed directly on the boots.
Mink oil can also be used for conditioning hiking boots. Mink oils are mostly used to provide deep conditioning as well as to provide some form of waterproofing for the boots. However, it is important to mention that mink or any other oil conditioners are bad for boots made of suede material.
Interestingly, it is possible to condition some leather hiking boots using vegetable oil like olive oil—especially when you don’t have access to specialized oils. The advantage of using vegetable oil is that they don’t darken boots like some specialized products will but produce a lesser waterproofing effect.
Here is a step-by-step guide on how to properly condition your boots. Regardless of the conditioner you choose, the process remains the same.
- Wrap hiking boots in a damp towel to soften the leather and get it to a moisture content that will make the conditioner absorb properly into the leather.
- Once the boots are wet enough, warm them up using a hairdryer to prepare them for conditioning. The warming process also helps the conditioner to absorb properly into the leather.
- Choose the appropriate conditioner suitable for your leather boots
- If using wax or mink oil, use a clean cloth to rub on the surface of your conditioner and apply it on the boots in a circular motion. Work on the boots one area at a time.
- After applying the conditioner, allow it to stand for about fifteen minutes before buffing with a clean cloth until you get a pleasant shine.
Pros
- Prevents excessive drying and cracking of the leather
- Conditioners also waterproof leather boots
- Creates a barrier that prevents salt and other harmful chemicals from touching your boots
Cons
- Conditioners take a long time to dry
- Some conditioners can cause discoloration of your boots

Last update on 2023-11-11 / Affiliate links / Images from Amazon Product Advertising API
Step 3: Polish your hiking boots
Like conditioning, only a few hikers care to give their boots a good shine afterwards. They also give a thin waterproof layer on the leather. Polishing hiking boots should be on your compulsory list, not the optional one.
Polishing is easy and will only take a few quick and easy steps as you would see below.
- Choose the polish of your choice.
- Dip a small shoe polish brush or an old painting brush into the polish and coat the bristles of the brush with the polish. Use the brush to apply the polish to the boots.
- After applying the polish on the boots, point the butane torch on the boots to liquefy the polish so that it properly absorbs into the leather. Note, don’t hold the butane torch too close to the boots to avoid burning the leather.
- Use a new brush to buff the surface of the boots to further even out the polish
- Place a drop of water on the boots and use cotton balls to rub off the excess polish. If you start getting resistance, place another drop of water on the boot.
- Continue to swirl the cotton balls over the hiking boots until you get a good shine.
Solution 1: Using a colored polish
Colored polishes are usually made of wax and are pretty useful when you want to cover blemishes like scratch marks on your boots.
Pros
- Polish coats the seams and prevents leaks
- Creates a waterproof layer on the leather
- Leaves a shiny and renew colorful finish
- Helps to prevent the drying of leather during storage
Cons
- The application process is tedious
- Takes some time to dry which can limit how and when you hike
Solution 2: Use of colorless polish
Colorless polishes are usually made of cream which gives minimal shine and may not effectively cover blemishes on your hiking boots. However, their biggest advantage is that they help to moisturize the leather of your hiking boots.
Pros
- Moisturizes and gives shine to your boots
- Faster drying process than wax polish
Con
- Will not cover scratches on the boots
Last update on 2023-11-10 / Affiliate links / Images from Amazon Product Advertising API
Step 4: Preserve/ store your hiking boots
Dumping your boots in the garage, the trunk of your car, or in a hot unventilated place is a bad idea. You need to store your boots in a location that is not damp and has a stable temperature.
Some of the precautions you must take when storing your boots are as follows;
- Keep boots away from places that are close to open flames or in a place where they will receive direct sunlight
- Store boots in a protective bag that keeps dust away. You don’t want dust to mess up the hard work you have done before your next hike
- Keep the boots in a well-aerated dry area with a stable temperature
- When storing your hiking boots, keep them upright
- Inserting a wooden shoe tree in your boots during storage will prevent the collapse of the leather.
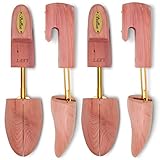
- TOP QUALITY - Providing only the highest level of shoe care, the Stratton Cedar Shoe Tree is...
- CRISP CEDAR SMELL - Manufactured to optimize a long-lasting cedar aroma, these Shoe Trees absorb...
- GREAT SHOE SHAPER - Regular use of shoe trees are known to maintain and preserve the original shape,...
Last update on 2023-11-10 / Affiliate links / Images from Amazon Product Advertising API
Conclusion
While storing your hiking boots, resist any temptation to place them in plastic bags because they can heat up really fast. If you will be storing your boots for a few months, it would be wise to take out the insoles before storing them.
Inasmuch as cleaning your hiking boots regularly can prolong the lifespan of your boots, it should not be the only reason why you do it. Keeping your boots shiny also elevates your appearance—imagine wearing fancy hiking gear and capping it off with dirty boots.
With these tips, you should be able to get plenty of mileage from your hiking boots before they ever need replacement. Depending on how frequently you hike, you should follow these steps after each hike.