
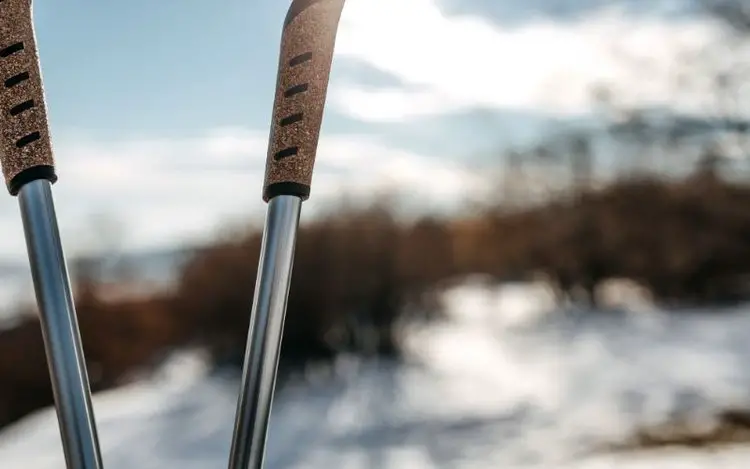
Hiking poles are an essential piece of equipment for any hiker or outdoor enthusiast. They provide support and stability on uneven terrain, reduce the strain on joints, and can even help to increase speed and endurance.
While hiking poles are available for purchase at outdoor retailers, making your own hiking pole can be a fun and rewarding project.
Here are several methods for making a hiking pole, along with step-by-step instructions.
Contents
Method 1: Wooden Hiking Pole (Most Simplest)
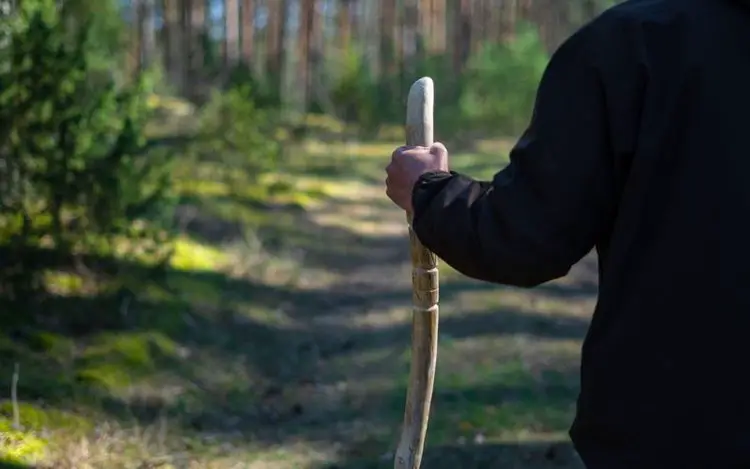
For those who prefer a more traditional hiking pole, a wooden hiking pole is a great option. Here’s how to make one:
Materials:
- Wooden dowel or branch
- Sandpaper
- Saw
- Drill
- Varnish or wood sealant
- Rubber tip

Last update on 2023-11-10 / Affiliate links / Images from Amazon Product Advertising API
Steps:
- Choose a wooden dowel or branch that is straight, sturdy, and approximately at the right height for you.
- A length of around 48-54 inches (122-137 cm) is usually appropriate. Rule of thumb: Cut it to the length of your elbow, and your arm is bent at a 90-degree angle
- Use sandpaper to smooth the wood and remove any rough patches.
- Cut the dowel or branch to the desired length using a saw.
- Optional: Use a drill to create a hole in the top of the pole, around 1 inch (2.5 cm) deep – Can be used to attach a wrist strap, insert a shock absorber device, or mount a camera, GPS, led light, or other accessories.
- Apply varnish or wood sealant to protect the wood and give it a finished look.
- Attach a rubber tip to the bottom of the pole to provide traction and protect the wood.
Pros:
- Can be made from a variety of materials, including lightweight woods like bamboo and hickory
- Provide a classic, rustic look that some hikers prefer
- Can be customized with carvings, engravings, or other decorations
- Relatively inexpensive to make
Cons:
- Not as durable as other materials and may break or splinter under heavy use
- Can be heavier than other materials
- May not have the same level of grip or shock absorption as other materials
- May require maintenance (e.g., sanding or varnishing) to prevent damage or rot
Method 2: Make Quick Hiking Pole on the Trails
If you’re on the trails and in need of a hiking pole, you may not have access to all the materials and tools required to make a fully customized pole.
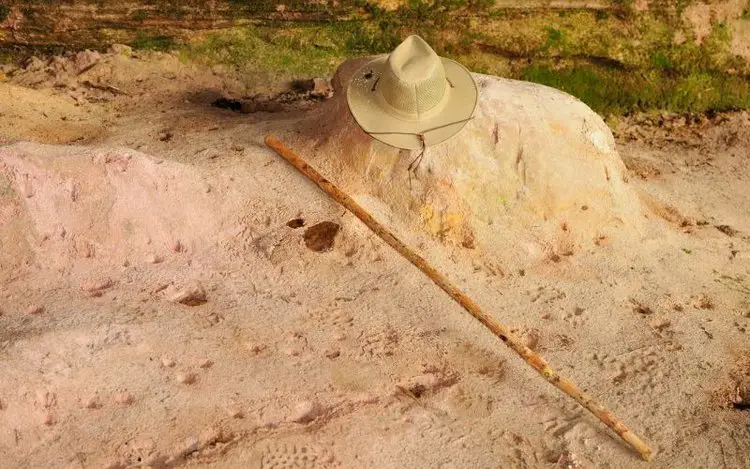
However, there are a few quick and easy solutions you can use to create a makeshift hiking pole that’s comfortable and safe enough to use:
Steps:
- Find a sturdy branch: Look for a sturdy branch that’s about the same height as your armpit when your arm is at your side. The branch should be straight and free from cracks or defects.
- Remove any rough edges: Use a pocket knife or other tool to remove any rough edges or bumps on the branch that could cause discomfort or injury.
- Add a grip: If the branch doesn’t have a comfortable grip, you can wrap it with a piece of foam, cloth, or tape to create a soft, non-slip handle.
- Add a tip: To prevent the branch from slipping on smooth or wet surfaces, you can add a rubber tip to the bottom. If you don’t have a rubber tip, you can use a piece of duct tape or other adhesive material to create a makeshift tip.
- Test it out: Before using the hiking pole on the trail, test it out to make sure it’s comfortable and safe enough to use. Adjust the grip or tip if necessary to improve the fit.

- 5 Rolls Black Duct Tape - The dimension of duct tape is at 30 yards length x 2.0-inch width. Perfect...
- Waterproof, Residue-Free –All-weather black duct tape is ideal for sealing, waterproofing,...
- Easy To Tear - Heavy-duty duct tape is very strong adhesive, but you can tear off straight without...
Last update on 2023-11-10 / Affiliate links / Images from Amazon Product Advertising API
While a makeshift hiking pole may not be as durable or long-lasting as a custom-made pole, it can provide a useful temporary solution in a pinch.
Remember to use caution when using a hiking pole, and always make sure it’s properly adjusted and secured to prevent injury.
Pros:
- Quick and easy solution when a hiking pole is needed in a pinch
- Can be made with materials found in the surrounding environment, reducing the need for specialized gear
- Provides extra stability and support on difficult terrain, reducing the risk of falls or injuries
- Can help reduce the strain on the legs, particularly on steep ascents or descents
Cons:
- May not be as durable or long-lasting as a custom-made hiking pole
- May not provide the same level of grip or shock absorption as a specialized pole
- May not be adjustable, which can be a disadvantage depending on the terrain or the user’s preference
- May not be as comfortable to use, particularly if the grip is not well-padded or non-slip
Method 3: Aluminum Hiking Pole
For those who prefer a lightweight and durable hiking pole, an aluminum hiking pole is a good option. Here’s how to make one:
Materials:
- Aluminum tubing (1 inch (2.5 cm) in diameter)
- Epoxy
- Rubber tip
- Grip material (e.g., cork, foam, or rubber)
Last update on 2023-11-10 / Affiliate links / Images from Amazon Product Advertising API
Steps:
- Choose a length of aluminum tubing that is appropriate for your height. A length of around 48-54 inches (122-137 cm) is usually appropriate.
- Cut the aluminum tubing to the desired length using a saw or pipe cutter.
- Use epoxy to attach a rubber tip to the bottom of the pole, and allow it to dry completely.
- Cut a length of grip material (e.g., cork, foam, or rubber) to fit the top of the pole.
- Apply epoxy to the inside of the grip material and slide it onto the top of the pole, pressing it firmly into place. Allow the epoxy to dry completely.
Pros:
- Lightweight and strong, making it ideal for long hikes or difficult terrain
- Provides good grip and shock absorption
- Durable and long-lasting
- Easy for customization or decoration
Cons:
- Can be expensive to purchase or make, especially for high-quality materials
- May not provide the same level of warmth in cold weather as wooden poles
- Can’t be adjustable, allowing for different lengths depending on the terrain or user’s preference
Method 4: Carbon Fiber Hiking Pole
For those who want a lightweight, strong, and durable hiking pole, a carbon fiber hiking pole is a great choice.
The steps are similar to how to make a hiking pole from aluminum, but you only need to use the main material which is Carbon Fiber.
Pros:
- Extremely lightweight and strong, making it ideal for long hikes or difficult terrain
- Provides good grip and shock absorption
- Durable and long-lasting
Cons:
- Quite expensive, from buying to making.
- Hard to keep you warm in cold weather
- Can’t adjust the length for uneven terrain
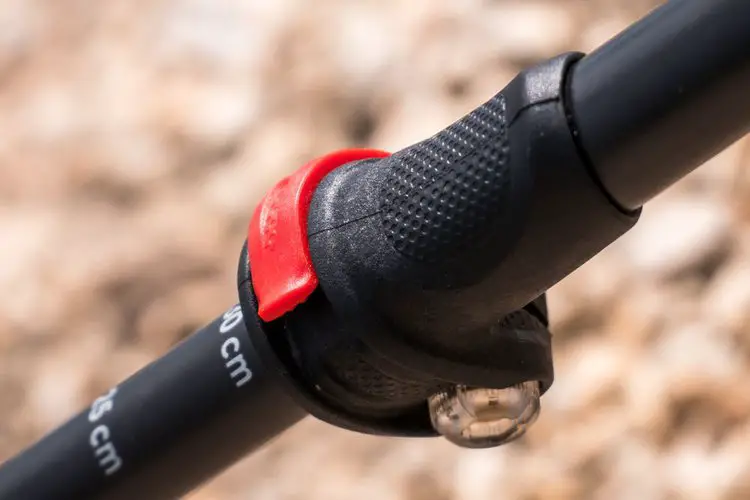
Method 5: Adjustable Hiking Pole
For those who want a hiking pole that can be adjusted to different lengths, an adjustable hiking pole is a great choice. Here’s how to make one:
Materials:
- Aluminum tubing (1 inch (2.5 cm) in diameter) – or Carbon Fiber tubing
- Epoxy
- Rubber tip
- Grip material (e.g., cork, foam, or rubber)
- Locking mechanisms (e.g., twist lock or lever lock)
Last update on 2023-11-10 / Affiliate links / Images from Amazon Product Advertising API
Steps:
- Choose two lengths of aluminum tubing that can slide inside each other, and that are appropriate for your height. A length of around 48-54 inches (122-137 cm) is usually appropriate.
- Cut the longer of the two tubes to the desired length using a saw or pipe cutter.
- Attach a rubber tip to the bottom of the longer tube using epoxy, and allow it to dry completely.
- Cut a length of grip material (e.g., cork, foam, or rubber) to fit the top of the longer tube.
- Apply epoxy to the inside of the grip material and slide it onto the top of the longer tube, pressing it firmly into place. Allow the epoxy to dry completely.
- Attach the locking mechanisms to the shorter tube. For a twist lock, drill holes in the shorter tube and insert the locking mechanism, then tighten the screws. For a lever lock, attach the locking mechanism using screws and bolts.
- Slide the shorter tube inside the longer tube and adjust it to the desired length, then lock it in place using the locking mechanism.
Pros:
- Can be adjusted to different lengths depending on the terrain or user’s preference
- Can be made from a variety of materials, including aluminum and carbon fiber
- Durable and long-lasting
Cons:
- More expensive and complicated to purchase or make than non-adjustable poles
- May be heavier than non-adjustable poles
- Potential for slipping or coming loose than non-adjustable poles
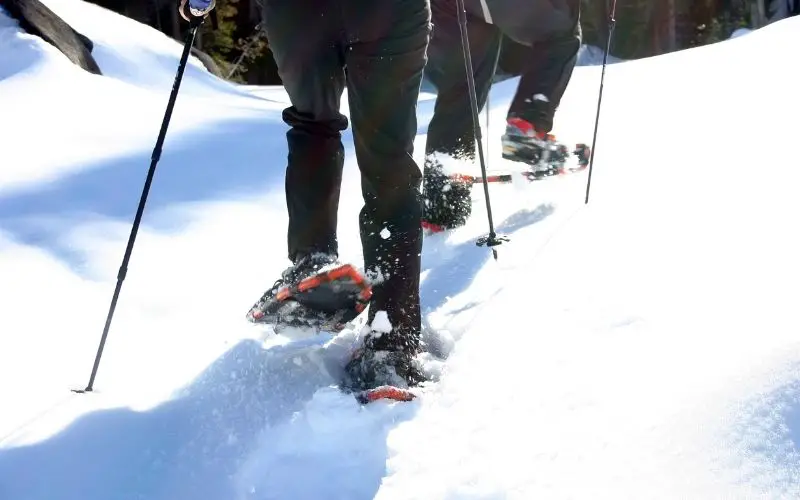
Method 6: Trekking Pole from a Ski Pole
You can repurpose an old ski pole into a trekking pole by adding a rubber tip and a comfortable grip.
Ski poles are often made from lightweight and durable materials such as aluminum, making them a good option for hiking poles.
This is a great DIY option for repurposing gear you already have.
Materials:
- Old ski pole
- Rubber tip
- Comfortable grip
Last update on 2023-11-10 / Affiliate links / Images from Amazon Product Advertising API
Steps:
- Remove the existing basket from the bottom of the ski pole.
- Add a rubber tip to the end of the pole to provide traction on the trail.
- Optional: Add a comfortable grip to the top of the pole. You can use a grip specifically made for hiking poles or repurpose a grip from another piece of gear.
Pros
- Repurposes old gear and saves money
- Lightweight and durable, making it a good option for hiking and backpacking
- Easy to adjust the length to fit your specific needs
- Can be customized with different grips and rubber tips
Cons
- May not have the same level of features and functionality as a dedicated hiking pole
- May not be as lightweight as a dedicated hiking pole
Method 7: Collapsible Hiking Pole
You can make a collapsible hiking pole using a combination of aluminum tubing and connectors.
By attaching connectors to the tubing, you can create a pole that collapses down for easy transport and storage.
A collapsible hiking pole can be a great option if you’re planning on backpacking or traveling with your gear.
Materials:
- Aluminum tubing
- Connectors
- Grip
- Rubber tip
- Locking mechanism
Steps:
- Cut two pieces of aluminum tubing to the desired length for your hiking pole.
- Attach connectors to each end of the tubing. The connectors should be compatible with each other and allow the tubing to collapse down for easy storage.
- Add a comfortable grip to the top of one of the tubing pieces. Make sure the grip is secure and won’t come loose while you’re hiking.
- Add a rubber tip to the bottom of the other tubing piece to provide traction on the trail.
- Insert the tubing pieces into each other and adjust the length to your desired height.
- Secure the tubing in place using a locking mechanism, such as a twist lock or lever lock.
Pros
- Lightweight and easy to transport and store
- Adjustable to fit your specific needs
- Can be customized with different grips and rubber tips
- Can be made with durable materials, such as aluminum
Cons
- May not have the same level of features and functionality as a dedicated hiking pole
- Require more time and effort to assemble and disassemble than a non-collapsible hiking pole
Conclusion
Making your own hiking pole can be a fun and rewarding project, and it can also save you money compared to buying a pre-made pole.
Whether you prefer a wooden, aluminum, carbon fiber, or adjustable hiking pole, there are plenty of options to choose from.
With the right materials and some basic tools, you can make a hiking pole that’s perfect for your needs and preferences.