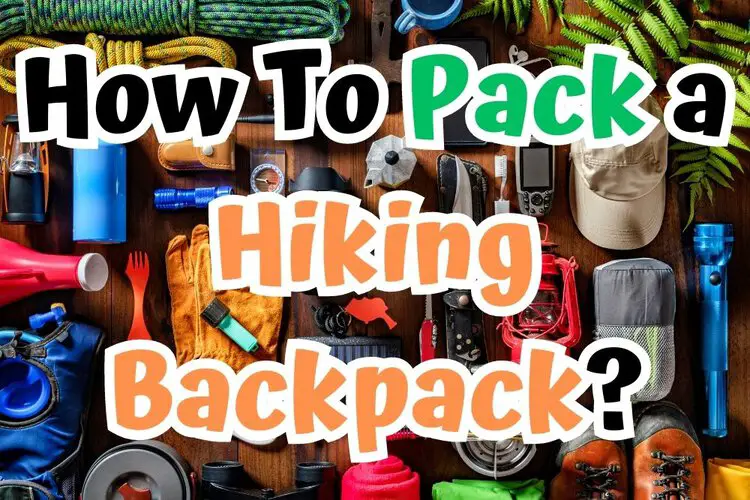
Packing a hiking backpack may seem like a simple task, but it’s an essential part of ensuring a comfortable and enjoyable hike.
Properly packed gear will provide the necessary support, balance, and stability needed to navigate the trails.
On the other hand, a poorly packed backpack can lead to discomfort, muscle strain, or even injury.
In this article, we will explore the different methods for packing a hiking backpack, their advantages and disadvantages, and provide tips to help you pack your backpack effectively.
By the end of this article, you’ll have the knowledge to pack your backpack like a pro and enjoy a safe and comfortable hike.
Contents
Method 1: The Traditional Method
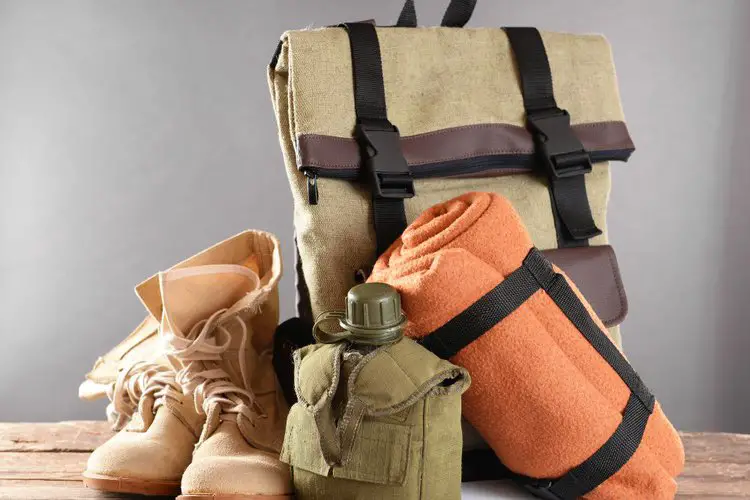
The traditional method of packing a hiking backpack involves packing everything into the main compartment of the backpack.
Step 1: Start by laying your backpack flat on the ground.
Step 2: For better weight distribution and stability, pack your heaviest items at the bottom of the main compartment, closest to your back. This will ensure that the weight is distributed evenly and that the center of gravity of the backpack is closer to your body, providing a more stable and comfortable hiking experience.
Step 3: Pack lighter items on top of the heavier items. This will help prevent the weight from shifting while you’re hiking.
Step 4: Use smaller pockets or compartments to keep smaller items organized and easily accessible.
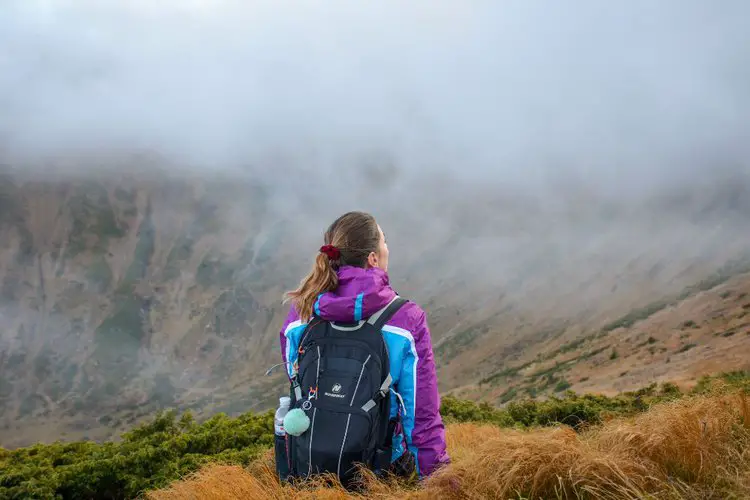
Step 5: Place any items you’ll need during the hike, such as a water bottle or snacks, in pockets on the outside of the backpack.
This method is suitable for a day hike where you only need to carry the essentials like water, snacks, and a first-aid kit.
You can pack everything you need into the main compartment of your backpack and keep it organized with smaller pockets or compartments.
This method is also ideal for short overnight trips where you can pack your sleeping bag, tent, and extra clothing into the main compartment of your backpack.
Method 2: The Compressed Method
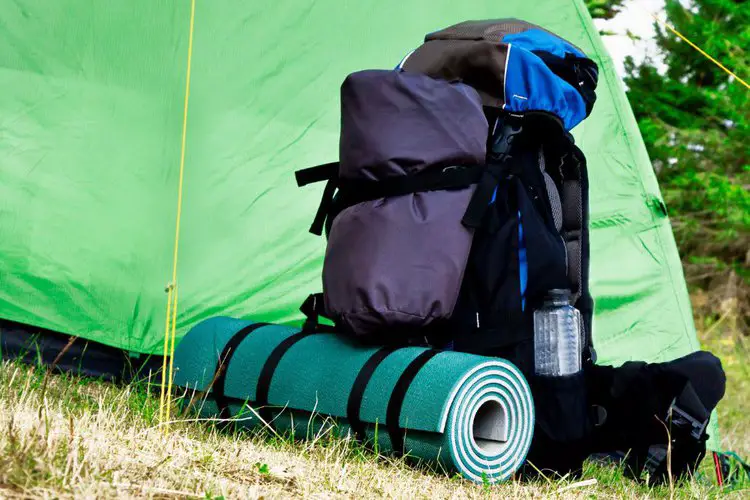
The compressed method involves using compression sacks to pack your gear. This method can save space, making it a great option for longer hikes where you need to carry more gear.
Step 1: Start by laying your backpack flat on the ground.
Step 2: Use compression sacks or stuff sacks to pack your gear into small, compact bundles.
(Stuff sacks are lightweight and compressible bags that can be used to organize and pack your gear.
Simply place your gear in a stuff sack and compress it down to save space. You can use multiple stuff sacks to organize your gear by type or by activity.)
Last update on 2023-11-10 / Affiliate links / Images from Amazon Product Advertising API
Step 3: Place heavier items at the bottom of the main compartment, closest to your back.
Step 4: To prevent the weight from shifting while you’re hiking, it’s important to pack lighter items on top of the heavier ones.
Step 5: Use smaller pockets or compartments to keep smaller items organized and easily accessible.
Step 6: To make items you’ll need during the hike easily accessible, consider placing them in pockets on the outside of your backpack. This could include items like a water bottle, snacks, a map, or sunscreen.
The compressed method is suitable for any type of hiking trip where you need to maximize the use of available space in your backpack.
It is particularly useful for longer trips where you need to bring more gear and supplies. This method is commonly used by backpackers, thru-hikers, and mountaineers who need to carry all of their gear with them over long distances.
However, it’s important to note that the compressed method can be more time-consuming and requires additional gear such as compression sacks or stuff sacks.
If you are going on a short day hike or don’t need to carry a lot of gear, a simpler packing method may be more suitable.
Ultimately, the decision to use the compressed method will depend on your specific needs and the requirements of your hiking trip.
Method 3: The Lightweight Method
The lightweight method is an excellent option for hikers who want to reduce the weight of their backpack.
This method involves packing only the essentials and leaving behind any unnecessary items.
Step 1: Start by making a list of essential items you need to bring on your hike.
(“How to pack hiking backpack” is just the beginning – to really ensure a successful hike, you’ll want to read “What to pack in hiking backpack” for a detailed breakdown of all the gear and supplies you’ll need.)
Step 2: Evaluate each item on the list and consider whether it is necessary. Can you do without it? Can you bring a lighter version?
Step 3: Look for multi-functional items that can serve more than one purpose. For example, a bandana can be used as a sweatband, scarf, or makeshift face mask.
Step 4: Choose lightweight and compact versions of items whenever possible. Look for lightweight tents, sleeping bags, and other gear.
Step 5: Consider wearing some items instead of packing them. For example, instead of packing a heavy jacket, wear a lightweight fleece and a windbreaker.
Step 6: Use smaller pockets or compartments to keep smaller items organized and easily accessible.
Step 7: If you have items that you may need during your hike, like a water bottle or snacks, it’s a good idea to store them in the exterior pockets of your backpack.
Pack only the essentials and try to keep the weight of your backpack under 20% of your body weight.
The Lightweight Method is suitable for all types of hiking, from day hikes to multi-day backpacking trips.
However, it is particularly useful for long-distance hikes or trips where weight is a major consideration, such as ultralight backpacking or thru-hiking.
By using lightweight gear and carefully selecting only the essential items, you can significantly reduce the weight of your backpack and make your hiking experience more enjoyable.
It is important to note that the Lightweight Method may not be suitable for every hiker, and it is important to assess your own needs and preferences before deciding which packing method to use.

Method 4: The Top Loading Method
The top-loading method involves packing everything into the top of the backpack. This method is often used for larger backpacks, and it allows for quick access to your gear.
Start by placing the heaviest items at the bottom of the backpack, followed by your clothes and other essentials.
Step 1: Stand your backpack upright.
Step 2: Open the top of the backpack and pack your gear in order of how often you’ll need to access it. Items you’ll need frequently should be packed near the top of the backpack.
Step 3: Use smaller pockets or compartments to keep smaller items organized and easily accessible.

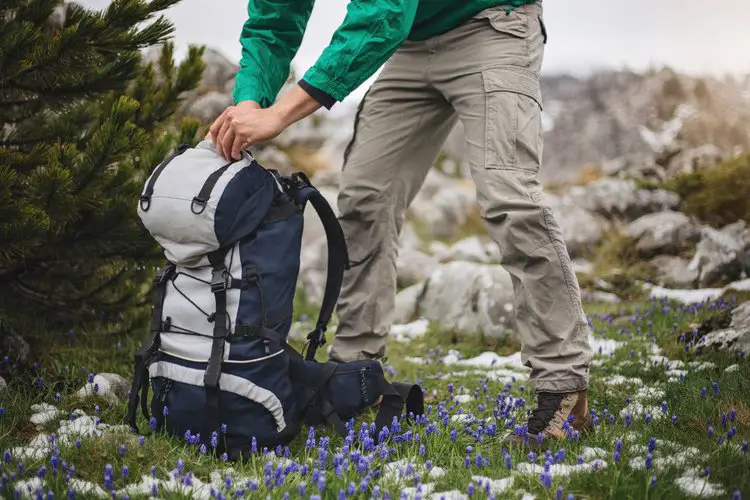
The Top Loading Method is a great option for hikers who are going on shorter hikes or who are carrying larger, bulkier items that may not fit easily into a backpack.
This method is particularly useful for day hikes, where you may only need to carry a few essentials and want to have easy access to your gear.
It may also be a good option for backpackers who are carrying larger items such as tents, sleeping bags, or climbing gear.
However, the Top Loading Method may not be the best choice for longer backpacking trips or hikes where weight is a concern.
This method can make it difficult to access items at the bottom of the backpack without unpacking everything, which can be time-consuming and inconvenient. It may also lead to uneven weight distribution and discomfort over longer distances.
Before using the Top Loading Method, consider your hiking needs and the type of gear you will be carrying.
If you are carrying larger items or only need to access a few essentials, the Top Loading Method may be a good option.
However, if you are carrying a lot of gear or are concerned about weight distribution, you may want to consider a different packing method such as the Lightweight Method or the Compressed Method.
Method 5: The Side Loading Method
The side-loading method involves packing everything into the side pockets of your backpack. This method is useful for items that you need to access frequently, such as water bottles, snacks, or a map.
Step 1: Start by laying your backpack flat on the ground.
Step 2: Open the side of the backpack and pack your gear in order of how often you’ll need to access it. Items you’ll need frequently should be packed near the top of the backpack.
Step 3: Use smaller pockets or compartments to keep smaller items organized and easily accessible.
Step 4: Close the side of the backpack and repeat on the other side if your backpack has two side compartments.
The Side Loading Method is a great option for hikers who are carrying a lot of gear and need to access it quickly and easily.
This method is especially suitable for longer hikes or multi-day backpacking trips where you may need to access your gear frequently throughout the day.
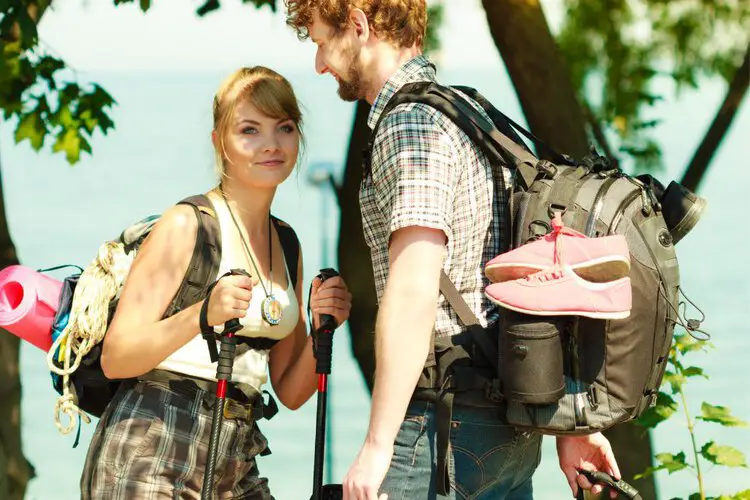
One of the main advantages of the Side Loading Method is that it allows you to access your gear without having to unpack your entire backpack.
This can be particularly helpful if you need to grab a specific piece of gear quickly, like a rain jacket or a water filter, while you’re on the trail.
To use the Side Loading Method, start by packing your heaviest items on the side of your backpack that will be closest to your back. This will help to distribute the weight of your pack evenly and make it more comfortable to carry.
Then, pack your medium-weight items in the center of your backpack, followed by your lighter items on the side farthest from your back.
Another advantage of the Side Loading Method is that it can make it easier to balance your pack.
By packing heavier items on one side of your pack, you can offset the weight of any gear that you’re carrying on the other side. This can make it easier to hike on uneven terrain or in challenging conditions.
The Side Loading Method is suitable for any type of hiking, but it is particularly well-suited for longer hikes or backpacking trips where you need to carry a lot of gear.
If you’re planning a day hike or a shorter trip, you may find that one of the other packing methods, like the Lightweight Method or the Compressed Method, works better for you.
Tips for Packing Your Hiking Backpack
Now that you know the different methods for packing a hiking backpack, here are some tips to help you pack your backpack effectively:
- Pack your backpack according to the weight of the items. Heavier items should go at the bottom of the backpack to provide stability and balance.
- Use compression sacks to save space and keep your gear organized.
- Keep frequently used items in easily accessible pockets or compartments.
- Pack your backpack according to the length of your trip. Shorter trips may require less gear, while longer trips may require more.
- Keep your backpack organized by using packing cubes or stuff sacks to separate your gear.
In addition to the main packing methods discussed above, there are some additional techniques that can help you pack your hiking backpack more efficiently. Here are three such methods:
- The Rolled Clothing Method
This is a simple and effective way to pack clothes, especially if you have limited space in your backpack.
Simply roll up each piece of clothing tightly, starting from one end and working your way to the other. This not only saves space, but also helps to prevent wrinkles in your clothes.

- The Cubing Method
This method involves using packing cubes, which are small, rectangular containers that can be used to organize and compress your gear.
Simply place your gear in the cubes, compress them down, and then stack them in your backpack.
This method can help you keep your gear organized and easily accessible.
By incorporating these additional techniques into your packing routine, you can maximize the space in your backpack and make sure everything is organized and easy to access when you need it.
- NOTICE: All 6 packing cubes are packed in two medium bags. Please open the two medium bags when you...
- VALUED &CONVENIENT:Mesh top panel for easy identification of contents, and ventilation. These cubes...
- AVOID OVERWEIGHT CHARGES - Your 6 piece set fits like a glove into most airline carry-on suitcases,...
Last update on 2023-11-11 / Affiliate links / Images from Amazon Product Advertising API
Conclusion
Packing a hiking backpack may seem daunting, but with the right method and some practice, it can be a straightforward process.
The method you choose will depend on your personal preference and the type of hiking you plan to do.
Regardless of the method you choose, make sure to pack your backpack carefully and effectively to ensure comfort and stability on the trail. Happy hiking!

