Will painting your hiking boots increase the ankle support or make them fit more snugly around your feet? Definitely not! However, if you are fashionable or want to always stand out wherever you go, painting your hiking boots is something that you should be doing.
Also, most hikers want to use all their hiking boots until they have served their worth. However, no matter how you preserve them, they will definitely get old in the process.
Wearing an old pair of boots to the trail can come with a stigma that will affect your confidence. Painting can be a good way of revamping the boots to make them look presentable.
Thankfully, you don’t have to be a skilled artist to be able to paint your hiking boots. It is little wonder there is a community of hiking boot painters on the Internet.
Visiting a community of painters is also an interesting way of finding inspiration for your design. If you don’t hike regularly, painting your boots can be a great way to make sure you show up on the hike looking different all the time.
Unlike dyeing, which soaks into the material of the boots, painting affects only the surface of the boots, which means you can easily get rid of them and repaint them when you get tired of your old design.
Today, we will tell you everything you need to know about painting your hiking boots. Can you use the same type of paint for leather and synthetic boots? Read on to find out.
Contents
How to paint hiking boots?
Regardless of your experience, painting on boots can be fun. However, you cannot just take watercolor and start painting your hiking boots.
When it comes to painting hiking boots, the options that are available to you include acrylic, spray paint, and leather paint. However, the choice will largely depend on the material of your hiking boots.
Using the wrong paint for your hiking boots will either ruin the boots or the paint may find it hard to stick to the boots, leading to a poor finish. When it comes to painting your hiking boots, the first thing you should do is plan your pattern.

Once you have your pattern planned, the next thing you should do is prepare the boots for painting. To do this, use rubbing alcohol to clean the surface of the shoes, but make sure that the boots don’t get too wet.
Let the hiking boots dry and wipe them again before applying your paint. Most of the time, you may need to apply more than one coat of paint to get the desired result.
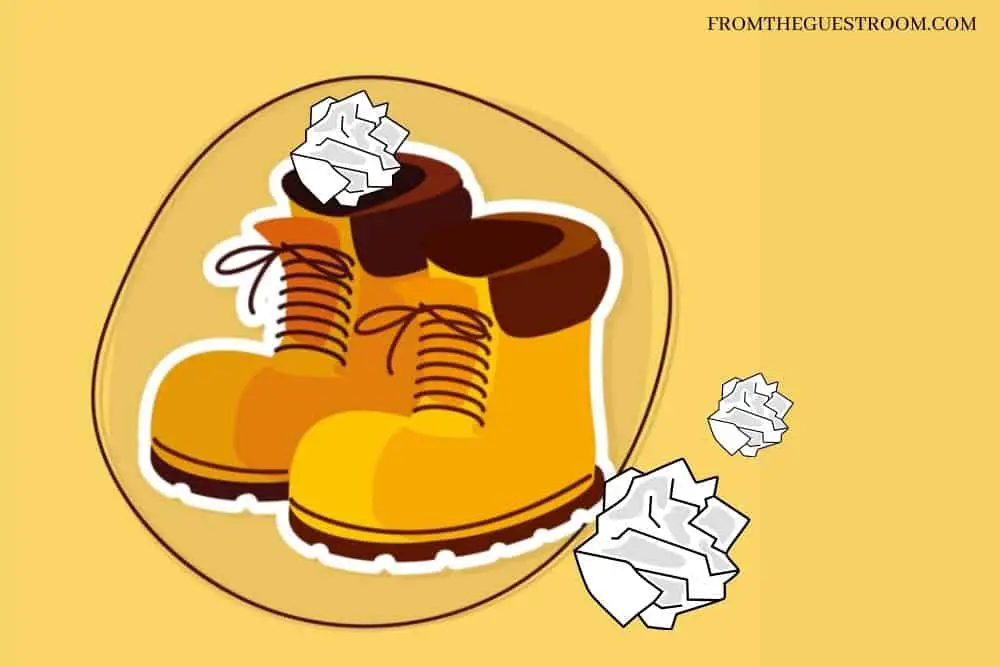
As part of the preparation process, stuff the boots with paper or place a shoe tree inside the boots. The essence of this is to make the materials of the boots as firm as possible, which will also give the painting a smoother finish.
The type of material that you choose to use for painting your hiking boots will depend on the type of material used in making the boots.
How to paint leather hiking boots?
The painting of leather hiking boots is different from other forms of hiking boots. Some of the items that you will need for painting leather hiking boots include:
- Leather hiking boots
- Isopropyl alcohol for deglossing shiny leather
- Conditioner (if the leather is dry)
- Leather paint
- Paintbrush
- Acrylic Sealer
- Masking tape
Step 1
Take out the laces of your boots. Then, use isopropyl alcohol or acetone to clean the boots if they have silicone or shiny finishing.
This gets rid of oil, dirt, and the coating and makes the surface more receptive to paint. Get a small amount of isopropyl alcohol or acetone on a clean towel and use it to wipe all the areas of the boots that you want to clean.
- 99% Isopropyl alcohol is not intended for use on the skin
- Wash face, hands and any exposed skin thoroughly after handling product
- Do not eat, drink or smoke when using this product
Last update on 2023-11-11 / Affiliate links / Images from Amazon Product Advertising API
Step 2
If the boot is too dry and hard, you will need to apply a conditioner to soften the leather and make it more receptive to paint.
- Powerful leather conditioner: Leather Honey penetrates deep to protect new leather and rejuvenate...
- Restore all types/colors of leather: Soften leather furniture, moisturize leather car interiors &...
- Family-owned, American made, specifically formulated: For over 50 years, we have been making the...
Last update on 2023-11-10 / Affiliate links / Images from Amazon Product Advertising API
Step 3
Leather paint will peel off when used on rubber, and this can ruin the entire aesthetics of the paint job. Therefore, if you have any rubber parts on your leather hiking boots, the first thing that you need to do is cover them up with masking tape.

- Masking tape for painting projects or light duty non-critical applications; for indoor use
- Includes 3 rolls of masking tape made of beige crepe paper with pressure-sensitive rubber adhesive...
- Not meant to be “sticky” to perform well; specifically designed adhesive ensures easy removal
Last update on 2023-11-11 / Affiliate links / Images from Amazon Product Advertising API
Also, if there is an area of the boots that you don’t want to paint, you should have them covered too. The easiest way to tape oddly-shaped objects is to place your masking tape on them and use a scalpel with a sharp blade to cut out the shape.
While doing this you have to apply extra caution and avoid pressing too hard to avoid cutting into the leather.

- WIDE APPLICATION: Our Angelus Acrylic leather paint is perfect for any smooth leather goods, such as...
- QUICK DRYING AND FLEXIBLE: Our paint is quick to dry, flexible and will not crack or peel. Our paint...
- WATER-BASED FORMULA: Angelus Acrylic leather paint has water-based formula so its not hazardous and...
Last update on 2023-11-11 / Affiliate links / Images from Amazon Product Advertising API
Step 4
Apply the first base coat. Use this base coat to map out the design patterns that you want to paint on the boots. You may need to apply the base coat 3 to 4 times to make the colors really pop.
When doing this, make sure you allow the paint to dry in-between coats. For example, after applying the first layer, allow it to dry before applying the second layer.
Another thing you want to avoid here is putting the paint on too thick. When you put the paint on too thick, it will crack. Instead, apply thin layers and spread them out using a blow-dryer.
Step 5
Use a tiny brush to add shadows, highlights, and more details to the pattern that you have created. While this step can be skipped, it gives your painting a more life-like appearance.
This step also allows you to cover up any painting that has veered out of your original pattern. Allow the entire paint to dry.

- Great Value Pack Artist Paint Brushes: Soucolor 2-pack 20pcs 10 different sizes of professional...
- Awesome Set of Paint brushes: Professional paint brushes can cover all of your needs. The...
- Soft and Durable: The bristles are soft and strong, with nickel metal ferrules and blue wooden...
Last update on 2023-11-11 / Affiliate links / Images from Amazon Product Advertising API
Step 6
Use tape to mask the other areas of the boot that you have painted and start working on the tongue.
Step 7
If you want a gloss effect or a matte effect, you can paint the boot with a clear coat to achieve this. However, this step is optional and you can skip it without losing anything.
Or you use the acrylic sealer to spray all over the painted areas on the boots to give them a solid finish.
- Acrylic sealer spray provide a protective, clear finish
- Give a glossy luster to virtually any indoor or outdoor project
- A durable protective finish
Last update on 2023-11-11 / Affiliate links / Images from Amazon Product Advertising API
Step 8
Take off all the masking tape. If you have paint in any area of the boots that you don’t want (for example the eyelets), simply dip a cotton bud in the acetone and wipe it off.
Be careful when using acetone because it will clean off any paint that comes in contact with it. You don’t want to ruin the beautiful paint job that you just concluded.
How to paint mesh hiking boots?

While the painting of mesh hiking boots is similar to leather, the one area where they really differ is that mesh hiking boots don’t require preparation like leather hiking boots. Also, the mesh hiking boots require a different type of paint.
The items that you will need when you want to paint your mesh hiking boots include:
- Mesh hiking boots
- Primer
- Acrylic paint
- Palette
- Finisher
- Brushes
- Masking tape (vinyl tape)
- Cup of water
- Paper towels
Step 1
The only preparation that the mesh hiking boots need is to make sure they are new or clean. You can make use of mesh shoe cleaner to wipe out dust or dirt from the boots.
If you are trying to paint an old pair of mesh hiking boots that are really dirty, you may need to give them a thorough wash first. Check out this post on how to wash hiking boots in a washing machine.
Step 2
Use vinyl tape to mask all the areas of the boots that are made of rubber-like soles or any area that you don’t want to paint. It is important to note that any paint on rubber will crack, smudge, and wipe off easily.
If this is your first time, you are a bit messy with paints, or you are making use of an airbrush, we advise that you mask any elastic band areas or sock liner areas.
Step 3
- Acrylic Paint Set With 12 Brushes: Premium paints glide on smoothly, dry quickly and stay as...
- High Quality, Rich Pigments, Certified Safe & Non-Toxic: No need to worry about toxicity with our...
- Premium Arts & Diy Craft Supplies. Caliart acrylic paints are versatile in canvas art, painting,...
Last update on 2023-11-11 / Affiliate links / Images from Amazon Product Advertising API
If your acrylic paint is too thick, you need to add water to it to achieve the desired thickness. The thinner the thickness of the acrylic paint, the higher the chance that you will end up with a clean finish.
For cleaner and more intentional painting, use a pencil to draw out the patterns that you want to paint on your boots. Unless you are a professional artist, this is something that you should do.
Step 4
Prime the mesh hiking boots by applying a thin layer of gesso to allow for better adhesion between the painting and the canvas as well as to prevent the cracking of the paint afterward.

Step 5
Depending on the color of the paint that you are using and the brand of acrylic paint that you bought, you may need to apply the paint in up to 4 thin layers, allowing the paint to dry in-between each layer.
If your first layer has tiny gaps or looks blotchy, don’t be alarmed. As you add more thin layers, the colors will soak in and fill up the gaps.
To achieve a thin layer, don’t glob the paint on your brush. Instead, just take up enough for a few swipes. Another cool thing you can do is use a heat gun or hairdryer in-between each coat to make it dry faster.
When using a hairdryer to facilitate the drying of the paint, make sure that the heat is set at a medium temperature. If the heat is too high, it may burn the paint or change its color.
Step 6
Switch from a big brush to a smaller one to finetune the edges and add more details to your painting. In this step, you can also use the fine brush to cover up any stray paint on the pattern that you just painted.
Step 7
Remove the masking tape and clean up any spillovers on your eyelet and the soles of your boots for a neat finish. Allow the paints to dry properly and this may mean using a hairdryer or any other source of heat to heat-set the paint into the mesh fabric.
Step 8

- Acrylic sealer spray provide a protective, clear finish
- Give a glossy luster to virtually any indoor or outdoor project
- A durable protective finish
Last update on 2023-11-11 / Affiliate links / Images from Amazon Product Advertising API
To preserve the painting and make it last longer when you take the boots out on a spin, apply 1 to 2 thin layers of finisher over the painted area.
How to spray paint hiking boots
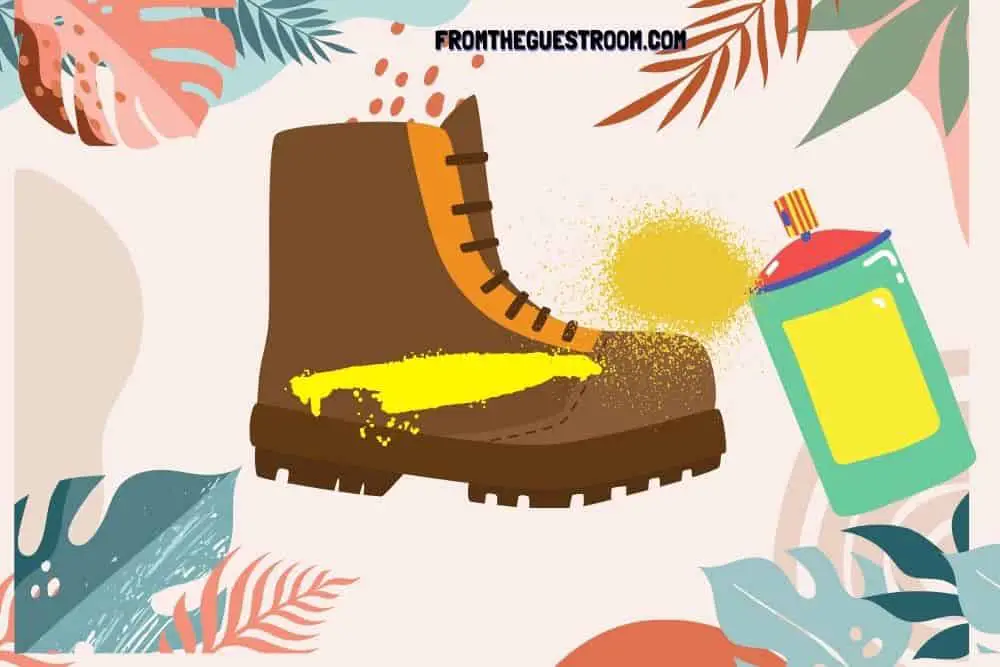
One of the biggest advantages that spray painting has over all the other painting techniques is how fast you can complete the job. However, spray paint doesn’t give you the luxury of adding contours and fine details like you can do with brushes.
Spray paint works best on hiking boots made of leather or synthetic materials. The materials you will need when you want to spray paint your hiking boots include;
- The hiking boot you want to paint
- Spray paint specifically designed for your boot’s material
- Masking tape
- Cotton balls
- Acetone or isopropyl alcohol
- Rubber gloves
- Drop cloth
- Newspaper
Step 1
Preparation is always the first step in any painting job. However, the depth of your preparation will depend on the material of your hiking boots.
For hiking boots made of mesh material, simply wiping them clean will be enough. On the other hand, hiking boots made of leather will require more rigorous preparation as we mentioned above to get the material ready to accept the paint.
Step 2
In spray painting, you don’t only prepare the boots, you also have to prepare your working environment. Cover your working surface with a plastic sheet or drop cloth.

- Krylon COLORmaxx SATIN BROWN BOOTS
- Krylon COLORmaxx SATIN BROWN BOOTS
- Krylon COLORmaxx SATIN BROWN BOOTS
Last update on 2023-11-11 / Affiliate links / Images from Amazon Product Advertising API
Spray paint has strong fumes and it is advised that you work in a well-ventilated area.
Step 3
Use masking tape to cover any area that you don’t want to paint. This will include the soles of the boots and any other designs on the boots that you prefer not to cover with paint.
Paint can seep through loose tape edges. Therefore, it is always important to apply your tape as cleanly and securely as possible to prevent this eventuality.
Step 4
Stuff the inside of the boots with newspapers to hold up the shape of the boots and create a smooth surface. This will also prevent the paint from seeping into your boots and making a mess.
Step 5
Shake the spray paint properly. Hold the can about 15 centimeters from the boots and start spraying using long sweeping motions.
Limit the spraying to thin coats to provide better coverage and prevent the eventual dripping of the paint into areas you don’t want. Thinner spraying also prevents the cracking of the paint after drying.
Step 6
Spray paint your boot in layers. Make sure that each layer dries before adding a new layer. Apply as many layers as needed to increase the vibrancy of the color.
Step 7
After applying the final coat, allow the paint to dry properly before removing the masking tape. After applying the final paint, allow the paint to cure on the boots for 24 hours.
Step 8
Choose between a glossy or matte sealant designed for the material of your boots to get the look that you want. The sealant helps to preserve the painting of the boots as well as gives your painting a professional finish.
Step 9
Remove the masking tape and use acetone or isopropyl alcohol to clean any spillover paint in the soles of the boots and other unwanted areas.
How to stop paint from cracking on hiking boots?

One of the biggest challenges that those that paint their hiking boots have to deal with is the cracking of the paint. When the paint cracks, they become less appealing to the eyes.
Eventually, the paint will start peeling off from the cracks, thereby ruining your paint job. While there is no guarantee that the paint will never crack, there are a few steps you can take to reduce the occurrence of cracks.
- HIGH QUALITY PAINT: Our complete set of 12 NEON paint is perfectly formulated to tilt, swipe, and...
- PRE-MIXED & READY TO POUR: Use our paints directly from bottle; no mixing or additives needed
- GLOWS UNDER BLACK LIGHT: Create your unique artwork with the stunning glow effect under black light
Last update on 2023-11-11 / Affiliate links / Images from Amazon Product Advertising API
- Stick to one paint brand. Mixing up paints from different brands will affect the consistency of the paint, which will lead to uneven drying and cracking.
- Always paint in the direction of your shoe flex.
- Allow each coat or layer to dry before adding the next layer.
- Once the first layer dries, flex the boot before adding the next layer so that the paint doesn’t harden in the boot’s flex pattern.
- Paint in thin layers.
- Using heat to dry the paint may be a bad idea (especially in painting leather boots), as it doesn’t give enough time for the paint to be absorbed into the material.
- Applying a protective coating (acrylic paint finisher) at the end can reduce the chances of cracking by a large percentage.
Conclusion
While it is possible to paint leather boots with acrylic paint, you need to understand that acrylic paint is thicker than leather paint. Therefore, if you must use them for painting your leather boots, you have to water them down—and you may get it wrong.
To avoid all these hassles, always opt for leather paints. When you just want to cover the entire boot with another coat of paint, The process of painting leather is more about staining than actual painting, because you want the paint to absorb into the leather rather than sit on the surface.
Water-based paints are better for leather because they are more easily absorbed by the leather, which lowers the chance of cracking. When painting your hiking boots, there are some important tips that are worthy of mention.
- One of them is to start with lighter colors and end with darker colors. However, if you are airbrushing a fade, it is important to use darker colors first because any overspray from dark colors will ruin your light color—assuming you started with light colors first.
- Always apply your paint in thin layers because thicker layers increase the chance of cracking due to uneven drying of the paint.
- Use a bigger brush for painting larger areas and a thinner brush for painting details and giving your paint job a professional finish. Use an angle brush to add a fade to your painting.
- When painting the toe box area, always paint across because of how much the area flexes. Painting in the direction of the flex will reduce the chance of cracking.
- Use nail polish remover, acetone, or isopropyl alcohol to clean any stray paint on areas that you don’t want, like the soles.
- Do not allow the paint to dry on your brush. Rinse them in water when switching between colors or changing to another brush, as this will help to preserve the lifespan of your brush.
- Wash your palette with soap and water for reuse.
It is always good to practice painting on old boots before trying to paint on your new boots. This allows you to perfect your painting skills and avoid making a mess of your new boots.