
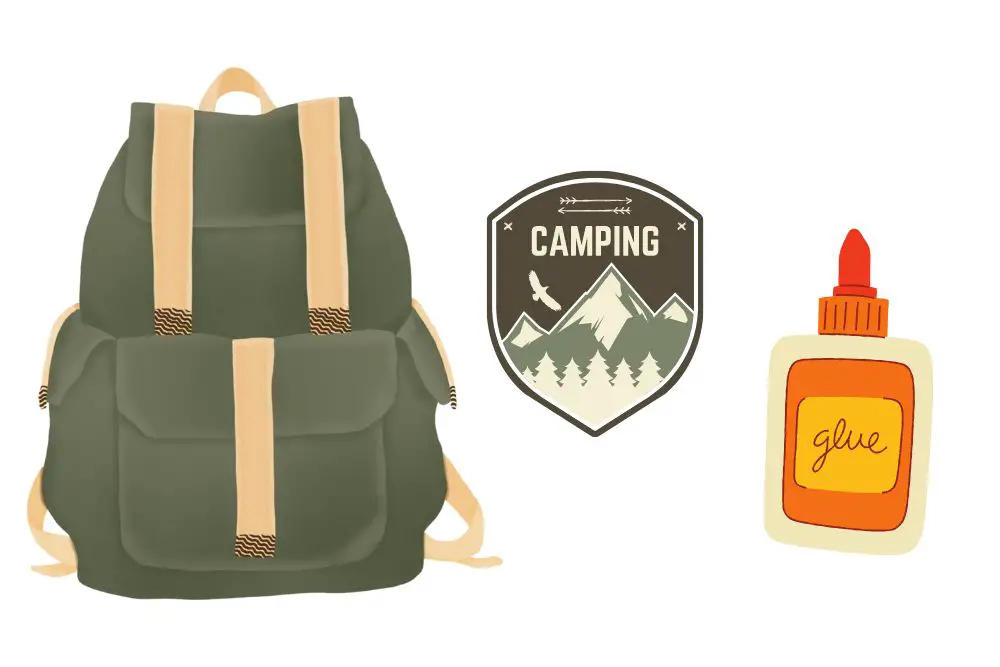
You’re gearing up for your next hiking adventure, eagerly packing your backpack with all the essentials – snacks, water bottle, first aid kit, and your trusty hiking boots.
But as you glance at your backpack, you realize it’s missing that personal touch that truly reflects your adventurous spirit. That’s where patches come in!
Patches have become a popular way for outdoor enthusiasts like you to customize their hiking backpacks, adding a touch of personality, nostalgia, or even humor to their gear.
From displaying your favorite outdoor brands, to commemorating past adventures, to showcasing your unique style, patches can add that extra flair to make your backpack truly yours.
If you’re new to attaching patches or looking for different methods to attach them, you’re in the right place!
In this article, we’ll provide you with a step-by-step guide on how to attach patches to your hiking backpack using various methods.
So, whether you’re a seasoned patch collector or just starting out, let’s dive into the world of patch attachment and make your backpack truly one-of-a-kind!
Key Takeaways
- There are multiple methods for attaching patches to your hiking backpack, including ironing, gluing, sewing, and using a patch holder.
- Ironing and gluing patches are relatively quick and easy methods, but they may not be as durable as sewing patches on.
- Sewing patches on can be a bit more time-consuming, but it is the most secure method and will ensure that the patches stay attached for the long haul.
- Customizing your hiking backpack with patches is a great way to add a personal touch and showcase your interests and achievements.
Contents
Method 1: Sewing Patches

Sewing patches onto a backpack is a traditional method that can provide a durable and long-lasting attachment. Here’s how you can do it:
Step 1: Gather Your Materials
- Your hiking backpack
- Patches of your choice
- Needle
- Thread (preferably nylon or polyester for durability)
- Scissors
- Thimble (optional, for extra protection)

Last update on 2023-11-10 / Affiliate links / Images from Amazon Product Advertising API
Step 2: Choose the Patch Placement
Decide where you want to place the patch on your backpack.
Consider the size, shape, and design of the patch, and experiment with different placements to find the one that looks best to you.
Step 3: Prepare the Patch and Backpack
If the patch has an iron-on backing, follow the instructions to remove it. If not, you can skip this step.
Clean the area of the backpack where you’ll be attaching the patch to remove any dirt or debris that may affect the adhesion.
Step 4: Thread the Needle
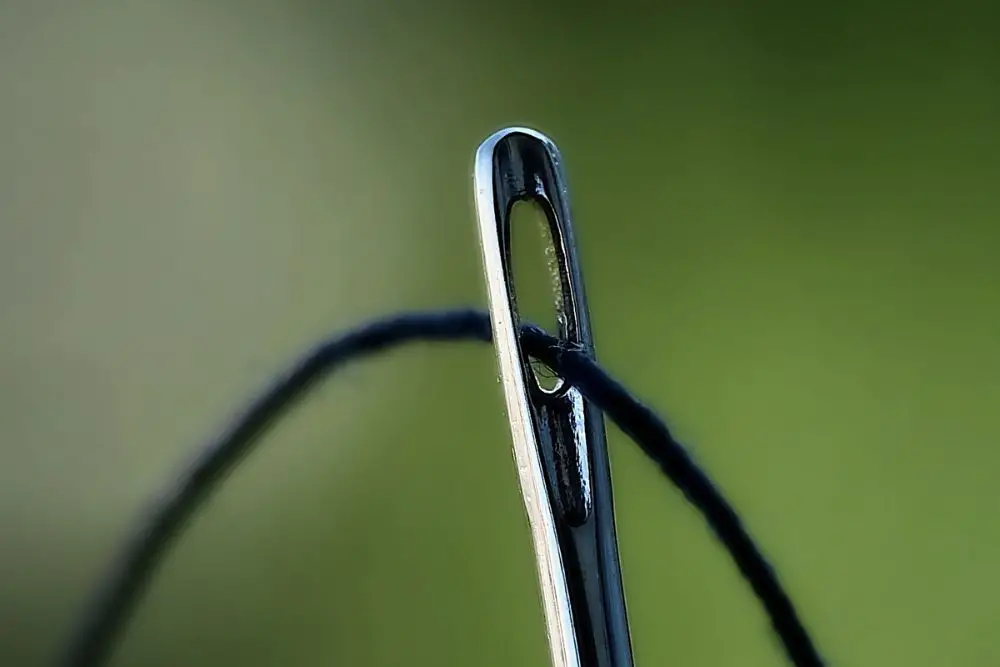
Thread your needle with a suitable length of thread. Double up the thread to make it stronger, or use a heavy-duty thread for added durability.
Step 5: Start Sewing
Insert the needle from the inside of the backpack, pulling it through to the front. Push the needle through the patch and then back through the backpack, creating a stitch.
Repeat this process, making small, evenly spaced stitches around the patch until it’s securely attached to the backpack.
Step 6: Knot the Thread
When you’ve finished sewing around the entire patch, make a knot on the inside of the backpack to secure the thread. You can make a few additional knots for extra security.
Step 7: Cut Excess Thread
Trim the excess thread close to the knot, being careful not to cut the backpack fabric or the patch.
Step 8: Check Stitching
Gently tug on the patch to make sure it’s securely attached to the backpack. If it’s not, reinforce the stitching by sewing over it again.
PROS
- Durable: Sewing patches onto the backpack fabric can provide a long-lasting attachment that can withstand various weather conditions and rugged outdoor activities.
- Customizable: Sewing allows for precise placement and customization of patches, giving you control over the design and arrangement of patches on your backpack.
- Traditional and classic look: Sewing patches can provide a timeless and classic look, especially for those who appreciate a more traditional approach to patch attachment.
CONS
- Requires sewing skills: Sewing patches requires basic sewing skills, so it may not be suitable for those who are not familiar with sewing or do not have access to sewing materials.
- Time-consuming: Sewing patches can be time-consuming, especially if you have multiple patches to attach or complex designs to sew. It may require patience and attention to detail.
- Permanent attachment: Sewing patches is a more permanent attachment method, which may not be ideal for those who want to switch or remove patches frequently.
Method 2: Ironing on Patches

Ironing on patches is a quick and easy method that doesn’t require sewing skills. Follow these steps:
Step 1: Gather Your Materials
- Your hiking backpack
- Patches of your choice
- Iron
- Ironing board or a heat-resistant surface
- Clean cloth or towel
Last update on 2023-11-10 / Affiliate links / Images from Amazon Product Advertising API
Step 2: Choose the Patch Placement
Similar to the sewing method, decide where you want to place the patch on your backpack.
Step 3: Prepare the Patch and Backpack
If the patch has an iron-on backing, make sure the area of the backpack where you’ll be attaching the patch is clean and free of dirt or debris. If not, you can skip this step.
Step 4: Heat the Iron
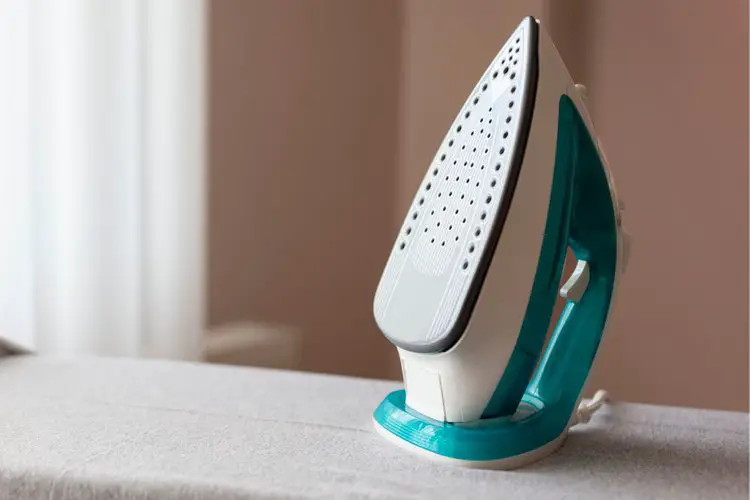
Turn on the iron to the appropriate temperature setting for the fabric of your backpack.
Most backpacks are made of nylon or polyester, so a medium-high setting should work.
Let the iron heat up completely before proceeding.
Step 5: Place the Patch
Put the patch on the desired spot on your backpack, with the adhesive side facing down.
Use a clean cloth or towel to cover the patch and protect it from direct heat.
Step 6: Apply Heat
Press the hot iron firmly on top of the cloth or towel, applying even pressure for about 15-30 seconds.
Make sure the iron is not moving and that you’re pressing down with enough force to activate the adhesive.
Step 7: Let it Cool
After applying heat, carefully lift the iron and allow the patch and backpack to cool down for a few minutes. This will help the adhesive bond properly.
Step 8: Check Adhesion
Gently lift the corner of the patch to see if it’s securely attached to the backpack. If it’s not, repeat the ironing process, applying more heat and pressure.
PROS
- Easy and quick: Iron-on patches are relatively easy and quick to attach, requiring minimal sewing skills or tools. Just place the patch on the backpack fabric, apply heat with an iron, and the patch adheres to the fabric.
- No visible stitches: Iron-on patches provide a clean and seamless look, with no visible stitches on the outside of the backpack.
- Removable: Iron-on patches are removable, allowing for flexibility in changing or rearranging patches as desired.
CONS
- May not be as durable: Iron-on patches may not be as durable as sewn or adhesive patches, as the adhesive may weaken over time, especially with frequent washing or exposure to harsh outdoor conditions.
- Requires heat source: Iron-on patches require a heat source such as an iron or a heat press, which may not be readily available during outdoor adventures.
- Heat-sensitive fabrics: Iron-on patches may not be suitable for backpacks made of heat-sensitive fabrics, as the heat can potentially damage or warp the fabric.
Method 3: Using Patch Adhesive
Patch adhesive is a convenient and mess-free option for attaching patches to your backpack. Follow these steps:
Step 1: Gather Your Materials
- Your hiking backpack
- Patches of your choice
- Patch adhesive (e.g., fabric glue or fabric tape)
- Clean cloth or towel
Last update on 2023-11-10 / Affiliate links / Images from Amazon Product Advertising API
Step 2: Choose the Patch Placement
Decide where you want to place the patch on your backpack, keeping in mind the size, shape, and design of the patch.
Step 3: Prepare the Patch and Backpack
Clean the area of the backpack where you’ll be attaching the patch to remove any dirt or debris that may affect the adhesion.
Step 4: Apply Patch Adhesive
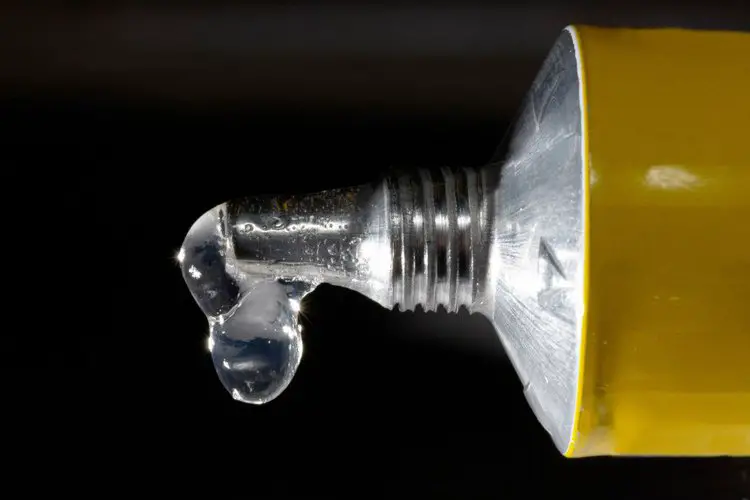
Apply a thin layer of patch adhesive to the back of the patch, covering the entire area that will come into contact with the backpack.
Make sure to follow the manufacturer’s instructions for the specific adhesive you’re using.
Step 5: Press the Patch onto the Backpack
Press the patch firmly onto the backpack, applying even pressure for a few seconds to ensure proper adhesion.
Use a clean cloth or towel to wipe away any excess adhesive that may have oozed out from the edges of the patch.
Step 6: Let it Dry
Allow the patch adhesive to dry completely according to the manufacturer’s instructions.
This usually takes several hours or overnight, depending on the adhesive used.
Step 7: Check Adhesion
Once the adhesive is fully dry, gently lift the corner of the patch to make sure it’s securely attached to the backpack. If it’s not, reapply the adhesive and let it dry again.
Step 8: Repeat for Additional Patches
If you’re attaching multiple patches, repeat the process for each one, making sure they’re evenly spaced and properly adhered to the backpack.
PROS
- Easy and quick: Adhesive patches are easy and quick to attach, requiring no sewing or heat. Simply peel off the backing and stick the patch onto the backpack fabric.
- No sewing skills required: Adhesive patches do not require any sewing skills, making them accessible to those who are not familiar with sewing.
- Removable: Adhesive patches are removable, allowing for flexibility in changing or rearranging patches as desired.
CONS
- May not be as durable: Adhesive patches may not be as durable as sewn patches, as the adhesive may weaken over time, especially with frequent washing or exposure to harsh outdoor conditions.
- Adhesive residue: Adhesive patches may leave residue on the backpack fabric when removed, which may require additional cleaning or may affect the appearance of the backpack.
- Not suitable for all fabrics: Adhesive patches may not adhere well to certain fabric types or finishes, and may peel off easily on slick or waterproof fabrics.
Conclusion
As you can see, there are various methods to put patches on a hiking backpack, each with its own pros and cons.
Whether you choose to use adhesive, iron-on, sewing patches it’s essential to carefully follow the instructions and take your time to ensure a secure and visually appealing attachment.
Adding patches to your hiking backpack can be a fun and personal way to customize your gear, commemorate your outdoor adventures, and showcase your unique style.
By following the step-by-step guides provided for each method and learning from personal mistakes, you can confidently attach patches to your backpack and create a backpack that reflects your personality and outdoor experiences.
Remember to consider the durability, permanence, and ease of removal of the attachment method you choose, and always clean the backpack fabric before attaching patches to ensure a strong and long-lasting bond.
Happy patching, and happy trails!