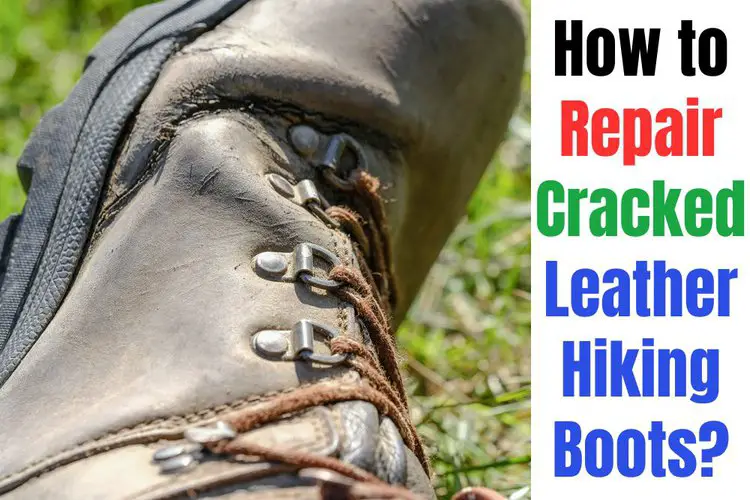
Hiking boots are essential gear for outdoor enthusiasts. They can provide support, traction, and protection for the feet and ankles.
Among many types of hiking boots, leather ones are a popular choice due to their durability, breathability, and classic look.
However, leather boots are not invincible, and they can crack over time, especially if exposed to harsh conditions, such as extreme heat, cold, wetness, or dryness.
Cracks in leather hiking boots can be unsightly, uncomfortable, and even dangerous, as they can compromise the quality of the boots and increase the risk of injury.
Therefore, it’s important to know how to repair cracked leather hiking boots and extend their lifespan.
In this article, we’ll explore some methods and tricks to fix cracked leather hiking boots.
Contents
Types of Leather and their Properties
Before we delve into the methods of repairing cracked leather hiking boots, it’s important to understand the different types of leather and their properties.
Full-grain leather, for instance, is the most durable and natural type of leather, as it retains the original texture and strength of the animal hide. Top-grain leather, on the other hand, is more processed and refined, as it has been sanded, buffed, and coated with finishes to enhance its appearance and durability.
Suede and nubuck are two types of leather that are softer and more velvety in texture, but also more prone to staining and scuffing.
Each type of leather may react differently to cracking and require distinct repair methods.
Methods and Tricks to Repair Cracked SMOOTH Leather Hiking Boots:
We will go through 4 main steps: Clean, Condition, apply Leather Filler, Dye or Polish. And a bonus step is to Prevent Future Cracks!
Step 1: Clean the Boots
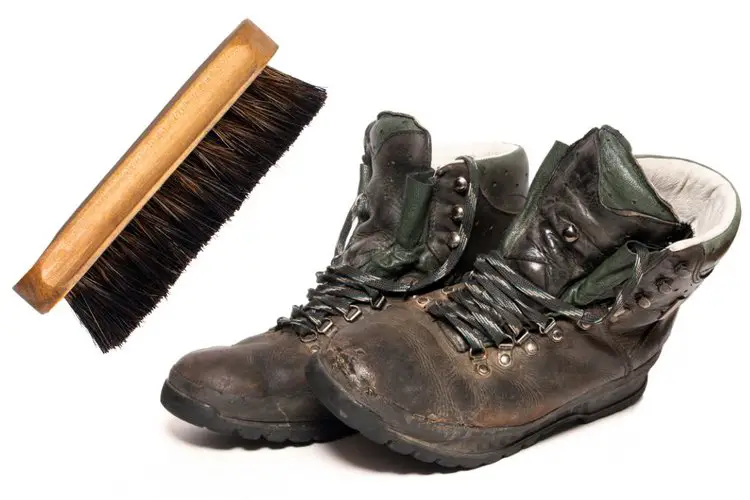
Before attempting any repair, you should clean the boots thoroughly to remove any dirt, debris, mud or sweat that might have accumulated on the surface or in the cracks.
You can use a soft brush, a damp cloth, or a leather cleaner to do this. Make sure to dry the boots completely before proceeding to the next step.
Step 2: Apply Leather Conditioner
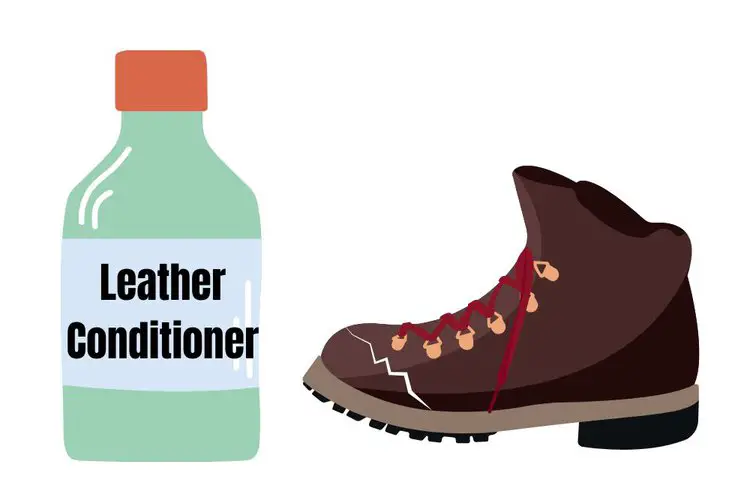
A leather conditioner is a product that can moisturize, soften, and protect the leather from drying out, cracking, or fading.
- Powerful leather conditioner: Leather Honey penetrates deep to protect new leather and rejuvenate...
- Restore all types/colors of leather: Soften leather furniture, moisturize leather car interiors &...
- Family-owned, American made, specifically formulated: For over 50 years, we have been making the...
Last update on 2023-11-10 / Affiliate links / Images from Amazon Product Advertising API
Apply the conditioner generously to the entire surface of the boots, including the cracks, and let it soak in for a few hours or overnight.
Then, wipe off the excess conditioner with a dry cloth.
Step 3: Use Leather Filler
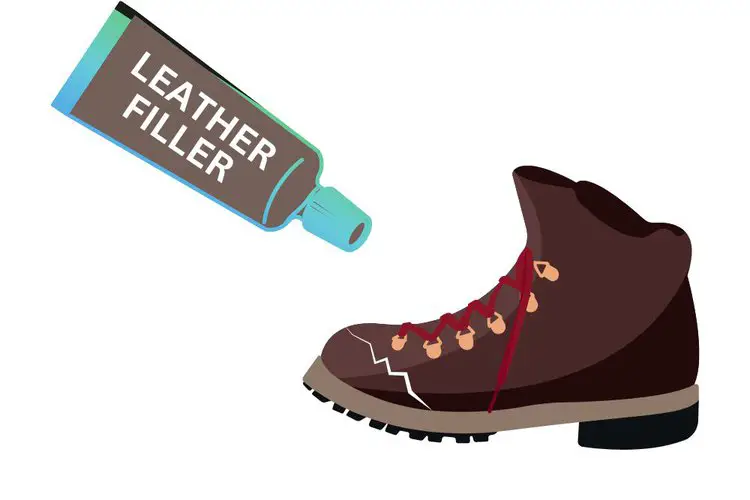
Leather filler is a substance that can fill in the cracks and gaps in leather and create a smooth and even surface.
- Save your expensive furniture: the coconix liquid leather repair kit is here to help repair...
- Bring new life to your couch: now you don't have to buy a new sofa, chair or jacket. You can restore...
- Super-easy to use leather repair kit: unlike other leather repair kits for car seats, our upholstery...
Last update on 2023-11-11 / Affiliate links / Images from Amazon Product Advertising API
You can find leather fillers in various forms, such as liquid, putty, or wax. Choose a filler that matches the color and texture of your boots and follow the instructions on the label.
Usually, you’ll need to apply the filler with a spatula or a brush, let it dry for a few hours, and then sand it down with fine-grit sandpaper to level it with the surrounding leather.
- Package Comes With 2 Sheets Of Each Grit In 220/ 320/ 400/ 600/ 800/ 1000 And One Sheet Of Each Grit...
- Durable And High-Quality Sheets Will Not Fall Apart, Tear Or Crumble Off During Using
- Long Enough For Hand Using Or Placed On Sanding Block, Also Can Be Cut Into Any Smaller Size You...
Last update on 2023-11-10 / Affiliate links / Images from Amazon Product Advertising API
Step 4: Dye or Polish the Boots
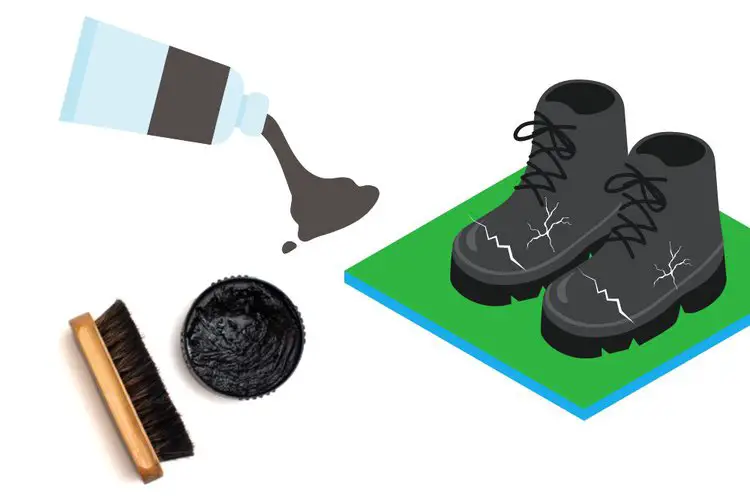
After filling in the cracks, you may notice that the boots look slightly different in color or shine than the original.
To blend the repaired areas with the rest of the boots, you can use a leather dye or polish that matches the color and finish of the boots.
Apply the dye or polish with a brush or a sponge, let it dry for a few minutes, and then buff it with a soft cloth or a brush.
Repeat the process if necessary until the cracked areas are indistinguishable from the rest of the boots.
Last update on 2023-11-11 / Affiliate links / Images from Amazon Product Advertising API
How to use a suede or nubuck repair kit to fix cracks in your hiking boots?
You cannot use the methods for smooth leather to apply on suede/nubuck as their properties are different.
Suede and nubuck are types of leather that have a more delicate surface compared to full-grain leather.
While suede and nubuck are less likely to develop cracks, they can still become damaged over time.
Here is a step-by-step instruction on how to repair them:
Step 1: Choose a repair kit
Look for a repair kit that is specifically designed for suede or nubuck.
The kit should come with a filler or putty that matches the color and texture of your boots, as well as a brush or applicator to apply it.
Step 2: Clean the boots
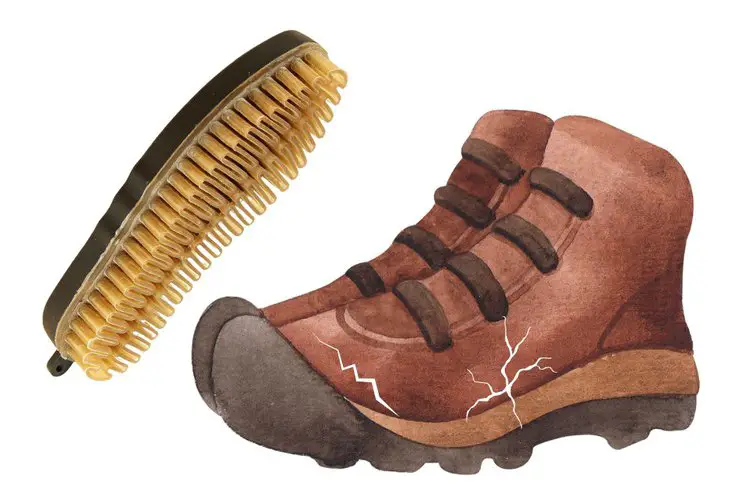
Use a soft-bristled brush or a suede eraser combined with the suede cleaner to remove dirt, dust, and stains from the surface of the boots.
Make sure the suede hiking boots are completely clean and dry before applying the filler.
Last update on 2023-11-11 / Affiliate links / Images from Amazon Product Advertising API
Step 3: Apply the filler
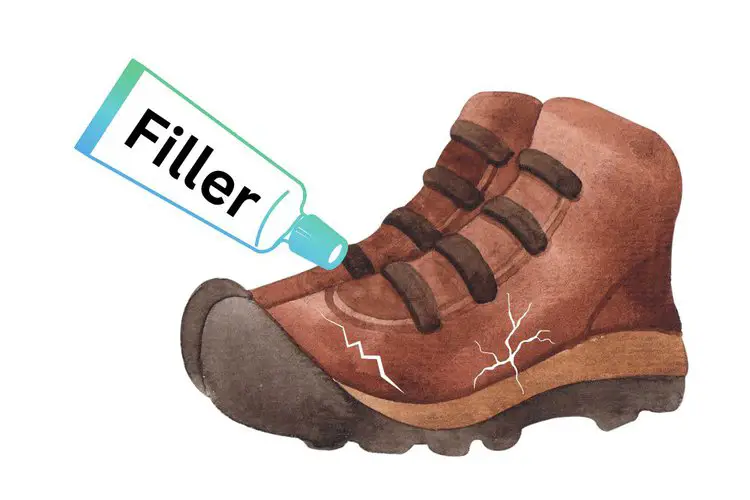
Take a small amount of filler and apply it to the cracks, using the brush or applicator to spread it evenly.
Be careful not to apply too much, as this can create a lumpy or uneven surface. Smooth out any bumps or ridges with the brush or your finger.
Step 4: Let the filler dry
Allow the filler to dry completely, which may take several hours or overnight.
The drying time may vary depending on the type of filler, the temperature and the humidity of your environment.
Step 5: Sand the boots
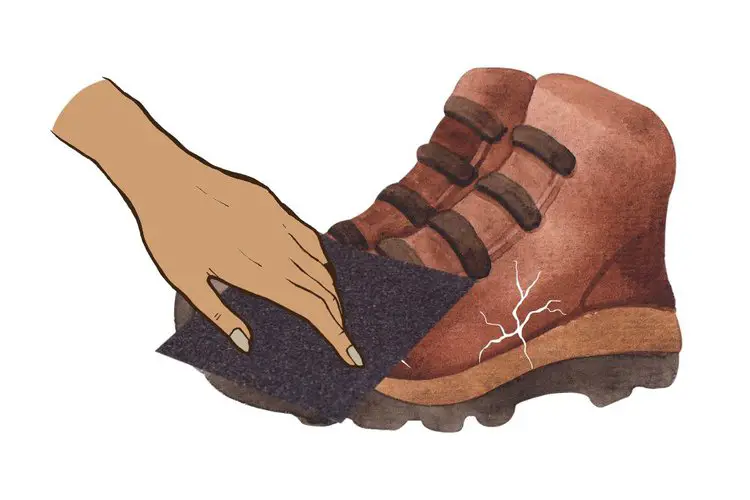
Use fine-grit sandpaper or a sanding block to smooth out the surface of the boots and remove any excess filler.
Be gentle and take care not to damage the suede or nubuck.
- Package Comes With 2 Sheets Of Each Grit In 220/ 320/ 400/ 600/ 800/ 1000 And One Sheet Of Each Grit...
- Durable And High-Quality Sheets Will Not Fall Apart, Tear Or Crumble Off During Using
- Long Enough For Hand Using Or Placed On Sanding Block, Also Can Be Cut Into Any Smaller Size You...
Last update on 2023-11-10 / Affiliate links / Images from Amazon Product Advertising API
Step 6: Brush the boots
Use a soft-bristled brush or a suede eraser to restore the texture and nap of the suede or nubuck.
Brush in the direction of the grain, and use light, circular motions to fluff up the fibers.
Step 7: Apply a protector
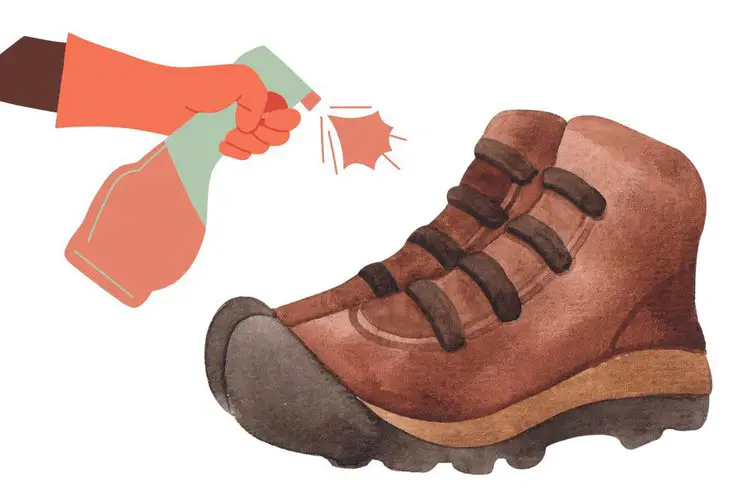
Use a suede or nubuck protector spray to seal the surface of the boots and prevent future cracks and stains.
Follow the instructions on the spray can, and apply it evenly to the boots.
- SUPERIOR WATERPROOF TREATMENT- Bickmore’s Gard-More Water & Stain Repellent has been specially...
- WORKS ON LEATHER, SUEDE, FABRIC, FELT, NUBUCK AND MORE- Protecting against dirt, water & stains on...
- BREATHABLE: Gard-More provides a strong invisible layer of protection, while still allowing the...
Last update on 2023-11-11 / Affiliate links / Images from Amazon Product Advertising API
Prevent Future Cracks
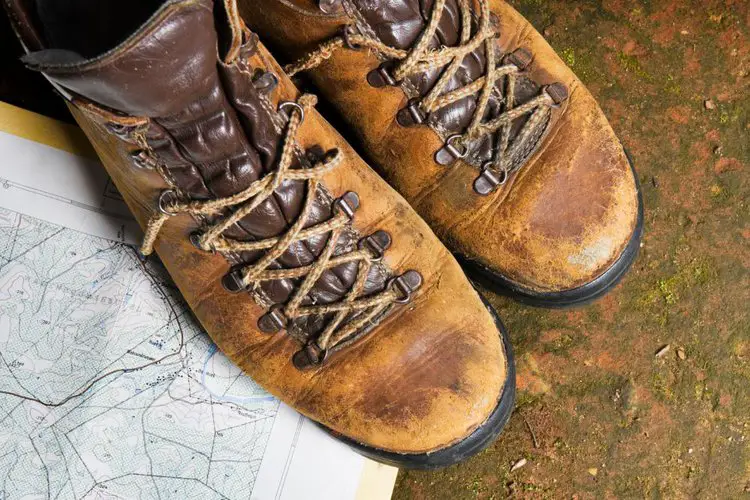
Once you’ve repaired the cracks in your leather hiking boots, you’ll want to prevent them from happening again in the future.
Here are some tips to help you maintain your boots and prevent future cracks:
- Store your hiking boots in a cool, dry, and ventilated place, away from direct sunlight or heat sources that can dry out the leather or cause it to fade or crack.
- Use shoe trees or crumpled paper to stuff the boots when not in use. This can help maintain their shape and prevent creases and folds that can lead to cracking.
- Avoid exposing your boots to harsh chemicals, such as bleach, ammonia, or solvents, as they can damage the leather and strip off its natural oils and finishes.
- Apply a leather conditioner after every use, especially if hiking boots have been exposed to moisture, salt, or dirt. Conditioning can help restore the moisture and suppleness of the leather and protect it from cracking and fading.
- Let your boots dry naturally after each use, instead of using a dryer or a heater. Direct heat can shrink the leather and weaken the stitching, leading to cracks and tears.
- Use a waterproofing spray or wax to protect your boots from rain, snow, or mud. This can also help prevent the leather from absorbing moisture and developing cracks.
Conclusion
Leather hiking boots are a valuable investment for outdoor enthusiasts, but they require proper care and maintenance to last long and perform well.
Cracks in leather hiking boots can be fixed with the right methods and tricks, such as cleaning, conditioning, filling, dyeing, and polishing.
By following these steps and preventing future cracks, you can enjoy your leather hiking boots for years to come.
Remember to choose the right type of leather and products for your boots, and to seek professional help if you’re not confident in repairing them yourself. Happy hiking!

