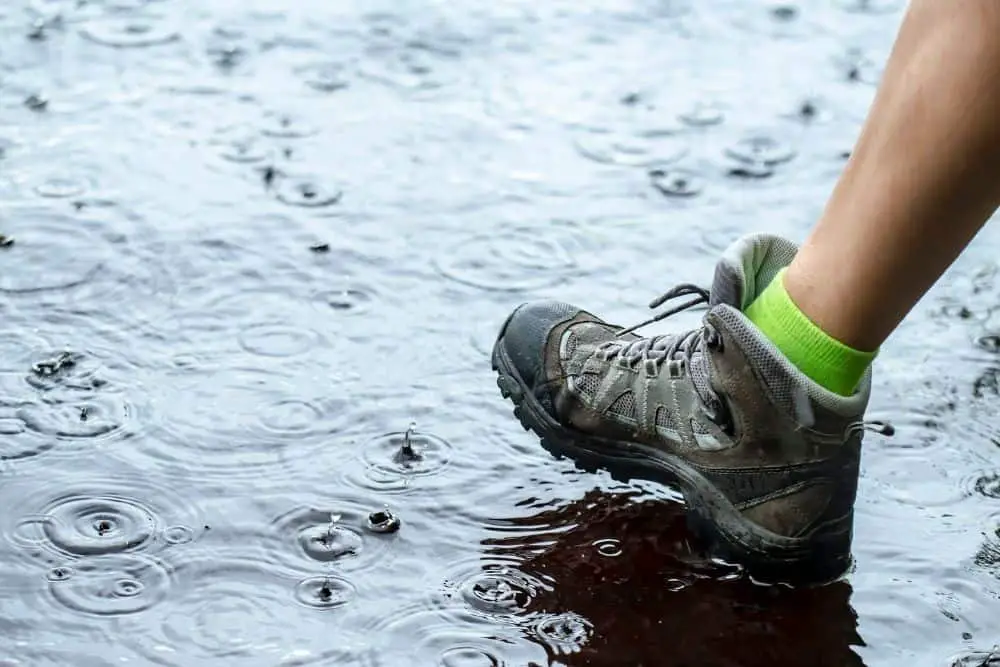
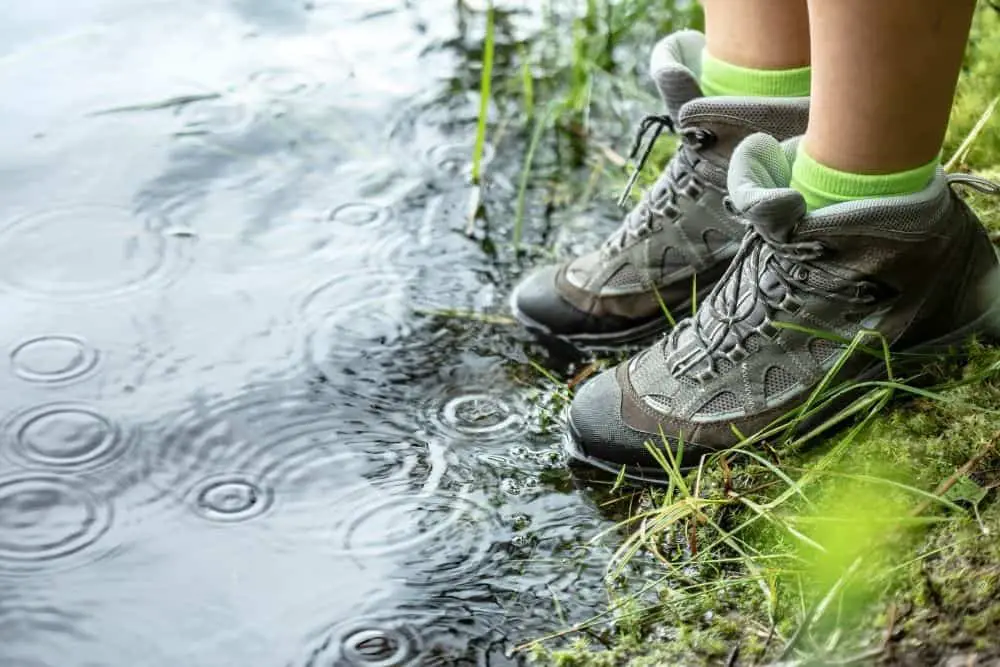
From ruining the gums of your boots to causing your boots to smell, there are many reasons why hiking in wet areas with a boot that is not waterproof is a bad idea. Besides the damage water can do to your boots, keeping your feet dry is very important when you are on a hike.
Hiking on wet feet is uncomfortable—but that should be the least of your troubles. Hiking on wet feet will also increase your chances of getting blisters or frostbites from cold.
New boots are usually treated with Durable Water Repellent (DWR) right out of the box and may not require any waterproofing treatment for your first hike. Nevertheless, there is no harm in trying to be double sure by waterproofing new boots even before your first hike in them.
The reason is that inasmuch as some boots are touted as waterproof, a few do not live up to the expectation. Also, even the best waterproof boots can still fall to wear after multiple hikes and would require you to fortify your waterproofing to continue enjoying dry feet.
Interestingly, when you waterproof your boots—depending on the method used and the length of your hiking trail—the effect can last more than two hikes before you will need to waterproof them again.
There are a plethora of waterproofing options for hiking boots and we will do justice to all the methods including letting you know the most suitable waterproofing option for boots made of full-grain leather, nubuck leather, fabric, or suede.
Contents
How to waterproof hiking boots?
You will know that your boots are due for waterproofing when you see that water no longer forms tiny beads on the surface which clump together and stream down. Subsequently, you may begin to notice that the outer layer is now absorbing water.
Eventually, if nothing is done to change the course of action, water will start to drip inside the boots. At this point, you will not be able to ignore it any longer because your foot will become uncomfortably wet.
Once you identify that your boots need waterproofing, there are three main steps to getting your boots waterproofed and they are as follows:
- Preparing your hiking boots for waterproofing
- Choosing and applying the desired waterproofing technique
- Properly drying the boots
Preparing your hiking boots for waterproofing
For your waterproofing to last longer, you need to prepare your boots to accept the technique you want to apply. The presence of dust or grits will compromise your waterproofing process.
You need the boots to be damp for most waterproofing techniques to work properly. If after cleaning the boots don’t attain the desired dampness, wrap them with a damp towel and allow them to stand for one or two hours.
Choosing and applying the desired waterproofing technique
Waterproofing is usually designed for boots made of full-grain leather, nubuck, or suede. When using any product for waterproofing, make sure that the product is compatible with the material of your boots.
While it is possible to waterproof boots made of all kinds of materials, you will need different products for different materials. For example, using a waterproof spray designed for full-grain leather on suede may not produce the same effect or even cause harm to your boots.
Another point to note is that waterproofing is best done a day or two before a hike to allow the waterproofing membrane to dry properly for best results. However, there are waterproofing techniques that will work while on a hike albeit you have to do it with extreme caution.
Your choice of waterproofing technique will usually depend on the weather and terrain that you want to hike. We will tell you all about that below.
1. Waxing
Waxing has been traditionally used on leather as a way of protecting it during wet weather. In addition to preventing water from getting into your boots, waxing also gives your boots a glossy shine that makes them look new.
- Leather conditioner cream specially formulated with real beeswax and plant oils designed to melt...
- Heavy Duty Leather Preservative is designed to rejuvante and preserve leather, protecting it from...
- Condition and restore sun faded leather saddles, saddle bags, leather boots, jackets, bags or...
Last update on 2023-11-11 / Affiliate links / Images from Amazon Product Advertising API
To wax your boots, get the suitable product
- Take a lint-free soft cloth and use it to take a thin layer of wax from your desired product. In the absence of a towel, use an old clean cotton t-shirt to rub the wax on the boots
- Rub the wax on the cloth all over your boots in a circular motion
- Don’t forget the boot tongue and seams where the upper and soles meet
- Allow the wax to dry properly on the boots
- Use another clean cotton towel to wipe off any excess
Repeat the process up to two more times to be double sure that there are no more tiny holes for water to pass through. You can spread out the repeat waxing sessions over a few days for convenience’s sake. However, if you seal the leather properly, you will not have to repeat it too frequently.
You will know that your boot is completely dry when it no longer feels sticky on the fingers when you poke it. Make sure you don’t rush the drying process and that also means not putting it under the sun or close to a fire or direct heat source.
If the curing is not properly done, the sticky wax will trap dust and dirt which will not only alter the integrity of your waxing process but will also affect the final look.
A good waxing session should last you through the winter season. However, that will also depend on your level of activeness during the winter and the intensity of the season. Once you discover that the leather has begun to lose its luster, it is time for another waxing session.
Pro Tip: Many users warm up the clean towel they want to use for the application with a hairdryer to make it easier to manage the wax as well as increase its absorption by the leather boots. You can use waxing technique for boots made of all materials except suede.
When to use waxing?
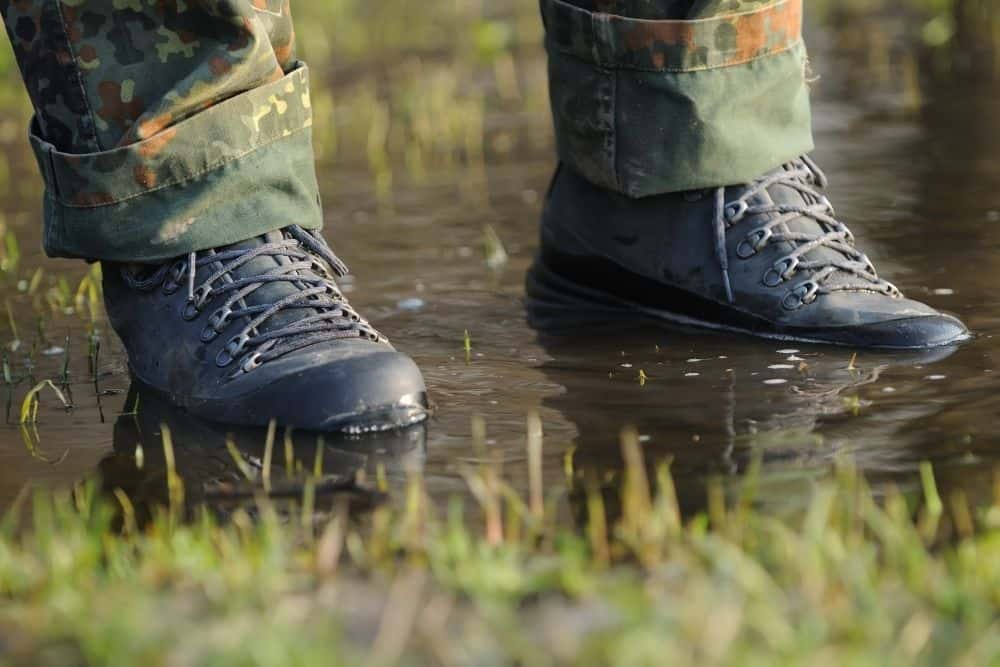
Waxing is arguably one of the toughest waterproofing techniques. Therefore, boots that are properly waxed can be used for hiking terrains with shallow water bodies where some parts of the boots will be temporarily submerged in water.
Also, if you must hike in Spring, waxing your boots will protect them from the rains. Waxing cannot be used on a hike because of the long drying time
Works on: full-grain, faux leather
Pros
- The effect lasts longer than other waterproofing techniques
- Easy to apply and doesn’t leave stains or cause discoloration of the boots
- Leaves a shiny finish that boosts boot aesthetics
- A better alternative than mink oil which causes leather to degrade or rot
Cons
- Wax residue can impair the bonding of adhesives to new soles
- A longer drying process means more chance of attracting dust
- Not suitable for suede
- Leaves a streak mark when not properly applied
2. Waterproof spray
Hikers can also waterproof their boots using silicone waterproof spray.
Unlike waxing, the effect of silicone spray wears off really fast and would likely not last beyond two weeks before you will need to reapply them. However, the good news is that you can use them on new boots.
- KIWI Boot Waterproofer provides tough silicone protection for work and outdoor boots
- Waterproof spray for boots
- Spray has unique formula that bonds to leather and fabrics
Last update on 2023-11-11 / Affiliate links / Images from Amazon Product Advertising API
The process of using a spray is simpler and less demanding than waxing. Also, it would not leave a messy finish the way waxing usually does. The process of using waterproofing spray is as follows:
- Choose the desired silicone waterproof spray. Make sure your choice is compatible with the material of your boots
- Take the boots to a well-ventilated area
- Spray the silicone spray evenly in the desired areas
- Allow the spray up to 24 hours to dry properly
- Check for discolorations in your boots after one to two weeks if the boots look darker compared to when you first used the spray, repeat the process again.
It is always nice to read the label of your silicone spray and follow the manufacturer’s instructions. While the majority of the spray will follow the steps we highlighted above, some of the sprays may have additional special requirements.
Pro Tip: When using the spray method for waterproofing your boots, it is advisable to apply seam sealants for added protection on the seams which may be hard for the spray to waterproof.
When to use waterproofing spray?
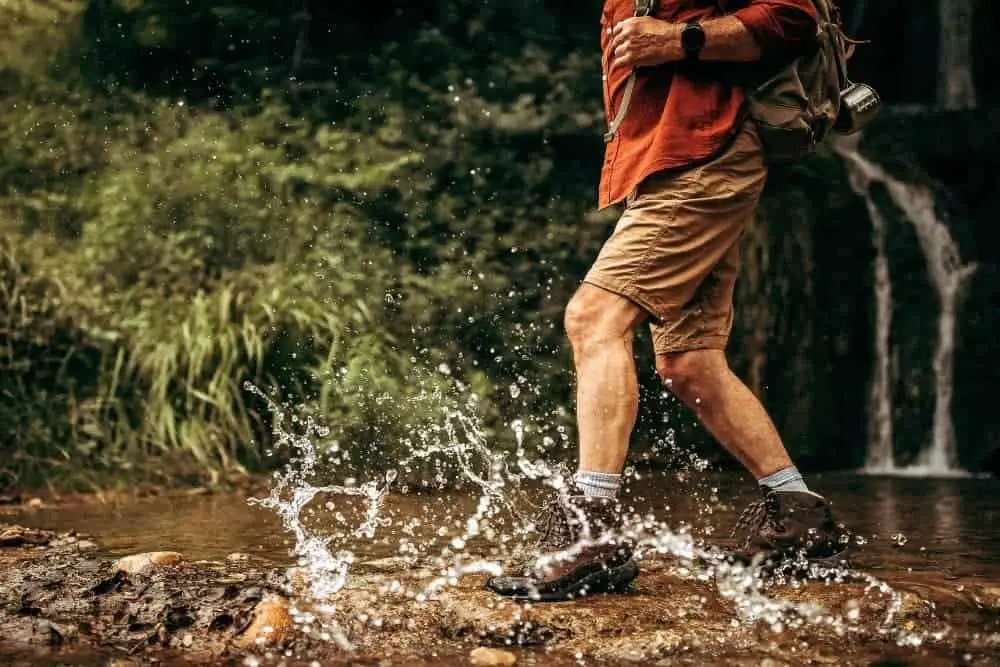
Out on a hike and suddenly noticed that your boots are soaking up moisture? Waterproofing spray is a quick fix that can deal with this problem.
Waterproofing spray can prevent light rain from getting into your boots. It can prove useful on the days that the weather defies the forecast. Therefore, it is important to pack them along in your backpack, just in case.
Works on real leather, nubuck, faux leather, synthetic materials, mesh, fabrics, textiles…
Pros
- Easier to apply than wax
- Dries faster than wax reducing the risk of dust
- Multiple reviews show sprays are effective in keeping out water
Cons
- Several reported cases of discoloration of boots
- Few reviewers said it dissolved the glue on the soles
- The effect wears off fast so you have to keep using it frequently
- May leave your feet breathless
3. Mink oil
Mink oil is known to soften the leather and restore moisture and shine to cracked leather boots but you can also use it for waterproofing because it has a wax texture. It will interest you to know that mink oil is gotten from the fatty layer of the skin of mink.
- Fiebing's Mink Oil is a natural byproduct that softens, preserves and waterproofs all articles of...
- Also helps protect leather and prevents stains.
- Great for use on automotive interior leather and vinyl, horse saddles, baseball gloves, boots,...
Last update on 2023-11-11 / Affiliate links / Images from Amazon Product Advertising API
While mink oil is good for waterproofing, it is good you spread out your application sessions at two weeks intervals because excessive use of mink oil can lead to moisture buildup in your leather. In the long run, this will cause the leather to rot or weaken the threads in the seams.
The application of mink oil is similar to wax. Follow these easy steps to apply your mink oil:
- Clean the boots thoroughly to remove dirt and dust
- Take a clean lint-free cloth and wipe over the mink oil to get some on the cloth
- Apply the mink oil on the cloth on your boots in a circular motion
- Use your fingers to work the mink into the leather in a circular motion
- Allow the mink oil to properly dry on the boots
- Finish off with a good leather polish to give it a shine
Pro tip: concentrate on the seams because moisture and dirt can break down the threads between the boot sessions. Also, applying oil will make the leather darker which shouldn’t be a problem. Oil of any sort is not good for suede but you can use it for boots made of other types of material.
When to use mink oil?
Mink oil can provide nearly as much protection from rain as waxing which makes it a great option for use in early Spring seasons or when hiking trails where you expect occasional water splashes on your boots.
Mink oil can be used in-between hikes when you are resting because the application process is less demanding than wax.
Works on real leather, faux.
Pros
- Conditions and softens the leather of the boots
- Prevent the buildup of moisture which can lead to leather rot
- Easy to apply
- Improves the general aesthetics of the boots
Cons
- Can interfere with dyed leather
- You may need more than one coat to achieve the desired result
- The drying process can take days
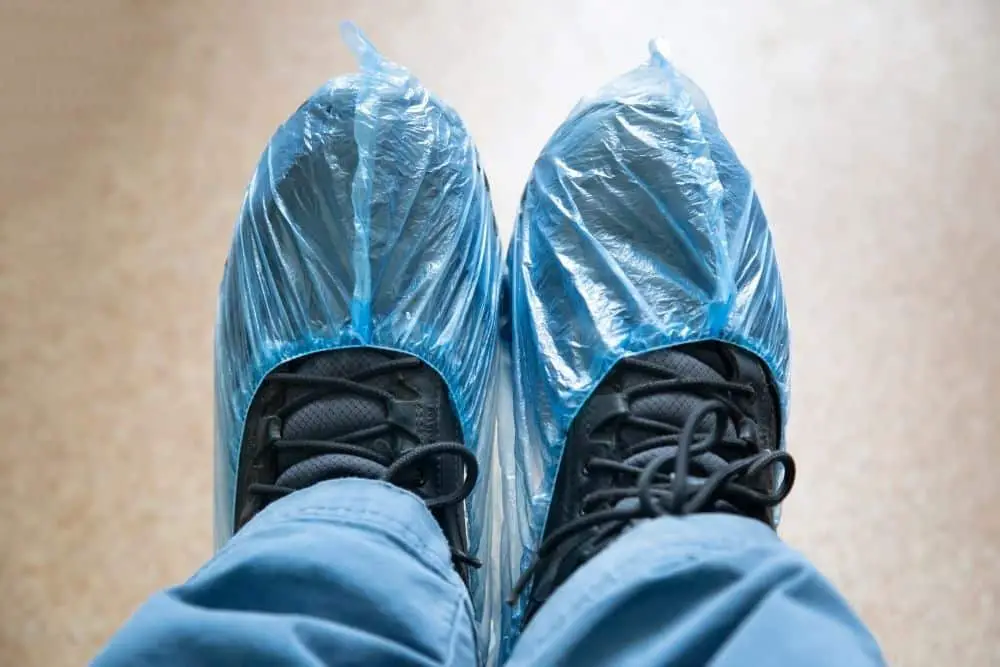
4. Boot covers
Perhaps, you are one of those that don’t like having chemicals on your boots because of the fear of damaging them, using a boot cover is a mechanical waterproofing technique that you can try.
Boot covers are often made of polypropylene. Unlike wax and spray, they don’t directly impact your boot fabric. Rather, you simply wear them over your boots and they keep the water out.
Interestingly, you can combine them with waxing or spraying as a form of hurdle that will make it more difficult for water to get into your boots.

- ONE SIZE FITS MOST: Our disposable non-slip shoe covers feature a built-in elastic band that...
- MULTI-PURPOSE: Our versatile protective booties are essential for various professionals such as...
- ECO-FRIENDLY: If you're environmentally conscious, you can do your part by purchasing our shoe...
Last update on 2023-11-11 / Affiliate links / Images from Amazon Product Advertising API
Using boot covers is easier than the other waterproofing methods mentioned earlier. This technique requires the least skill and are as follows:
- Choose the right boot cover from your desired store
- Open the boot cover and insert your boots into it
- Pull up the boot cover up to the ankle
Pro Tip: when choosing a product always choose those that are eco-friendly since you will be disposing of them regularly (usually after a hike) to avoid polluting your environment. Also, choose products that are really elastic so that they can fit different boot sizes and ensure a perfect fit.
When to use boot covers?
Boot covers work with boots regardless of the material used in the manufacture of the boots. Also, boot covers are suitable for all weather and terrains. Most importantly, boot covers are used within the hike.
Works on all types of boots and materials.
Pros
- Requires no professional knowledge
- It will not affect the integrity of your boots
- No long drying time like wax and spray
- Fits multiple boot sizes
Cons
- The effect is more temporary compared to waxing and spraying
- They are not suitable for heavy-duty hikes
- Several reviewers say it is not non-slip as advertised
5. Combining conditioning cream with polish
Conditioning creams can waterproof your boots because they are often made of plant oils and beeswax. However, you can further enhance the waterproofing by coating the conditioned boots with a layer of polish.
- Leather conditioner cream specially formulated with real beeswax and plant oils designed to melt...
- Heavy Duty Leather Preservative is designed to rejuvante and preserve leather, protecting it from...
- Condition and restore sun faded leather saddles, saddle bags, leather boots, jackets, bags or...
Last update on 2023-11-11 / Affiliate links / Images from Amazon Product Advertising API
Inasmuch as this is one of the least considerations among hikers when thinking of ways to waterproof their hiking boots but it works like a charm. The entire application process is easy and involves a few steps as follows:
- Choose your desired conditioning cream and polish
- Make sure the boots have been properly cleaned
- Apply the conditioning cream in a circular motion using a clean cloth
- Allow the conditioner to soak into the boots and dry
- Apply your polish
- Allow the polish to dry
Pro tip: you can use a hair dryer to hasten the absorption of the conditioner into the boots. Alternatively, you can keep the boots in a warm place after application to hasten the soaking up of the conditioner by the leather.
When to use conditioning cream and polish?
If you are going to use this technique while on a hike, it is important to use as minimal conditioning cream as possible to avoid over moistening the boots which will make it hard for the coating polish layer to stay.
Also, the smaller the size of conditioning cream and polish you use, the faster the boots will dry so that it doesn’t attract dust and sand.
This method will be most effective if there is light rain showers and you are hiking rocky areas where there is not much sand that can stick to your boots.
Works on real leather, faux.
Pros
- Conditioner softens the leather
- Easy to apply and soaks into the leather with ease
- Most conditioners have a pleasant smell
Cons
- Not suitable for suede material
- Leads to darkening of color
- Effect may not last beyond a hike
When should you waterproof your boots?
Waterproofing your boots after every hike may not be necessary depending on the duration of your hike, the type of waterproofing technique used, and the duration of the exposure of the boots to water.
A sign that your boots need waterproofing is when water stops forming tiny beads on the boots but streaks down on impact. Unless you are hiking really wet terrains, you may only need to waterproof your boots a few times a year—especially during the wet seasons.
Conclusion
When using any product for waterproofing, it is paramount that you pay attention to the manufacturer’s instructions and stick with it. It is also important to know the material of your boots and get a suitable waterproofing product.
While it is possible to waterproof your boots while on a hike as a quick fix, properly drying your boots after waterproofing is critical to getting the best effect from the process. Therefore, make sure you allow the boots to dry overnight (at minimum) before taking them out for a hike.