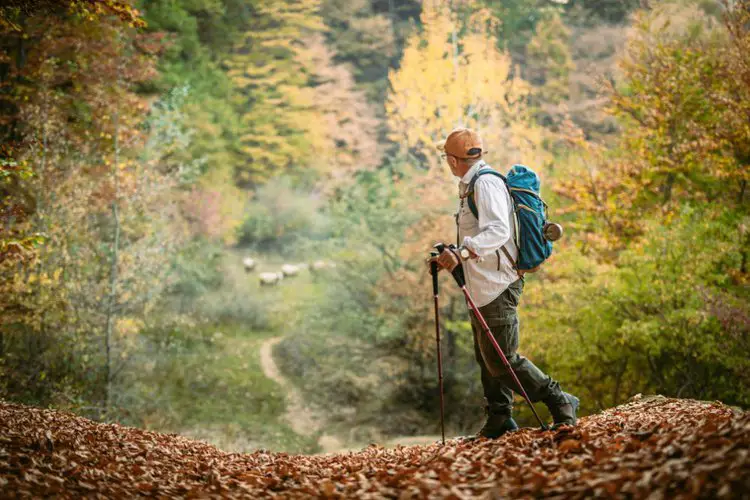
Hiking poles can be a great tool for anyone who loves to hit the trails. They can provide extra stability, help you maintain balance on uneven terrain, and reduce the impact on your knees and joints.
However, it’s important to use hiking poles correctly to get the most out of them.
In this article, we’ll provide step-by-step instructions on how to use a hiking pole.
Contents
Overview of how to use a hiking pole properly
Hiking poles can be a great tool for anyone who loves to hike. By following the steps outlined below, you can use your hiking pole correctly and get the most out of it. Remember to adjust the length of your pole, hold it correctly, plant it firmly, swing it in rhythm with your steps, and use it for uphill and downhill hiking.
With practice, using a hiking pole can become second nature and help you enjoy your hikes even more.
Step 1: Adjust the Length of Your Hiking Pole
The first step to using a hiking pole is to adjust the length to the right height for your body.
You can do this by standing with your arms at your sides and holding the pole with the tip on the ground.
The top of the pole should be at the same level as your wrist. Most hiking poles have adjustable sections, so you can fine-tune the length to fit your body perfectly.
And be careful not to over-extend your hiking poles!
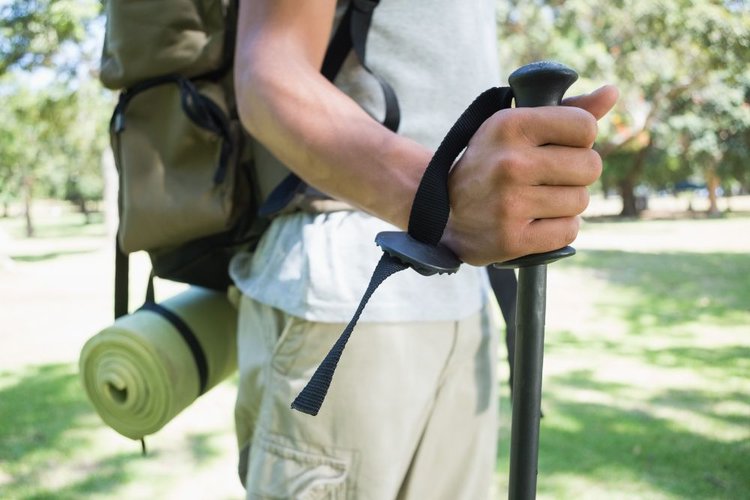
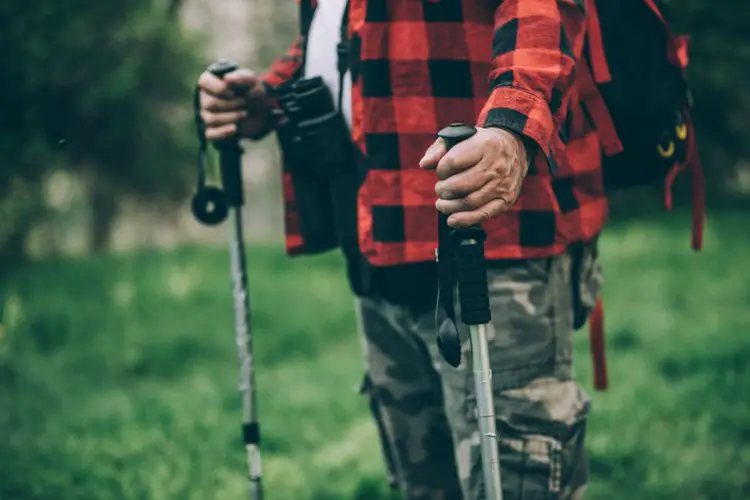
Step 2: Hold the Hiking Pole Correctly
Once you’ve adjusted the length of your hiking pole, it’s time to learn how to hold it correctly.
The most common grip style is the “basic grip” which involves holding the pole with your hand wrapped around the handle, your fingers pointing forward, and your thumb on top of the handle. This grip is comfortable and provides good control.
If your hands often sweat, consider using straps to keep your hands in place.
The proper length of your hiking poles depends on your height, the terrain you’ll be hiking, and your personal preference.
Generally, the correct length is when your arm is at a 90-degree angle with the pole planted on the ground.
To adjust your hiking poles to the correct length, loosen the locking mechanism and adjust the pole to the desired length, then tighten the mechanism to secure the pole in place.
Keep in mind that the length of your poles may need to be adjusted depending on the terrain – for example, you may want shorter poles for uphill hiking and longer poles for downhill hiking (we will tell more detail below).
It’s important to experiment and find the length that feels comfortable and effective for your individual needs.
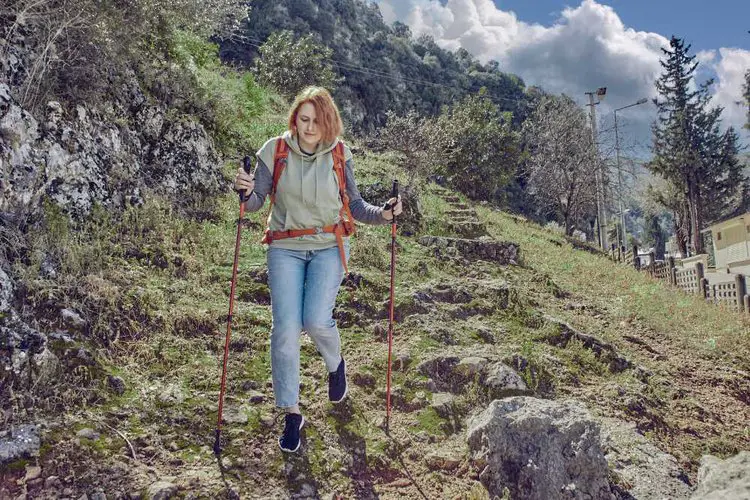
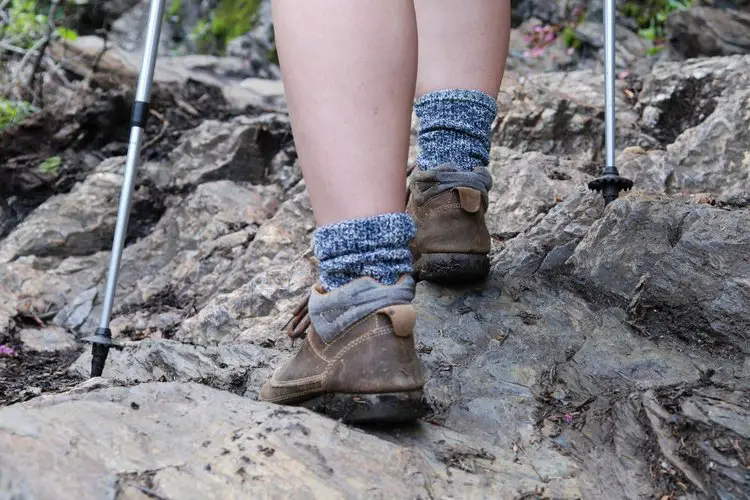
Step 3: Plant Your Hiking Pole
Now that you’re holding your hiking pole correctly, it’s time to plant it on the ground. You’ll want to place the pole at an angle in front of you, with the tip touching the ground first.
Then, apply pressure and push down on the pole until it’s firmly planted in the ground. You can then use the pole to support your weight as you take your next step.
Step 4: Swing Your Hiking Pole
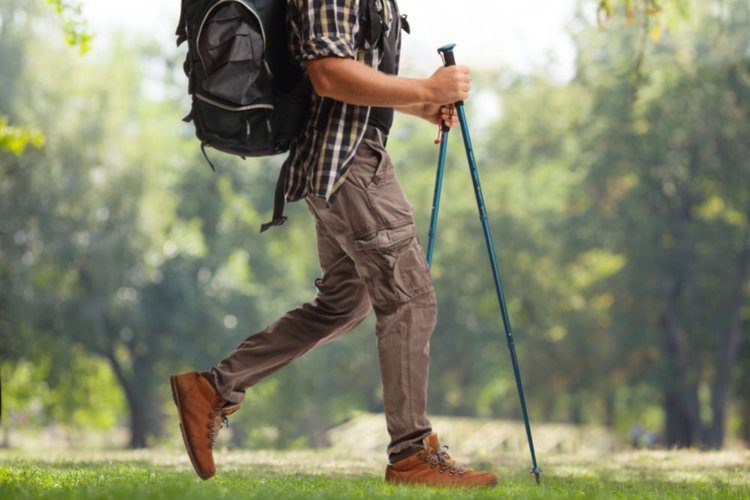
As you walk, you’ll want to swing your hiking pole in rhythm with your steps. You can do this by swinging your pole forward with each step, and then planting it firmly in the ground as you take your next step.
This can help you maintain balance and reduce impact on your knees and joints.
Step 5: Use Your Hiking Pole for Uphill and Downhill Hiking
When you’re hiking uphill, you can use your hiking pole to provide extra support and leverage.
Plant the pole in front of you and push down as you step up with your opposite foot. This can help you maintain balance and take some of the strain off your legs.
When you’re hiking downhill, you can use your hiking pole to slow yourself down and reduce impact on your knees and joints.
Plant the pole behind you as you step down with your opposite foot. This can help you maintain control and reduce the risk of slipping or falling.
Step 6: Switch Hands and Repeat
Finally, it’s a good idea to switch hands and repeat the above steps periodically, especially if you’re on a long hike. This will help you evenly distribute the load on your body and reduce fatigue.
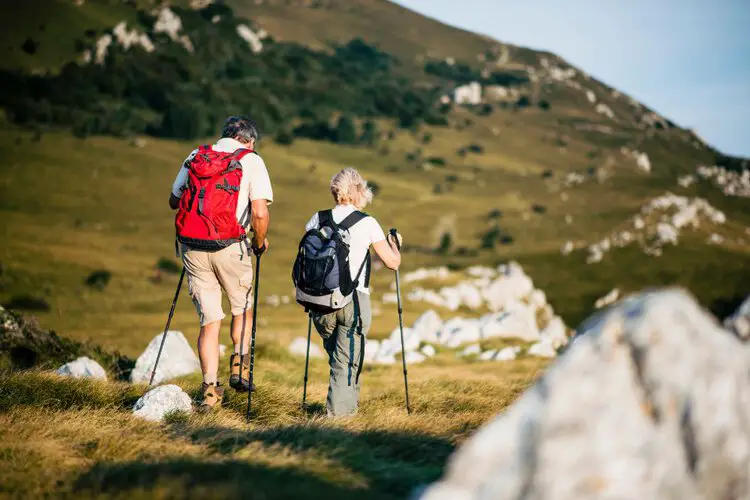
Should you go hiking with a single pole or two poles?
Hiking with a single pole can provide some benefits, such as increased freedom of movement and reduced weight.
However, using two poles can provide more balance and stability, especially on uneven terrain.
If you’re using a single pole, consider alternating your hands to hold the pole to provide some balance.
When using two poles, try to keep your arms and poles moving in sync with your steps, to provide the most stability.
Specific examples for each type of terrain, environment, and hiking type
Always adjusting your hiking poles properly and using them correctly will avoid injury or discomfort.
With practice, you can learn to use your hiking poles effectively in a variety of terrains and environments.
Uphill terrain
Place your poles slightly ahead of your body as you ascend, and use them to push off the ground and give you extra power with each step.
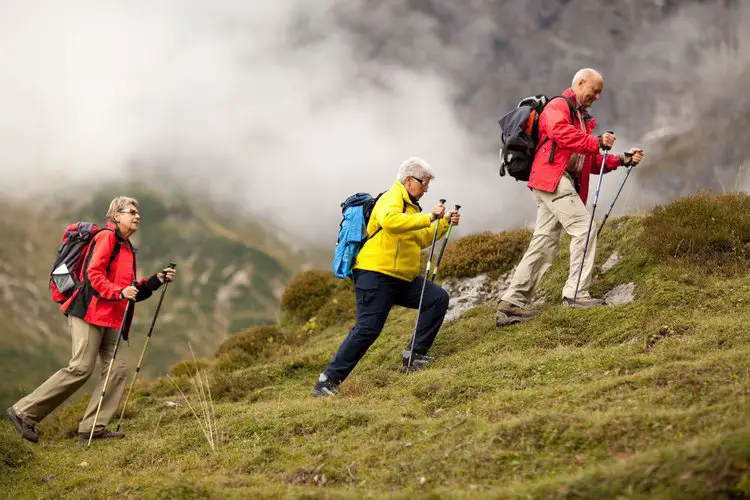
Make sure your poles are planted securely to help you maintain your balance and avoid slipping.
- Adjust your hiking poles to a shorter length.
- Hold your poles in the handles with a firm grip, your arms should form 90 degree angle with the poles, then plant them slightly ahead of your body as you ascend.
- Use your poles to stay firm and push off the ground to give you extra power with each step.
- Keep your arms close to your body and use a shorter, more compact motion to conserve energy.
Key point:
When hiking uphill, you may want to adjust your hand placement to allow for more power in your upward motion.
Try gripping the pole slightly higher up, near the top of the grip, to engage your arm muscles more effectively.
Downhill terrain
Place your poles slightly behind your body as you descend, and use them to provide extra support and balance, particularly on steep descents.
Keep your poles planted securely and use a longer, sweeping motion to help you control your speed.
- Adjust your hiking poles to a longer length for better control.
- Place your hand on the top of the poles and hold them firmly, then plant them slightly ahead of your body as you descend.
- Use your poles to keep you stay firmly on the ground and give you balance
- Keep your arms close to your body and use a slow and steady motion to distribute your weight when going down
Key point:
When hiking downhill, you may want to use a lower grip, as this will allow you to easily control your descent.
Rocky terrain
Use your poles to test the stability of each step before putting your full weight on it. Plant your poles securely and use them to help you navigate through rocky or uneven terrain.
Keep your poles close to your body and use short, quick movements to maintain your balance.
- Use your poles to test the stability of each step before putting your full weight on it.
- Plant your poles securely and use them to help you navigate through rocky or uneven terrain.
- Keep your poles close to your body and use short, quick movements to maintain your balance.
Snow or ice
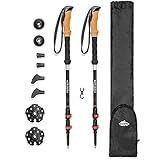
Attach snow baskets to your hiking poles to prevent them from sinking into the snow.
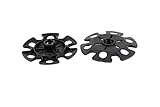
- Replacement baskets for trekking hiking and walking poles
- Screw on secure fits threaded pole tips
- Ideal for use in powder or dense snow and sand prevents pole sinking
Last update on 2023-11-10 / Affiliate links / Images from Amazon Product Advertising API
Place your poles securely and use them to test the stability of each step, particularly on slippery surfaces.
Adjust your pole length to provide extra support and stability as needed.
- Attach snow baskets to your hiking poles to prevent them from sinking into the snow.
- Use your poles to test the stability of each step and help you balance on slippery surfaces.
- Adjust your pole length to provide extra support and stability as needed.
Backpacking
Use your poles to help support the weight of your backpack, particularly on steep ascents or descents. Place your poles securely and use them to test the stability of each step.
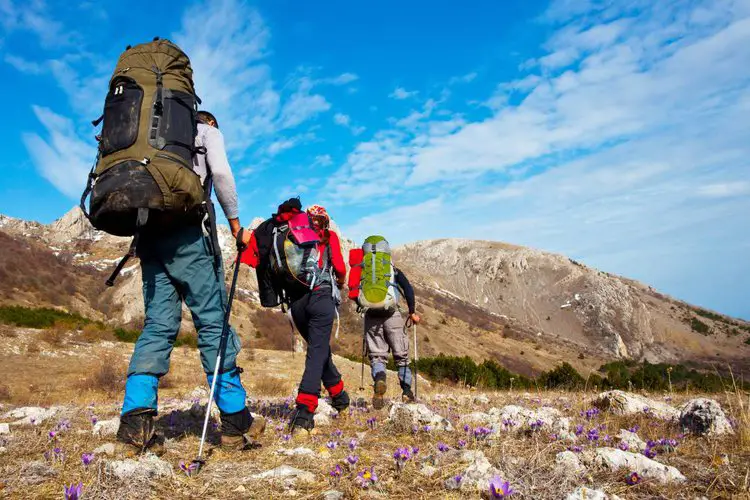
Keep your poles close to your body and use short, quick movements to conserve energy and maintain your balance.
- Adjust your hiking poles to the proper length for your body and the terrain you’ll be hiking.
- Use your poles to help support the weight of your backpack, particularly on steep ascents or descents.
- Keep your poles close to your body and use short, quick movements to conserve energy and maintain your balance.
Long-distance hiking
When hiking long distances, it’s important to conserve your energy and avoid unnecessary strain on your body.
Hiking poles can help to reduce the impact on your joints and muscles and can help you to maintain a steady pace.
- Adjust your hiking poles to the proper length for your body and the terrain you’ll be hiking.
- Use your poles to reduce the impact on your joints and muscles and help you maintain a steady pace.
- Keep your arms close to your body and use short, quick movements to conserve energy and maintain your balance.
Some other important notes
- Avoid using hiking poles near power lines or electrical towers as they can conduct electricity, which can be dangerous if a pole touches a live wire.
- Be mindful of other hikers on the trail. When using hiking poles, be aware of your surroundings and the people around you. If passing someone, make sure to give them plenty of space.
- Do not use hiking poles during thunderstorms. Metal hiking poles can act as lightning rods, increasing the risk of being struck by lightning.
- Make sure your hiking poles are in good condition. Check for any cracks, bends, or other damage that may compromise their effectiveness.
Choosing the right poles for the terrain and environment is crucial
For flat and easy terrain, such as well-maintained trails or urban environments, lightweight poles with ergonomic grips may be all you need.
Look for poles made of lightweight materials such as aluminum or carbon fiber to reduce fatigue and strain on your arms.
- DURABLE 3K CARBON FIBER: Built with 2x2 twill weaved carbon fiber strong enough to handle pressure...
- LIGHT WEIGHT & COMPACT POLES – 8 oz. or 1/2 a pound - Our Carbon Fiber poles provide hikers,...
- QUICK LOCK & EXTENDABLE: Need to adjust your pole height when trekking up a hill, or a downward...
Last update on 2023-11-10 / Affiliate links / Images from Amazon Product Advertising API
If you’re planning to hike in rocky or uneven terrain, adjustable poles with durable tips may be necessary.
Look for poles with carbide or tungsten tips for extra traction on slippery surfaces, and adjustable features such as shock absorption and locking mechanisms to help you navigate rough terrain.

- 100% CARBON FIBER: Foxelli Trekking Poles (also known as Nordic walking poles or hiking sticks) are...
- EASILY ADJUSTABLE: Thanks to the quick-lock technology, Foxelli collapsible hiking poles are...
- PROVIDING THE ULTIMATE COMFORT: The anti-slip natural cork grips absorb sweat and moisture and will...
Last update on 2023-11-10 / Affiliate links / Images from Amazon Product Advertising API
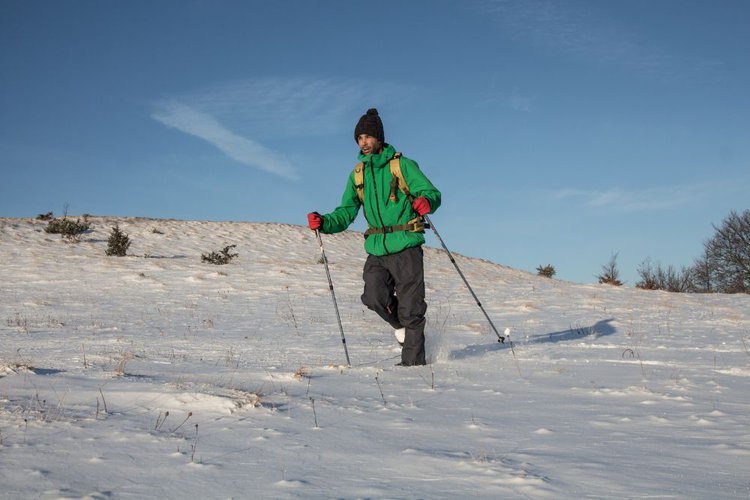
For snowy or icy conditions, consider investing in specialized winter poles with wider baskets and longer tips.
These features will help you maintain stability on slippery surfaces and prevent your poles from sinking too far into the snow.
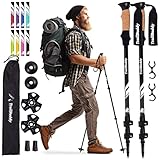
- BUILT TO LAST: Whether you're hiking on rugged terrain or the beaten path, you need hiking gear that...
- LIGHTWEIGHT: These hiking poles are crafted with strong aircraft-grade 7075 aluminum, tougher than...
- ADJUSTABLE: Set to your desired height in seconds, from the 54" max height down to just 24.5" when...
Last update on 2023-11-11 / Affiliate links / Images from Amazon Product Advertising API
Finally, be sure to consider the environment you’ll be hiking in when choosing your poles.
Some parks and wilderness areas have specific regulations regarding the use of trekking poles, so be sure to research any restrictions before you hit the trail.
By selecting the right poles for your specific terrain and environment, you can hike more safely and comfortably, while also protecting the environment around you.
Last words
In conclusion, trekking poles are an essential tool for any hiker or backpacker, providing numerous benefits such as improved balance, reduced strain on joints, and increased stability on tricky terrain.
By choosing the right poles for your needs and using them correctly, you can make your hiking experience more enjoyable and safer.
Remember to consider factors such as length, material, grip, and locking mechanism before purchasing your poles, and always use them responsibly on the trail to minimize your impact on the environment.