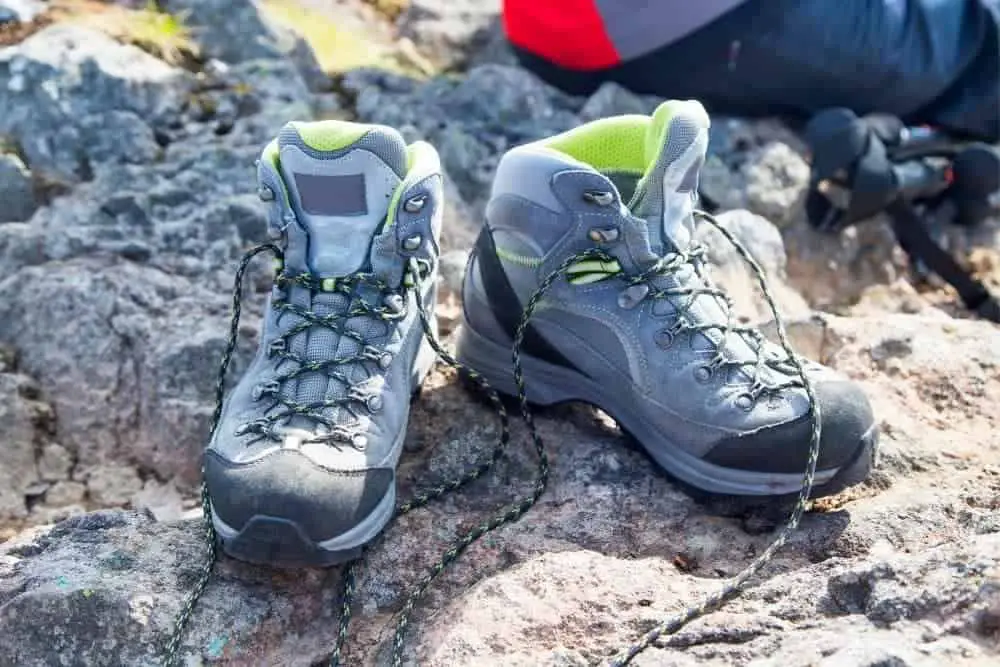
Hiking is a fun activity, and you can have a splendid experience provided that everything goes smoothly. However, one thing that can make everything go awry is getting your hiking boots wet hiking on the trail.
Sometimes, you cannot avoid getting soaked boots on trails, especially when on a hike in wet terrains or when it rains. In situations like that, you can’t possibly hurry home to use your boot dryer, fan, air dryer, or other drying equipment.
Even if you want to, you would still have to wear wet hiking boots back home, which could make you uncomfortable. The positive aspect is that you can also dry your hiking boots on the trail.
Can you get your hiking boots dry on the trail? Yes. So, how can you do that then? We’ll discuss that in this article, so when your boots get wet on the trail, you can dry them up. How to dry your hiking boots on the trail?
Let’s find out!
Contents
How To Dry Hiking Boots On The Trail?
When you have wet and soaked hiking boots, what do you do? Do you grumble in discomfort or try to do something?
As much as wet hiking boots can result in blisters and discomfort, it can be worse that you don’t want to involve yourself in them.
So, to avoid those situations, you need to dry your wet hiking boots with the available resources you can get on the trail. So, how do you dry your boots?
Method 1: Dry them in the sun
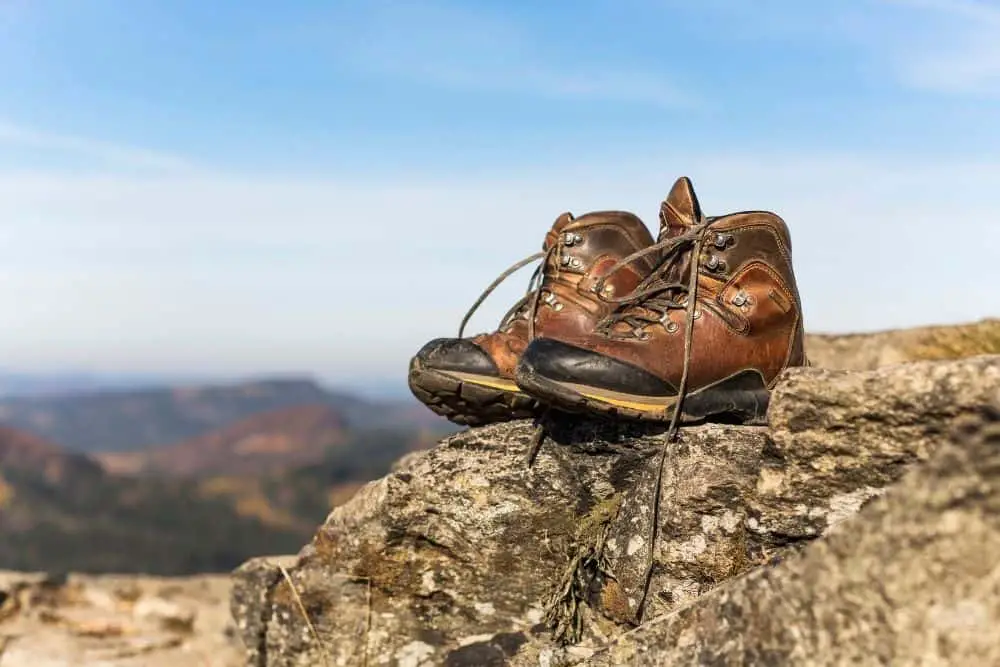
You can dry your hiking boots in the sun. The sun is the most natural way to dry stuff.
In the past, before the invention of fast-drying equipment, many people used direct sunlight. And since you probably don’t have that equipment with you on the trail, you can drain out the soaked boots under the sun.
What you need to do is take off your hiking boots, your wet socks, the insoles, and dry your boots directly under the sun.
The sun will not dry your hiking boots as quickly as other fast-drying methods like using a dryer. As a result, you may spend the whole day waiting for your boots to dry, and they may not dry completely.
Another downside of this drying method is that it is not always available for use. On some days, you might get lucky with bright shining sun, while the sun won’t be out in the sky shining on other days.
Too much sun exposure can be bad for your hiking boots’ material, especially leather. In addition, it can make the leather dry out and lose its shine. But, of course, you probably won’t be on the trail for that long for your hiking boots to catch that much sun exposure.
Pros
- It’s natural
- An easy method
- It can be applied for all types of boots but preferred fabric boots
Cons
- Slowly dries
- It’s not always available
- It may be bad for leather materials
Method 2: Stuff them up
Wet hiking boots can cause a lot of friction within your hiking boots. First, they wet your socks, then your feet, and make your skin brush your socks material and boots’ inners.
If you don’t find a way to get your feet out of the wet hiking boots or dry your footwear, you may end up with blisters.
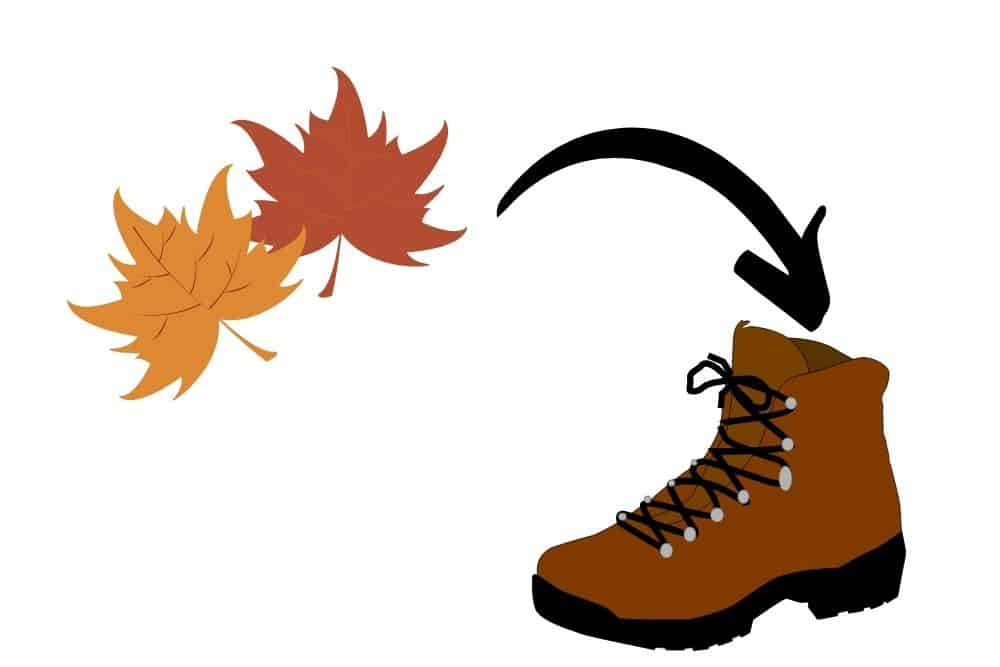
You can stuff them with moisture-wicking materials. The ideal thing to use if you were home would probably be to use newspapers, toilet papers or a rag.
However, if they are not available to you, you can use dry leaves and grasses if they are available. So, if you find yourself in a field of dry leaves and wet hiking boots, you can guess what to do.
Take off your hiking boots, and stuff them with the dry leaves. They will absorb the moisture, and you will replace them when they are wet. You have to keep doing that till they are dry to an extent and you can wear them home.
This is one of the effective ways to dry your hiking boots on the trail when there are no other options available. Before you’re ready to leave, you should get hiking boots that are dry to an extent, which you can wear.
However, using dry leaves on your hiking boots can be very stressful and time-consuming. Also, compared to using fast-drying equipment, it doesn’t dry your hiking boots on time. You have to continually swap out the wet leaves for dry ones till your hiking boots are dry to a bearable extent.
Besides, this method doesn’t completely dry boots. They can only go as far as reducing the moisture in your hiking boots. Eventually, you still have to dry them better with other methods when you return home.
Pros
- It’s easy
- It works well on all kinds of hiking boots
Cons
- It’s stressful and time-consuming
- Stuff may not be always available
- It doesn’t completely dry boots
Method 3: Dry hiking boots using a campfire
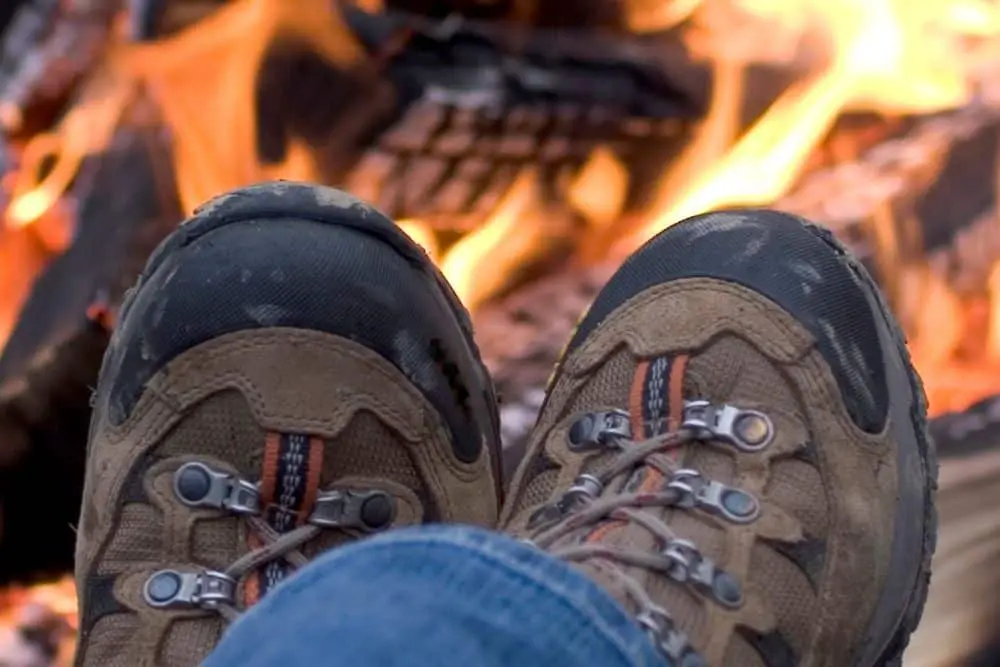
If you’re on a long hiking trip that will last longer than a day, you can dry your wet hiking boots on the trail using a campfire.
Of course, you would have prepared yourself ahead for that, getting everything you need to make a fire and protect yourself. You can dry your hiking boots at the same time while the fire burns to keep you warm.
So, as you are preparing to retire for the night, you can place your hiking boots close to the fire and leave them to dry overnight. However, you shouldn’t place them too close to the fire as direct heat can damage some materials in your hiking boots.
However, If you are not so careful with drying your boots with a campfire, you may end up with damaged hiking boots. First, if you keep them too close to the fire, they can melt the glue holding your hiking boots together.
Extreme fire will make them lose their shine and probably make them crack. Lastly, too much heat from the campfire can harden the hiking boots’ insoles, making them uncomfortable.
Pros
- It is somewhat effective
Cons
- Setting up a campfire is stressful
- Any mistake could damage your hiking boots
Method 4: Wear them
Sometimes, you might want to get to your destination on time or return home quickly when hiking. But, you cannot afford to wait some extra hours for the sun to dry them a bit or stuff them up.
So, what would be the best solution to that? You can wear them. You can wear your hiking boots till they dry up. As long as they are not very wet and you have your thick moisture-wicking socks on your feet, they can dry up on the go.
Also, you should prepare extra dry socks so you can change into dry socks when the initial one gets wet. That way, your feet aren’t wet or cold when hiking before you get home to dry your hiking boots properly.
However, wearing wet hiking boots can make you feel uncomfortable. First, they are probably heavier than usual due to the moisture in them. Second, they make you feel uncomfortable, especially when your socks are soaked, your feet are wet, and there’s debris in your hiking boots.
Besides, the dampness can be transmitted into the feet that may trigger some unexpected fungal issues. Rubbing feet against soaked socks may result in serious blisters as well.
Pros
- It is simple
- It doesn’t require much
Cons
- It may be uncomfortable
- It could result in fungal issues
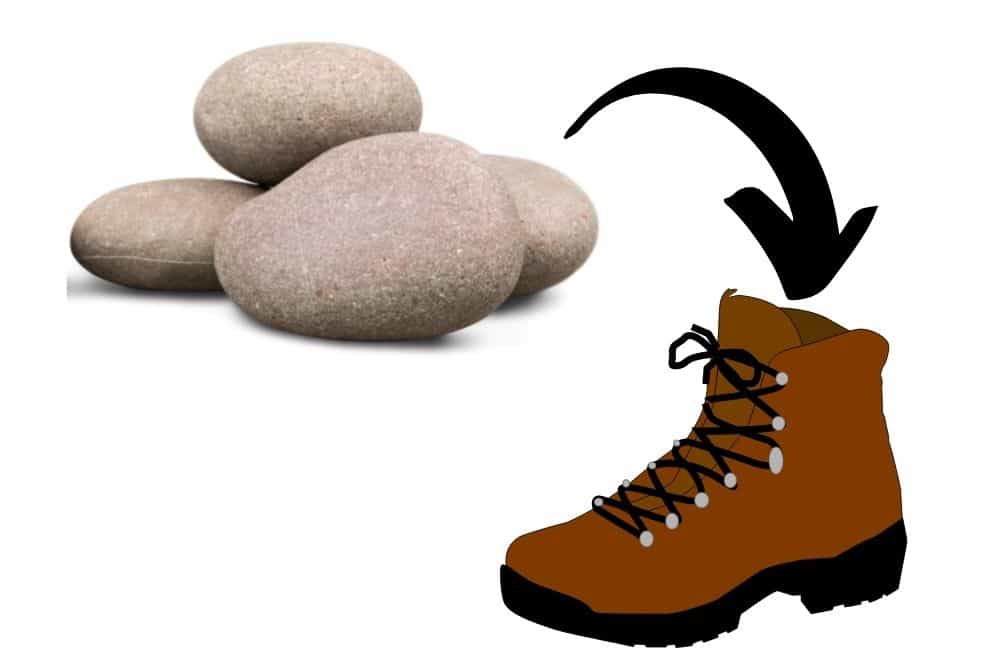
Method 5: Use hot rocks
Wet hiking boots can make your feet smell all day long. But, it’s not just your feet; your socks and hiking boots will probably stink as well.
The longer you walk in wet hiking boots, the more your feet are prone to smell, especially if you will be on the trail for a while.
You can use hot rocks to dry them up. But, of course, before a rock can get hot, it needs to be exposed to heat. So, you have to boil the rocks or put them under direct sunlight before using them. After heating the rocks, place them in a sock and put them in your hiking boots.
First, you need to ensure that the rocks are not too hot to scorch the socks or the hiking boots material. Also, go for other rocks or stones than river rocks because they can explode when you heat them.
Yet, if the rocks are too hot, they could burn your socks and maybe your hiking boots. Also, if you don’t have a way to test the hotness of the rocks, you could harm your hands if you pick them up.
Pro
- It helps dry hiking boots on the go
Cons
- It may be unavailable
- One wrong move can mess up things
Method 6: Take out and dry insoles first
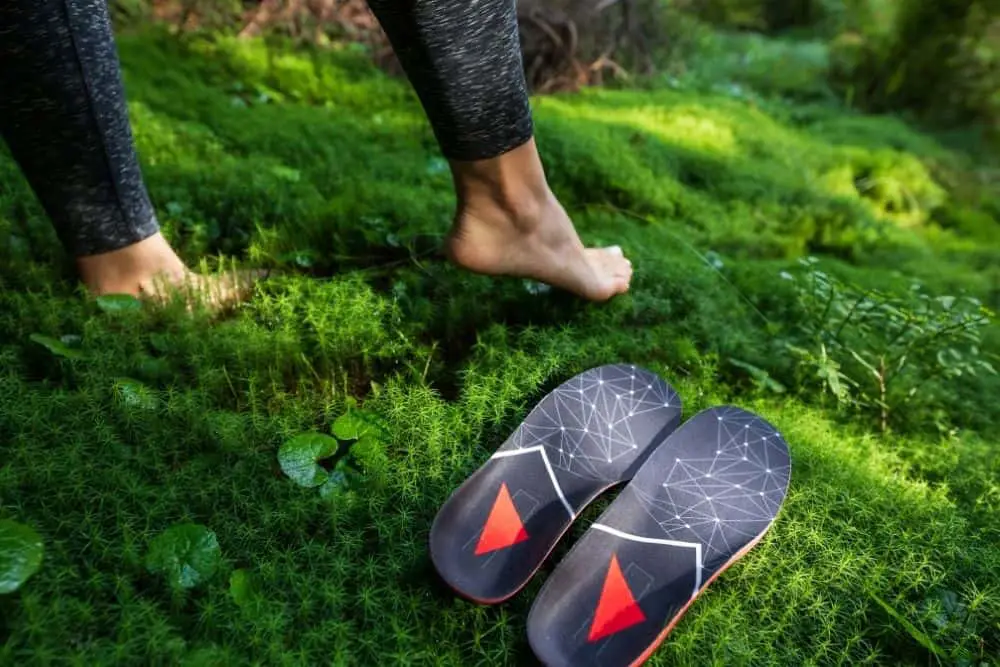
Wet hiking boots could make your feet itchy and sore. So, you can dry your hiking boots on the trail through sole patching. Since this method only involves drying the insoles, you would need to dry your hiking boots as well.
Squeeze your hiking boot insoles with available spare clothes or dry leaves while your hiking boots dry. Remove the insoles from the boots and place them in between the clothes or dry leaves and squeeze out the water.
Also, if you’re staying on the hiking trail overnight, you can keep the insoles in your overnight bag so they can dry there. You should note that you would have to dry the hiking boots as well.
While drying the insoles is cool, it isn’t exactly enough. The rest of the hiking boots can still soak your socks and make your feet wet. You would also need to dry the hiking boots for you to keep dry feet on the trail.
Pros
- An effective way to dry the insoles
- It’s easy to do
Con
- Drying the insole alone isn’t enough
Conclusion
Wet hiking boots on the trail can cause your hike to be frustrating. Unfortunately, you won’t have access to fast-drying equipment, and you would need to make do with what is available.
You may be tempted to keep hiking in wet boots, but it isn’t the best idea. Wet hiking boots can cause blisters, smelly, itchy, cracked, or sore feet.
The best thing we’d advise you to do is use things available to you on the trail. For example, this article talked about how you can try to dry your hiking boots on the trail. So, when next your boots get wet on the trail, you can try any method you feel is easy for you to do.