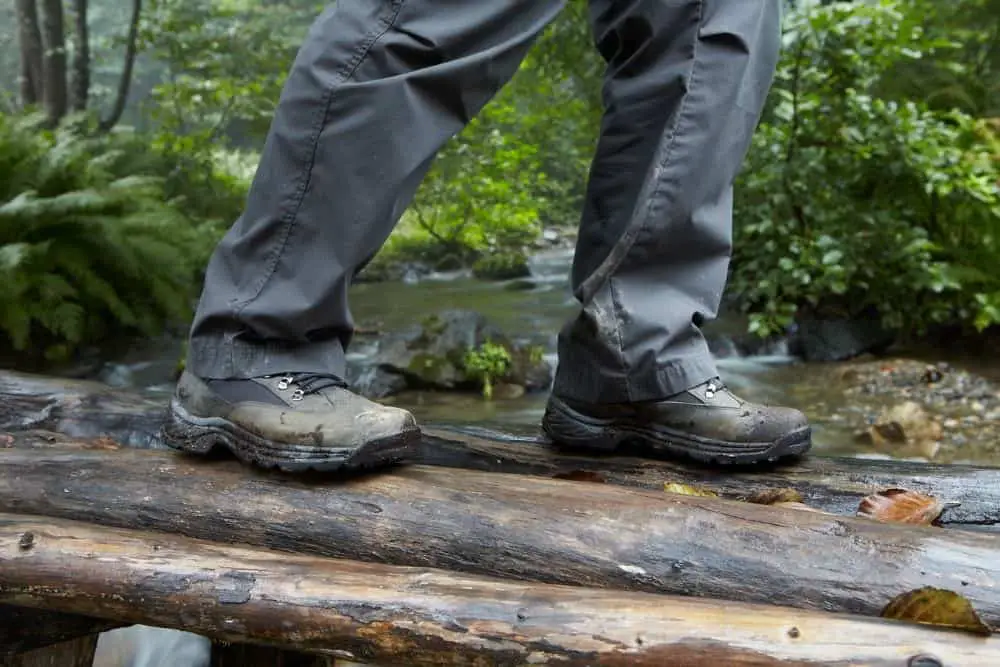
You have just finished planning your hikes and arranging your supplies in your bag. You double-check the weather forecast and it is going to be sunny and bright.
After putting on a light tank top and combat trousers, you try to wear your boots only to discover that it has a rip on the side.
A rip in a hiking boot is one of the most dreadful sights for anyone who loves hiking. The feeling is more heartbreaking if you purchased the boots expensively not too long ago.
For those that have the resources, their first instinct would likely be to get rid of the shoes and purchase a new one.
Whether you have the money or not, throwing away hiking boots as soon as they start leaking is harmful to the environment because these boots will end up in landfills.
Many hikers agree that hiking boots should last two to five years before you start thinking of replacing them.
Nevertheless, the lifespan of hiking boots and how easily they can be fixed can vary depending on the material used for the manufacture.
For example, while PU midsoles can last up to 2,000 miles, EVA midsoles have an average of about 500 miles.
Even if you can afford to throw away your leaking boots and purchase new ones, you may be constrained by time to do that. At such times, it is either you postpone your hike or look for a way to fix the leak.
If you will be hiking a wet trail, it is paramount that you fix every leak in your hiking boots to avoid exacerbating the spoil or causing your boots to stink.
Hopefully, this article will help you to perfect simple fixes on your leaking hiking boots.
Contents
What happens if hiking boots are leaked?
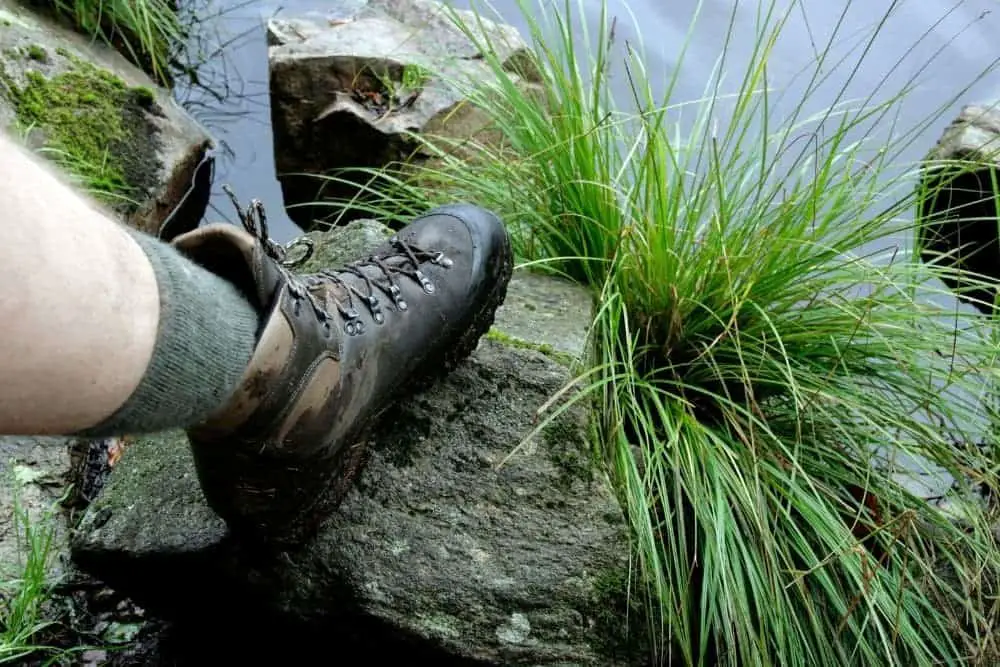
Having soggy feet during a wet hike is one of the telltale signs of a leak in your boots. It can be a sign of either a cut on the boots or waterproofing failure.
Leaking boots are not only uncomfortable to wear but they can also be really dangerous.
If you are hiking during the winter, a leak in your boots can lead to frostbite which may end in the amputation of your feet.
In the less extreme situation, a leak in the hiking boots can let moisture in which keeps your feet damp throughout the hike and increases the chance that you will end up with smelly boots.
There is a simple test that you can do to see if your boots are leaking as well as discover the exact areas with the leaks. This is important if your boots have micro-cuts that are not easily visible at a glance.
- Remove the insoles of your boots
- Hold the boots over the sink or an empty bucket
- Fill the boots with water while still holding them over the sink or bucket
- If there are leaks on the boots, you will see the water leaving the boots through the leaks. You can easily mark the leaking areas for fixing.
- Properly dry the boots afterward. You can check our previous post on how to dry hiking boots
Visible cuts on boots can make them less aesthetically appealing. Also, when not fixed, a small cut can accelerate the deterioration of the boot.
Therefore, a leak in your hiking boots can ultimately stop you from hiking at various times of the year—if you don’t know how to fix them and don’t have the money to get a new one.
Why do my hiking boots leak? How to fix leaking hiking boots?
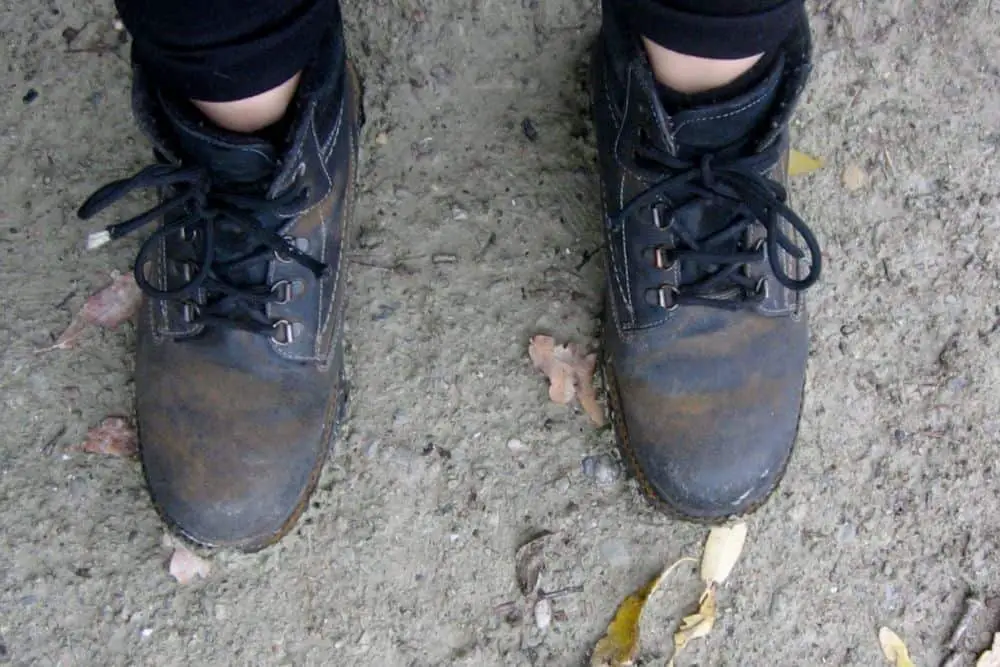
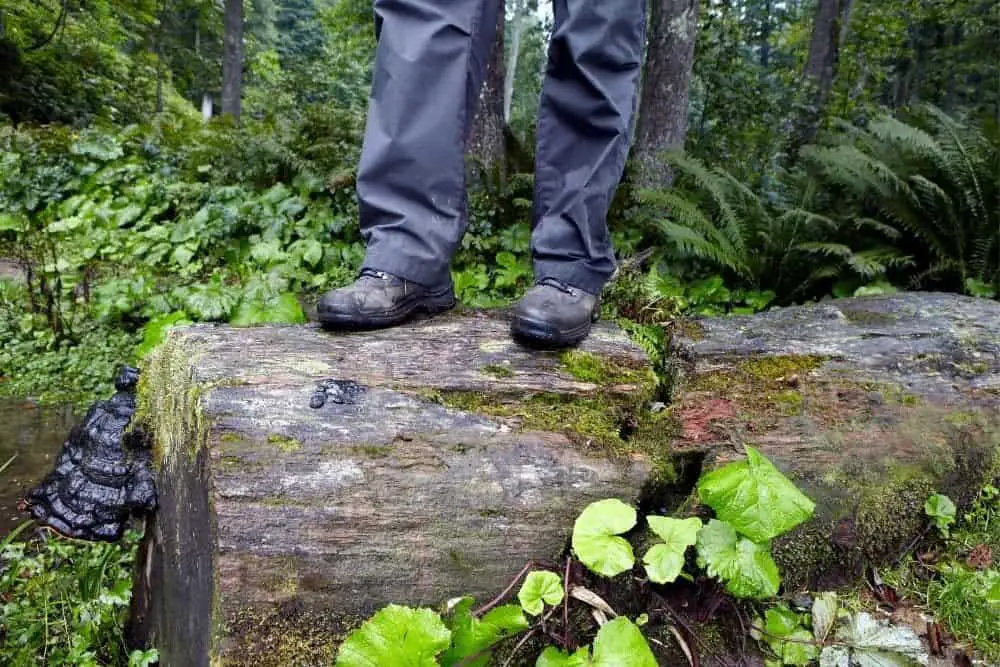
A leak in a hiking boot can come from a number of factors. Excessive heat and cold, constant battering and piercing by spiky shrubs, and endless flexing all contribute to the wear and tear of hiking boots.
It is estimated that an average work boot will start leaking after going 50 miles on rough terrain.
The way some boots are designed makes it easy for water to get in through the laces or punched eyelets. Small leaks are not a sign that you should discard your boots.
Nevertheless, when the soles of your boots are worn to the point that it affects your walking posture, you can feel small stones under your feet, or lose their traction, the best option would be to have them replaced.
Using boots with worn soles increases your chance of sliding and hurting yourself—especially when you are hiking hilly surfaces.
For small cuts and leaks, below are some of the steps you can take to fix them and restore the integrity of your boots.
1. Leaks from cracks or cuts
The most common form of leak that happens to hiking boots is cut or crack.
Natural forces like cold and heat, the movement of the feet while walking, and the scratching of rock, pebbles, and thorns can lead to cuts on the boots.
Those that hike rough terrains are at a greater risk of having cracks on their boots than those that hike flat and clear trails. The material used in the manufacture of your boot can also determine how easily it will crack upon impact.
Boots made from synthetic materials or those with thick rubber coating have a higher chance of cracking compared to boots made with genuine leather.
How to prevent leaks from cuts and cracks
The best way to prevent leaks from cracks and cuts is to be picky with the places you hike.
Also, when hiking any terrain, make sure that you walk on a clear path rather than walking on bush paths which can increase the likelihood of striking your feet on rocks or scratching the side of your boot on twigs.
Another way of preventing leaks from cuts is the use of waterproofing spray. If you already have micro-cuts on your boots, you can use a waterproof spray to prevent water from getting in through the cuts.
Waterproof sprays are often made of quick-drying fluoropolymer compounds that create breathable protection over the cuts thereby repelling water and oil. Most waterproof sprays are suitable for use on leather, nubuck, and suede.
When choosing waterproof sprays, make sure it is suitable for use on your boots. Choosing the wrong spray can lead to the discoloration of your boots.
Also, waterproof sprays designed for genuine leather may not work on suede or nubuck material.

- Waterproof coating repels water, dirt and oil
- Easy-spray nozzle allows quick and thorough application
- Quick-drying fluoropolymer compound creates invisible and breathable protection ideal for use on...
Last update on 2023-11-11 / Affiliate links / Images from Amazon Product Advertising API
How to fix leaks from cuts or cracks
Depending on the size and severity of the cut on your boots, you can use one of the following methods to fix it.
Use sealing adhesives
You can attempt to glue gaping cuts on your boots using boot adhesives. The most common form of leaks comes from the weakening of the glue holding the upper part of the boot and the soles.
Boot glues are perfect for permanently sealing small holes on the boots. The right choice of glue should remain secure even when the boots are exposed to water.
- Shoe Repair and Protective Coating for Leather, Vinyl, Rubber or Canvas
- Bonds, protects and rebuilds for a permanent repair
- Excellent sealant – Perfect for patching Small holes
Last update on 2023-11-11 / Affiliate links / Images from Amazon Product Advertising API
Follow the steps below to fix cuts on boots.
- Use a brush to get rid of dirt, dust, and small sand debris from the boots
- Clean the area you want to work on with isopropyl alcohol until it is squeaky clean
- Apply the boot adhesive in the crack making sure it properly covers every hole
- Keep the boot in a dry level area and allow the glue to set (this may take 8 to 12 hours)
- Once dry, condition and polish the boots. The polish helps to seal off small rips as well as increase the visual appeal of your boots.
Visit a cobbler
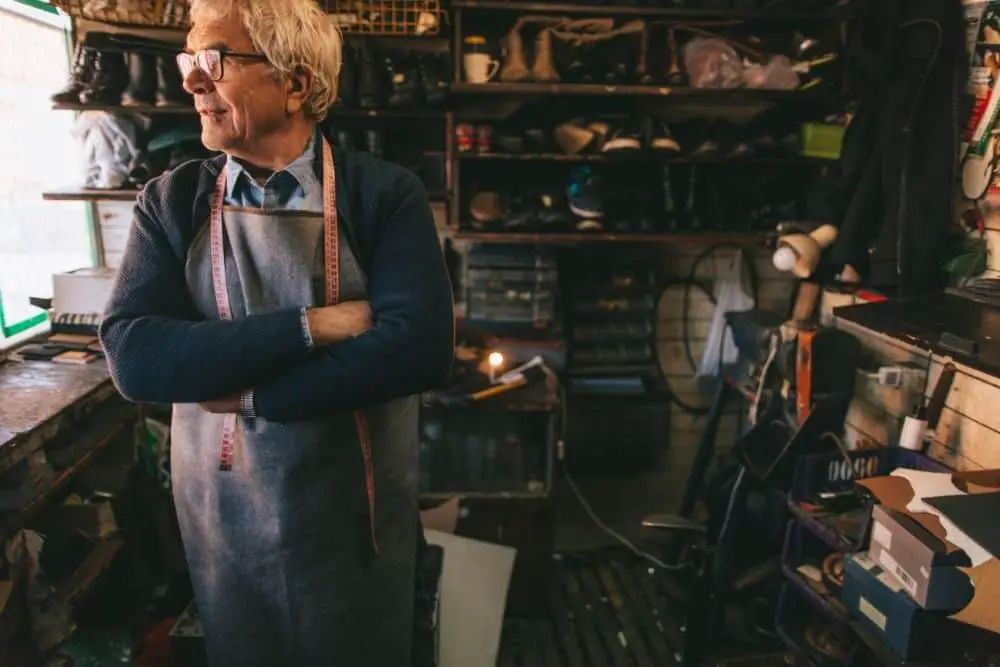
If you have a large and deep cut on your hiking boot, trying to fix it with adhesive may not work. Your best bet at such times will be to take it to a cobbler.
The cobbler should be able to ascertain the extent of the damage and decide on the best step to take to stop the leak.
However, if you have boots made of genuine leather and insist on fixing this yourself, follow the steps below to get it done.
- The first thing you need to do is to cut out a piece of leather from another source. Pieces of leather are often sold separately
- Give your boots a thorough clean
- Rub sandpaper over the rough surfaces until they become smooth
- Glue the cutout leather to the area of the boots with the gaping rip
- Use a scratch filler to fill any remaining hole
- Evenly spread the scratch filler around the rips
- Leave the boots for two to three days before
Bear in mind that achieving a professional finish when you do it yourself may be difficult compared to when you visit a cobbler. If you desire a professional finish, your best bet will still be to visit a cobbler.
2. Leaks from eyelets or stitches
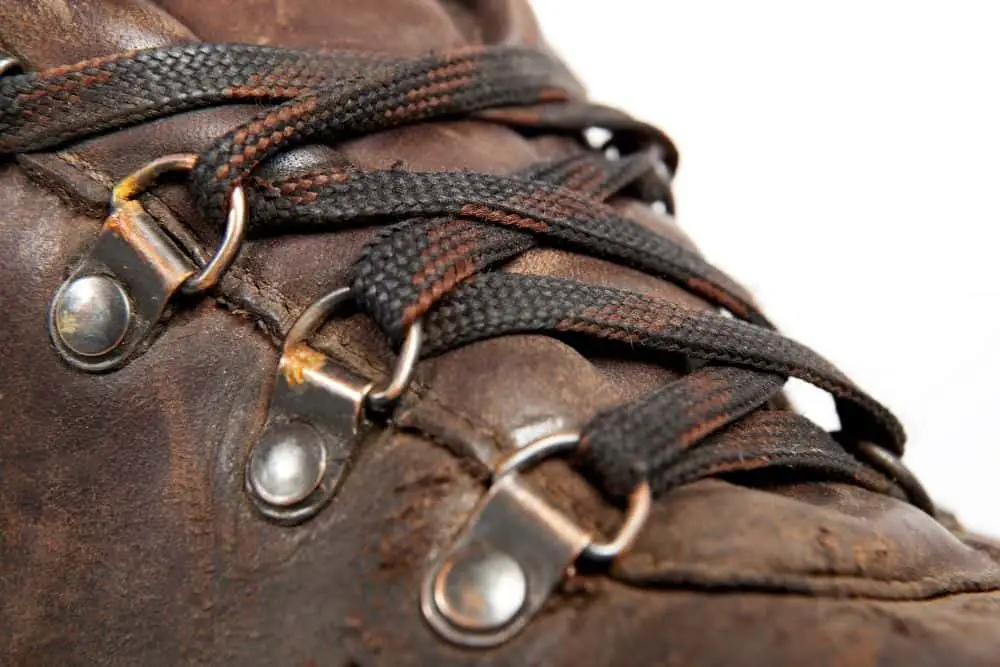
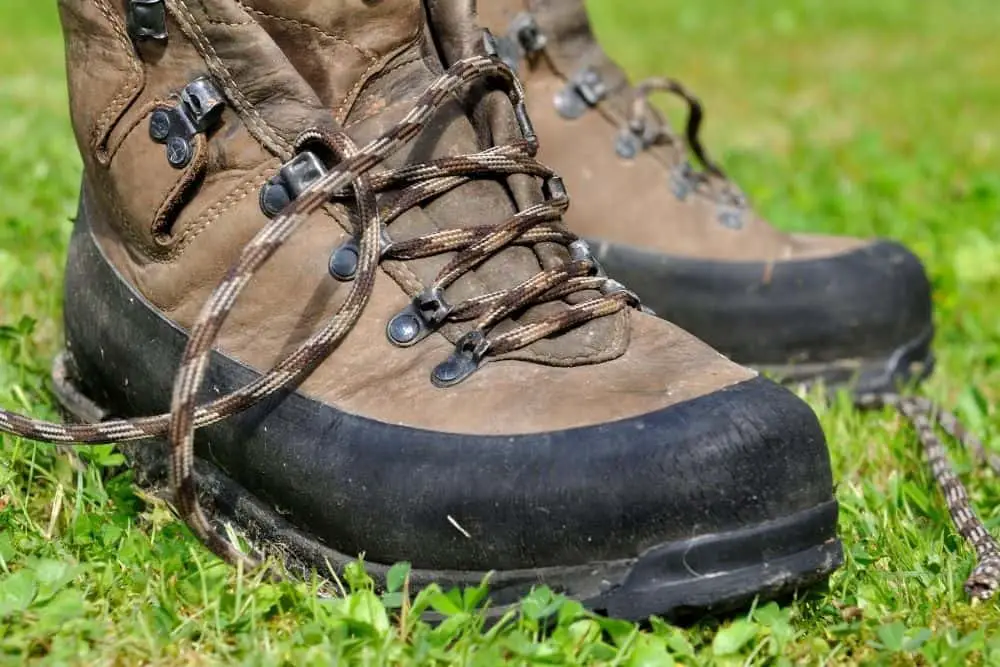
Some hiking boots have punched eyelets and the various parts are sometimes joined with stitches.
While punched eyelets and stitches are boot essentials, they can also become a gateway for water to gain entry into your boots.
How to prevent leaks from eyelets or stitches
Your best bet when it comes to preventing your boots from leaks through punched eyelets or stitches is to invest in boot covers.
Some boot covers have thickened soles with rubberized bumps to enhance grip thereby protecting you from slipping or sliding.
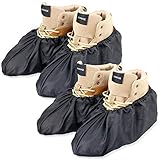
- Reusable & Washable: Durable quality construction with overlock stitch can be used for hundreds of...
- Water & Dust Resistant: The uppers made of water resistant materiel keeps shoes and booties...
- Non Slip Sole: The thickened sole coated with rubberized bumps for superior grip and comforts...
Last update on 2023-11-11 / Affiliate links / Images from Amazon Product Advertising API
Wear your boot cover over your boot until the rubber band grips the top of the boots. The right pair should be able to prevent water from leaking into your boots through punched eyelets or stitches.
Alternatively, you can decide to be picky with your hiking times and location. Try not to hike areas with water logs that rise above the boot soles.
How to fix leaks from eyelets or stitches
Unfortunately, there is no easy way to fix leaks from eyelets. The only way would be to take them to a cobbler who will pry out the punched eyelets and replace them with riveted hooks or D-rings.
For leaks from seams, you fix this problem using boot glue. Simply smear a thin layer of glue over the seams to create a waterproof layer that will stop water from entering the boots through the gaps created by the stitches.
3. Leaks from wear
When chemicals, salt, acids, and petroleum drop on boots (especially leather boots) they gradually lead to the wear of the leather making it easier for water to sip through. These chemicals often litter hiking trails and may not be easy to avoid.
How to prevent leaks from wear
One of the best ways of preventing leaks from wear is the use of leather conditioners.
Leather conditioners often contain wax and oil which melt when spread on the boot to form a protective layer that prevents weathering chemicals from reacting directly with the leather of the boots.
In addition to protecting your boots from coming in contact with harmful materials, leather conditioners can restore the integrity of sun-faded or dried leather as well as prolong their lifespan.
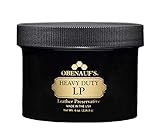
- Leather conditioner cream specially formulated with real beeswax and plant oils designed to melt...
- Heavy Duty Leather Preservative is designed to rejuvante and preserve leather, protecting it from...
- Condition and restore sun faded leather saddles, saddle bags, leather boots, jackets, bags or...
Last update on 2023-11-11 / Affiliate links / Images from Amazon Product Advertising API
How to fix leaks from wear
If your leather is already cracked or badly damaged, you may need to cut out the badly damaged area and cover it with a freshly purchased piece of leather.
Then, follow the steps we outlined under visit a cobbler.
Fixing leaks from worn leather portions is not always an easy feat. It requires a lot of skill which explains why the best option when you need to carry out an extensive repair is to visit a cobbler.
Interestingly, cobblers are mostly small businesses that require your patronage to stay open.
How to fix your boots while on the hike?
Fixing a hiking boot at home is tough but fixing a hiking boot while on a hike is tougher—in fact, no one plans to develop a hiking boot while on the move.
Striking your boots against a sharp rock is one of the many reasons that can cause your hiking boots to start leaking while on a hike.
A bad leak can cause the abrupt termination of an exciting hike. This is one of the reasons why it is necessary to carry hiking essentials in your backpack anytime you are out on a hike.
If you have thick nylon bags in your backpack, you are in luck. Take it out and wrap it all over the boots all the way up to your calves.
Nylon boot covers will also come in handy in this regard.
If you have one in your backpack, all you need to do is take it out and wear it over your boots and continue your hike. Now you have another reason to take your hiking essentials more seriously.
Conclusion
Most leaks that happen on hiking boots are preventable through proper maintenance.
For example, frequent cleaning and conditioning of your boots can prevent the buildup of corrosive chemicals that will eat away your boots.
While some people are meticulous with cleaning their boots, they often use inappropriate methods in drying the boots.
For example, the use of open flames, radiators, or campfires to dry boots can lead to the melting of the glue leaving gaps for leaks.
While it is important to fix your boots when it has leaks, know when the boots have outlived their relevance.
At that point, leaks will be more frequent. Buying a new pair will be a cost-effective option compared to trying to keep up with fixing the leaks.