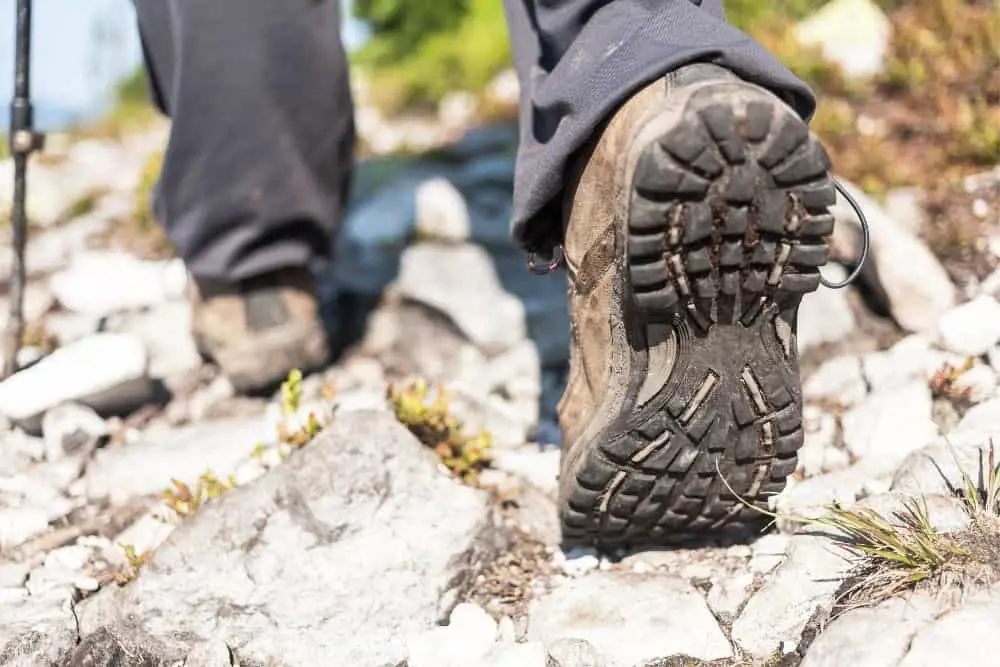
When you wear your hiking boots for the first time or while they are still pretty new, you can feel their traction level. Their grip on the trail will be second to none because their tread is still intact.
However, as time goes on and the more you use them, their tread will wear out and their grip will not be the same. This occurs due to the frequency of use and on what terrain you wear them.
Your hiking boots’ treads are much more likely to wane faster than other shoes because of the terrain you wear them on. For example, if you wear your hiking boots a lot on rough or slippery terrain or in mud, the tread will wane out faster.
And if you don’t do something about it, you may find yourself slipping and falling on the trail the next time you hike. Even though this is a probable situation, and it sometimes depends on where you hike next, it is risky.
You could end up with a broken bone, bruises, sprained ankles, and other uncomfortable situations. Of course, you might have thought getting new hiking boots that have their treads intact is the best option; it is safer.
But sometimes, that option may not be feasible because of the cost of hiking boots. But thankfully, there are several ways to retread hiking boots for continued use, and they are all pretty easy.
So, how do you retread hiking boots? We will discuss the multiple methods you can try to do that.
Let’s get started!
Contents
How Do You Retread Hiking Boots?
To make hiking in your hiking boots with waned soles injury-free, you need to do more than wish or hope because that is not enough or going to save you when you slip on the trail.
You need to fix them till you can afford to buy new hiking boots, and thankfully, there are many DIY ways to retread your hiking boots for continual usage.
If you can retread your hiking boots, you can enjoy hiking for a while longer without worrying about falling. However, retreading your hiking boots won’t be the same as the real deal, but it is better than wearing your boots without tread.
How do you retread hiking boots? The following are some of the ways to do that:
Resole hiking boots
The more permanent way to retread hiking boots would be to resole hiking boots completely. You would be reverting to their original grip.
This will greatly improve hiking boots’ traction for hiking on different terrains. Resoling hiking boots is not exactly inexpensive or less stressful, so you could resole your boots when the soles are completely bad and beyond a temporary fix.
Resoling your hiking boots can be a bit complicated because not all hiking boots’ soles can be resoled, and sometimes, doing it yourself can be stressful. But as long as your hiking boots can be resoled, you are one step closer to retreading your boots.
This DIY project requires that you glue a new rubber sole to your hiking boots. However, it is best if you send it to a professional for a better job.
Pros
- More permanent way to retread hiking boots.
- Improves hiking boots’ grip greatly.
- Can work well for any hiking terrain.
- Almost as good as new.
Cons
- It requires time and effort.
- Not all hiking boots can be resoled.
Glue tire to sole
Tires have these patterns on them that help with cars’ traction on the road. And they can help with your hiking boots’ tread as well. This retread method is good for when the option of resoling or using a rubber base isn’t available for use.
Besides, it is easier and less expensive to use the supplies you already have in your home than to buy them. You could use one of the old car tires that you don’t use anymore for this purpose.
The tire will last for a long time till you can get new hiking boots or you get a permanent fix. For this method, you need glue and, of course, your tire or scraps.
Then, you cut the tire in the shape of your hiking boots’ soles. You can either cut it full, or you can cut the heel and toe area differently, depending on your choice.
To ensure that your hiking boots still look good, you should cut them appropriately and glue them to the soles neatly. Once they are dry, you are good to go.
Pros
- Easy resources.
- Improves hiking boots’ grip on different terrain.
- Can last a long time.
- Doesn’t require expertise.
Cons
- Can fade with time.
- Procedure can be stressful.
Use hot glue on the sole
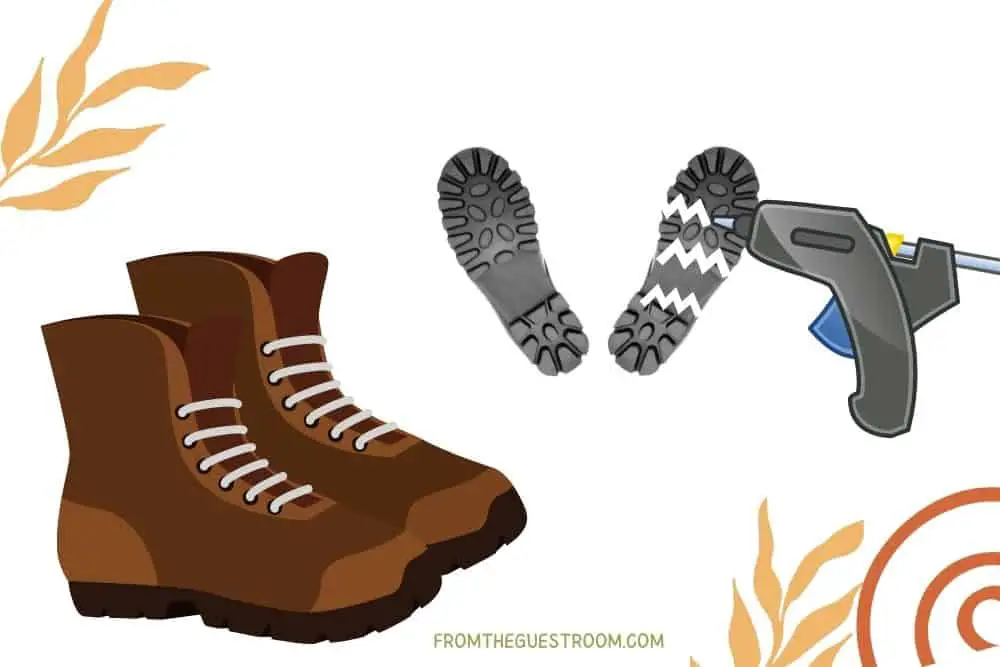
Hot glue on the sole can also help to retread your hiking boots. This will help improve your hiking boots’ grip on different terrains, especially slippery ones.
With hot glue and an electric glue gun, you can restore your hiking boots’ tread. When you get both, you can draw patterns on the sole with the glue so it won’t be bare.
When you are done, you will then leave the glue to dry up and up, and you can wear your hiking boots on the trail.
Pros
- Helps to restore hiking boots’ tread.
- Easy to do.
Cons
- Not a permanent fix.
Ways To Improve The Traction Level of Retreaded Hiking Boots
Sometimes, retreading your hiking boots isn’t the only solution. In fact, most of the time, there are some tips to try to improve the traction level to prevent slippage on a trail. Let’s look at some ways for you to improve your retreaded hiking boots’ traction.
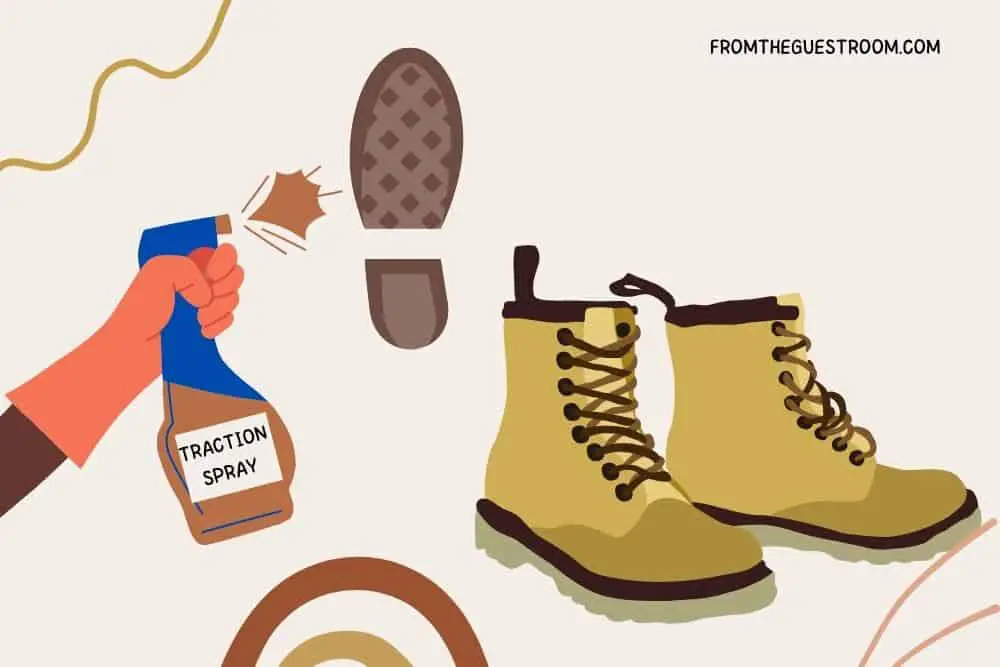
Apply traction spray

- Ideal for all sports
- Excellent for bat handles and vaulting poles
- Wash off with soap & water
Last update on 2023-11-10 / Affiliate links / Images from Amazon Product Advertising API
When you notice that your hiking boots’ soles have faded and you have slipped once, or a couple of times, on the trail, you should not wait till it becomes a big problem. Finding a temporary or permanent solution without buying new boots is a more likely thing to do.
And you can get your hiking boots to improve their grip on the trail by applying traction spray on the sole. Traction sprays are like adhesives that you spray on your hiking boots’ soles to improve the traction.
The adhesive coat will protect your boots from slipping. This retread method is especially good for when you are hiking in the snow or on cement.
It is also a quick fix before you hit the trail. However, it is more of a band-aid solution that will not last long.You should probably have traction spray with you, not just for when your hiking boots’ soles fade.
They will also come in handy for reinforcing grips on snowy trails during the winter. When you get your traction spay, ensure you follow the manufacturer’s instructions when applying it.
But generally, you only have to apply them on clean soles and wait a few minutes for the spray to dry on your hiking boots. Before you wear your hiking boots, ensure that the spray dries completely, or it can stain your floors.
One major drawback of this method is that the glue can collect dirt, especially when you don’t let the adhesive dry completely.
Pros
- Quick and easy fix.
- Improves grip on slippery terrains.
Cons
- It is temporary and doesn’t last long.
- Make hiking boots and collect dirt.
- Can stain the floor.
Use salt and rubber glue mixture

- One Glue To Rule Them All – Glue Masters offers premium quality industrial strength Cyanoacrylate...
- A True Quick Fix – Settles in just under 60 seconds, this glue is the epitome of easy. Gently...
- A Hobbyist's Best Friend – Helping bring your models, puzzles, and more to completion is our...
Last update on 2023-11-10 / Affiliate links / Images from Amazon Product Advertising API
Your hiking boots’ soles probably need a little bit of extra grainy surface and texture to improve their grip on the trail. If adhesives are not enough, why not mix them up with something grainy like salt?
Coating your soles with a glue and salt mixture will help to ensure grippy treads that will enhance your grip. Since your hiking boots’ soles are rubber, rubber glue seems more appropriate for this purpose.
To do this, you don’t need to mix salt and rubber glue together. But first, you would need to make sure your hiking boots’ soles are clean. Then, you can apply the rubber glue to the soles.
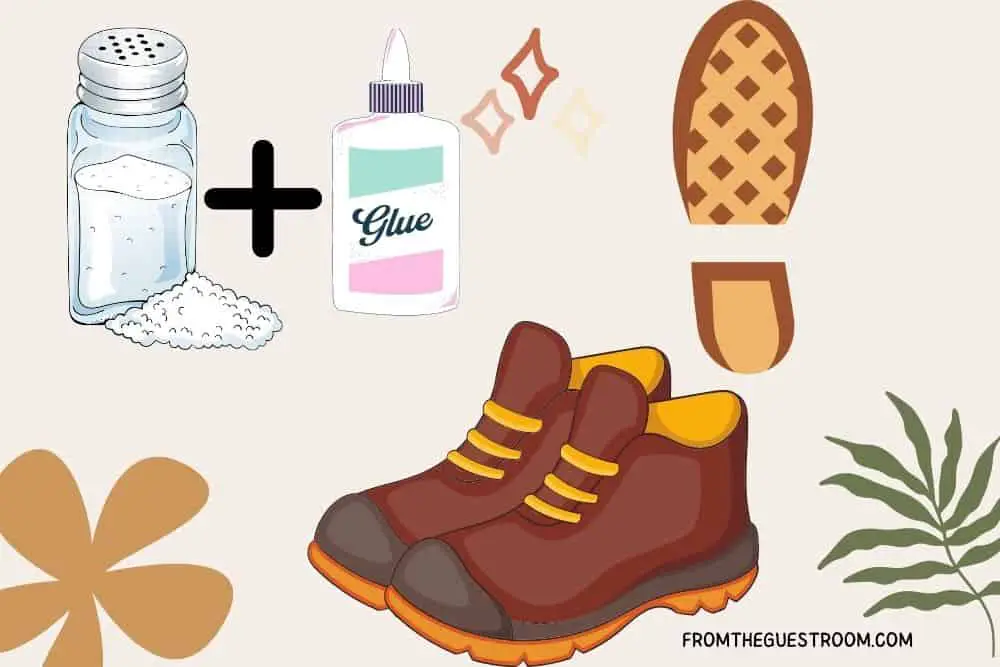
You could pattern the glue whichever way you want, or you could make it match the original one on your hiking boots’ soles. After you do that, you sprinkle salt over the glue base for the grainy touch. Then you let the mixture dry on your boots.
This method, just like the first one, is also a temporary fix. But they are helpful for walking over slippery terrain, and they help improve grip on different terrains.
Pros
- Fast and simple way to retread hiking boots.
- Enhances traction on slippery terrains.
- It’s DIY and requires no special skills.
Cons
- Temporary fix.
Spray with hairspray

- Elnett Satin Extra Strong Hold Hair Spray is a long-lasting, brushable hairspray with a clean, soft...
- Extra Strong Hair Spray: This humidity-resistant, long lasting, firm hairspray for women and men...
- How will you style it: Whether your style is curly, wavy or straight, this extra strong hold...
Last update on 2023-11-10 / Affiliate links / Images from Amazon Product Advertising API
Who could have thought that a hair product would be useful for your hiking boots? But of course, you probably sometimes use a hairdryer to quickly dry your hiking boots, but that can’t work here.
Your hairspray can help to retread your hiking boots temporarily. This method of retreading is not as effective as the ones we mentioned earlier, so it will require that you use the hairspray every time you want to hit the trail.
However, they are good for making your hiking boots’ faded soles more slip-resistant. If you have no other options available and you need to hit the trail real quick, this method is one way to do that.
But, of course, you would need to have hairspray to do that. Then, you remove any form of dirt or grime on the sole before applying the hairspray.
After that, you need to wait for the hairspray to dry completely before you hit the trail.
Pros
- It is a quick fix.
- Requires household material.
- Make your hiking boots slip-resistant.
Cons
- Requires reapplication during hiking.
Glue sand to the sole
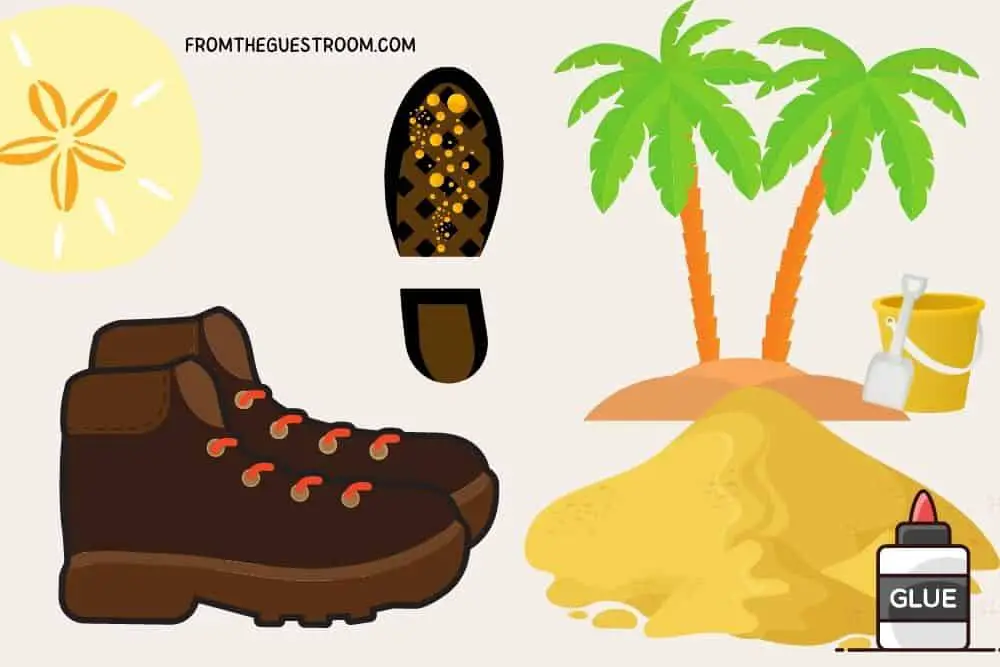
One thing that can ensure hiking boots’ grip on the trail is if the sole has a coarse texture. When the sole is smooth and the terrain is slippery, that increases the chances of slippage when on the trail.
This often occurs when the lugs have completely faded. Sand can add some coarseness to the sole and improve your hiking boots’ grip on the trail.
What you need to do is glue sand to the sole of your hiking boots. Spray adhesive and dry sand will help to ensure that.
- ALLOWS FOR QUICK REPOSITIONING for perfect placement
- EFFECTIVE adhesive provides a secure bond in 30 seconds to 15 minutes
- IDEAL FOR LIGHT-DUTY MATERIALS including paper, fabric, felt, lightweight wood, cork, flexible foam,...
Last update on 2023-11-10 / Affiliate links / Images from Amazon Product Advertising API
After spraying the adhesive on the sole, you then sprinkle the sand on the glue to make it better.
Pros
- Easy and simple to do.
- Quick fix for retreading hiking boots.
Cons
- It is temporary.
Use ice grip traction aid
- ICE CLEATS: Due North's Everyday G3 keeps you safe when walking or running in snow and Ice. With...
- MILITARY GRADE: 6 Tungsten Carbide Due North Ice Diamond Spikes are integrated into a proprietary...
- NO SLIPPING: Textured lining helps to prevent movement and slipping on sole of shoe/boot
Last update on 2023-11-10 / Affiliate links / Images from Amazon Product Advertising API
If your hiking boots’ soles are too slippery for hiking on snow, ice, or slippery surfaces, you can get an ice grip traction aid to make up for that. This is especially good if you would rather not do anything physical or that requires strength or time to retread your hiking boots.
The ice traction aid will help to improve your grip on the trail even when you don’t want to alter or mess up your hiking boots’ soles with all those glue solutions. You don’t need to glue this traction aid to your hiking boots; you can just wear it over them.
This means that when your hiking boots are not in use, you can remove them, and you can use them on your other shoes to improve their grip when walking.
Since they are removable, this helps to ensure that they last for a long period of time, and you can use them for as long as they are good.
Pros
- Suitable for most terrains.
- It is less stressful and time-consuming.
- Can last a long period.
- Ease of use.
- Easier than DIY.
Cons
- May crush your feet if they are too tight.
- The rubber is prone to breaking.
Glue rubber base or non-slip grip pads to your soles
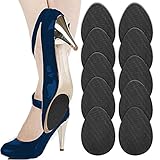
- Non-Skid Pads for shoes: Prevent shoes slips and fall with strong self-adhesive and durable...
- Suit for any size of shoes for man or women. Better for high heels, boots, sandals and gents shoes.
- Durable Materials. Made with durable materials with strong stick. Those pads increase extra...
Last update on 2023-11-10 / Affiliate links / Images from Amazon Product Advertising API
Resoling your hiking boots can be expensive and stressful. Sometimes, getting the appropriate soles to replace the old ones can be stressful.
Worst of all, some hiking boots can not be resoled. Should you then dump your hiking boots because of that? Not necessarily, because you can glue non-slip grip pads on the faded soles.
In addition, this is good for when you don’t want to completely resole your hiking boots or when that isn’t even an option at all. You can install the rubber base or non-slip pad around the toe or heel or both, depending on how you want it, but maybe balancing both will be best.
You should also know that this rubber base or grip pads will adhere better to a plain surface than if there are still some patterns on the surface. When you get your rubber base, you will then need to glue it to the soles.
They work almost the same way as the original one, and they can last a long time. In addition, you should ensure that you use good glue so the rubber base does not keep coming off.
The good thing is that you can also cut them to any size or shape to suit your hiking boots’ needs.
Pros
- Work almost the same as soles.
- Good alternative for resoling.
- Improves hiking boots’ tread and grip on the trail.
- It lasts long.
Cons
- May peel off the sole.
Sandpaper the sole or scrape on an abrasive surface
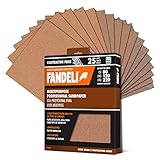
- PRODUCT SIZE AND CONTENTS: The package includes 25 pieces with a choice of 3 grits: 80 (5 sheets),...
- POSSIBLE USES: Versatile use as it can be used for a variety of purposes such as carpentry,...
- GREAT DURABILITY AND MORE ADVANTAGES: Our wood sandpaper is exceptionally durable and allows you to...
Last update on 2023-11-10 / Affiliate links / Images from Amazon Product Advertising API
Like we mentioned earlier, hiking boots’ soles’ coarseness can help to improve the boots’ tread. However, in this case, to make the soles coarse, you need to scrape the sole.
You can do that using sandpaper or by scraping it on an abrasive surface like cement. When you make the surface coarse, it helps hiking boots grip slippery surfaces like snow or mud better.
You can try this method when there is no other alternative and you want to hit the trail soon. This method is very temporary because the coarseness reduces the more you use it on a slippery surface.
Therefore, you may have to keep doing this till you try a more permanent option.
Pros
- Ease of use and quick.
- Does not require much tool or effort.
Cons
- Method is temporary.
- Makes hiking boots’ soles wane.
Conclusion
Hiking boots with tread help a lot on the trail. It helps to ensure your safety when you are hiking. However, hiking boots can not retain their tread forever because they wane with time and usage.
When this happens, it can send you falling on the trail and cause you pain. But thankfully, you can fix that and make your hiking boots good again for use on slippery terrain.
We have discussed how to retread hiking boots with different methods, and you can choose one that you can do effortlessly or that is best for your hiking boots and safety.
While temporary fixes are good and quick, it is better if you do something more permanent, so you don’t have to keep retreading your hiking boots every now and then.
Resoling your hiking boots will probably be the best option, but you can try rubber grips, tires, or other more permanent methods. However, if you notice your hiking boots are not suitable for hiking anymore, tread or not, you should replace them immediately.