
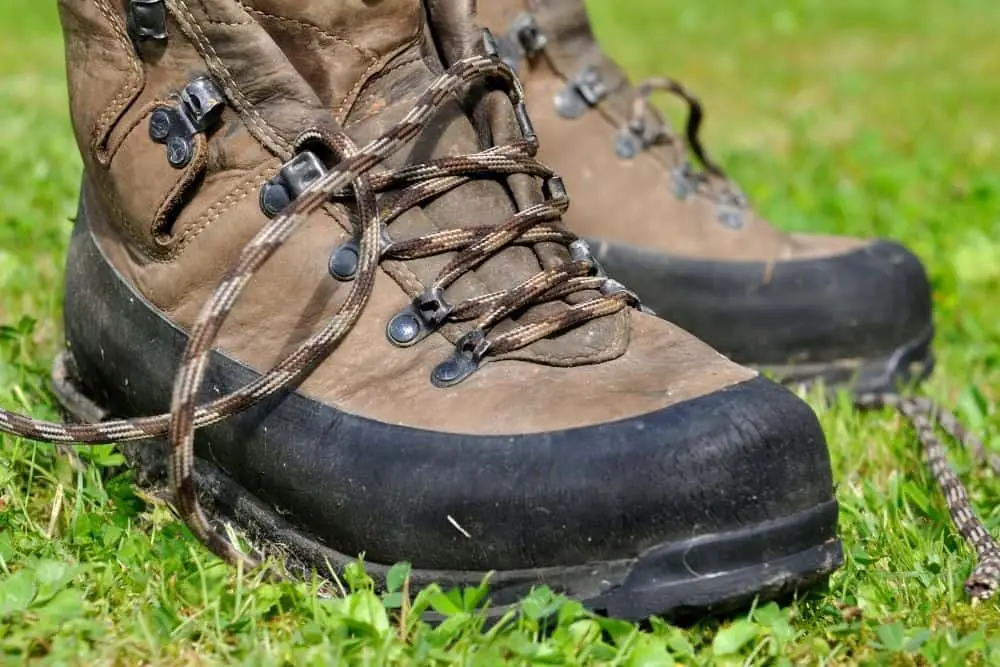
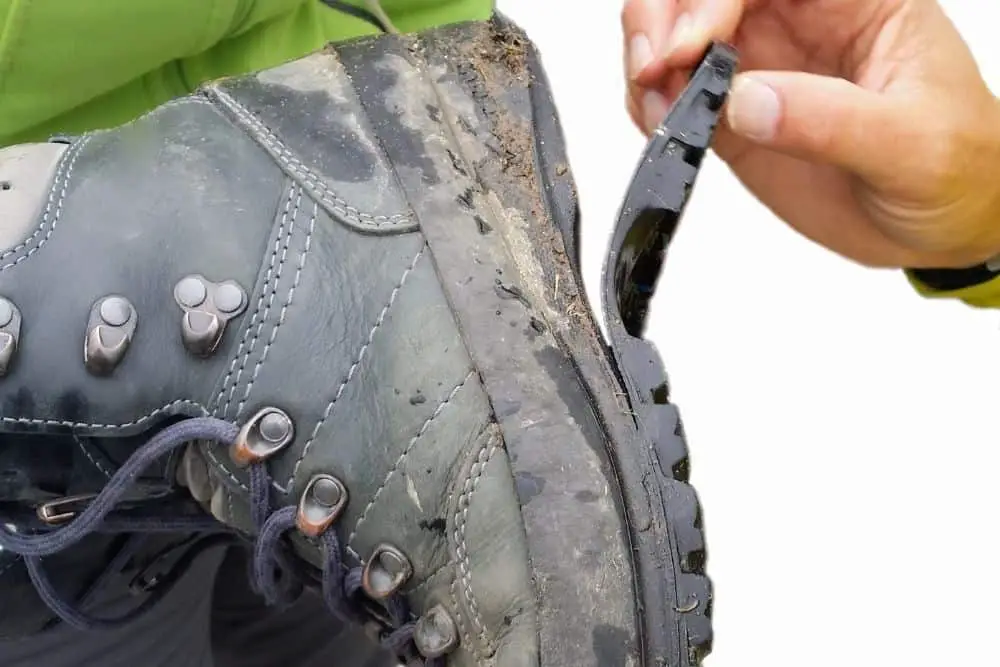
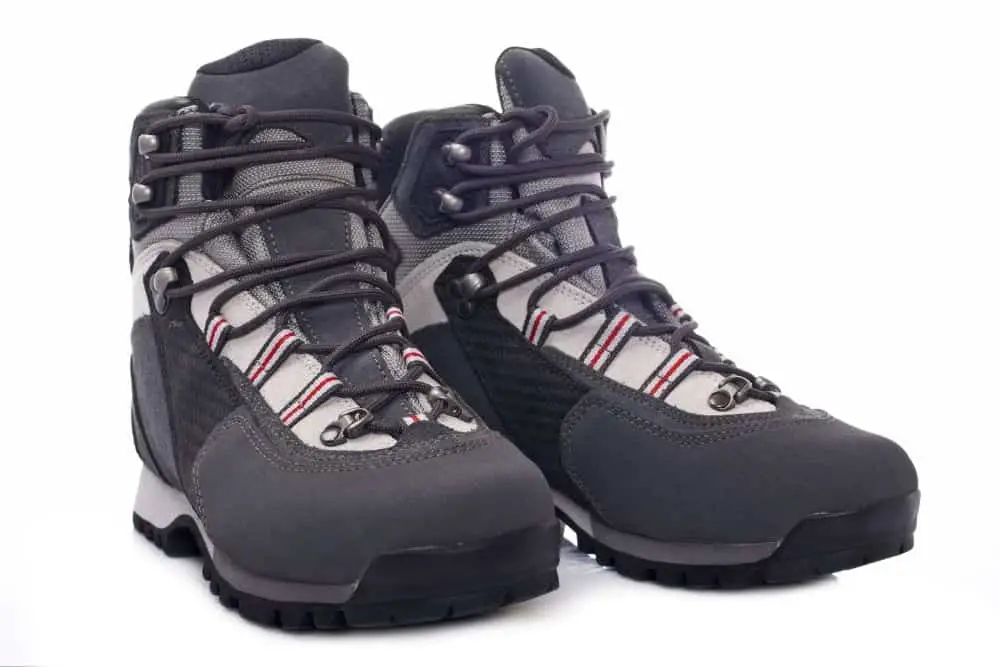
One annoying thing that could happen to you when hiking is your boot sole coming off. However, this could happen to anyone, and it’s usually when you least expect. Not only can it be annoying, it also poses several dangers to your hike.
For instance, you wouldn’t want to hit your foot against a rock, or worse, step on a sharp object. If you’re lucky, your hiking boot’s outsole could come off when you’re at home preparing for a hike.
Apart from their outsoles coming off, you could also notice some large rips and holes on them. However, the good news is that you can fix these damages if you’re not ready to let go of your hiking boots yet.
How? You could glue them up and still get to use them for a longer period. In this article, we’ll teach you how to glue your hiking boots.
Read on to find out.
Contents
How To Glue Hiking Boots?
Why do you need to glue hiking boots in the first place? Do the manufacturers make them so bad that the soles fall off or rip open after a few wears?
Of course not; it is not about that. In fact, many things come into play when your hiking boots rip.
Honestly, manufacturers do want you to enjoy hiking as much as possible and with comfort. So, what could possibly cause your hiking boots’ outsoles to come off?
Sometimes, it could be that they’re old, you exposed them to moisture or heat, or they got caught in something. These things are sometimes usually out of your control, but you can’t let that hold you back from fixing your hiking boots. How can you do that?
Here’s how you do that:
- Prepare the material you need, i.e glue, tape, cotton balls and alcohol.
- Clean the area you want to glue with cotton balls and alcohol.
- Apply glue on the surface you need to fix.
- Hold together with duct tape.
- Leave it to dry for two to three days.
How To Glue Outsoles Back On Hiking Boots
First, you need to get the materials you’ll use to glue the sole to the upper. What do you need? You need:

Last update on 2023-11-10 / Affiliate links / Images from Amazon Product Advertising API
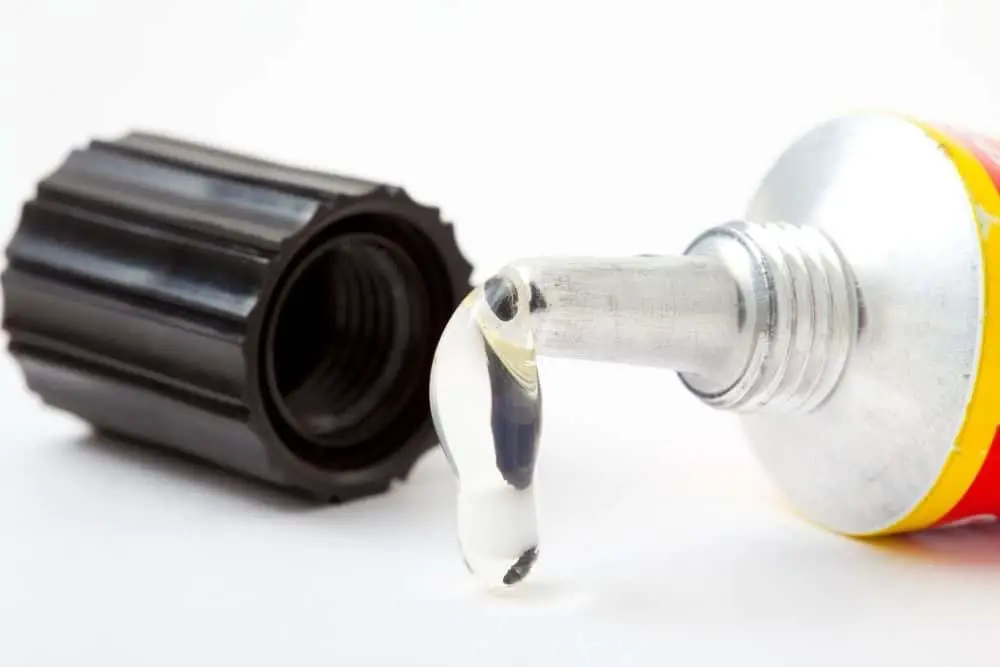
Note: Ensure you get an excellent adhesive that will last a long time, like Shoe Goo or Gorilla Glue .
Steps to follow:
Step 1. Clean the area
You need to ensure you clean up any form of dirt on the outsole and the midsole. This is because dirt could prevent the sole and boot from bonding.
You can use cotton balls and alcohol to wipe the surface clean. But then, you have to wait for the alcohol to dry before you proceed completely.
Step 2. Apply the glue
After you have cleaned the spot, you then apply glue on the inside of the outsole, where the sole and upper meet. Then, spread the glue evenly and wait for a few seconds.
The next thing you do is to hold the sole and upper together, until they’re firm. Finally, you need to hold your hiking boots tightly, so there’s no opening between them.
Step 3. Hold together with duct tape
Holding it together could get tiring at a point, especially if you have to do other things. So instead, you can wrap duct tape around it to keep it together.
Run the tape from the boot side up to the upper. It would be best if you let the bond dry before you could wear the boots.
You can wait for it to dry naturally, or you can use a hairdryer to speed it up. Then, wait for 2 to 3 days for the adhesive to dry completely.
How To Fix A Hole In Your Hiking Boots’ Outsole?
Unlike the midsole, if you have a hole in your hiking boot’s outsole, you can also fix it with glue. How? You only have to fill the gap up with glue. And what do you need?
Last update on 2023-11-11 / Affiliate links / Images from Amazon Product Advertising API
Steps to follow:
Step 1. Clean the outsole
First, you need to clean the outsole and the hole so the adhesive can stay properly. Next, ensure you remove stones, sand, or any lingering dirt stuck in the hole.
Step 2. Scrub hole edges
The next thing to do is to scrub the hole edges with sandpaper thoroughly till they are rough.
Step 3. Cover hole with duct tape
You only need to use duct tape if the hole goes through to the other side. So, you apply the tape inside the boots so the glue doesn’t enter the boot from the spot.
Step 4. Fill the hole with adhesive
Pour the glue into the hole till you fill it up. Then, to ensure the bond levels, you can use an ice cube to spread it to fill the gap evenly. After leveling it, you wait for the glue to dry up.
Step 5. Level with sandpaper
When the glue is finally dry, you should use sandpaper on the glued surface until it becomes smooth. This is so that that spot can level up evenly with your hiking boots’ outsole.
Also, don’t forget to remove the duct tape from inside the boot. Finally, you will have to wait for about two or three days for the bond to completely dry before wearing the hiking boot.
Pros and Cons of Gluing Hiking Boots
No doubt, gluing your boots is a good thing because you still get to wear them for a longer period without worrying about getting new ones. But, on the other hand, it may not be the best thing to do.
Let’s see some pros and cons attached to gluing your hiking boots.
Pros
Affordable
Gluing your hiking boots is a cheaper means compared to getting a new pair.
First, new hiking boots are expensive, so why bother when you can glue them up yourself at a more affordable rate?
Also, taking it to a professional for fixing could cost more than repairing it yourself. A professional would charge you for the materials they use, their time, and expertise, and it could cost more if you do that yourself.
Additionally, you can get adhesives below at an affordable rate that give a quick fix for your hiking boots. That’ll cost you less than half the amount of getting a new pair.
It is quick
Gluing your hiking boots takes a lesser period than going to a professional for a fix. All you need to do is get the materials you need and follow the right steps, and you’re good to go.
Moreover, you might only spend a few hours gluing it up. But, on the other hand, your hiking boots could spend days at a professional’s office.
This is because a professional probably has other jobs and would take a while to fix yours. Meanwhile, you can fix it in a few hours and wear it two days after the glue dries completely.
Longer boot lifespan
When you glue your hiking boots, you’re extending their lifespan some hundred miles more. And unlike what you might believe, gluing hiking boots doesn’t make them inferior to what they were.
In fact, you’re only simply returning them to their original shape. Although they may not look as good as new, they’ll still get to serve you for what you need them for; hiking.
So, gluing is a good choice if you can’t afford to get a new one.
You’re learning a new skill
Who would’ve thought that you could fix your hiking boots? Most times, some people believe footwear repairs should be for professionals alone.
However, if it’s something you can fix without spending or sweating much, why not fix it yourself?
That way, you’re learning an additional skill to the ones you already have.
Also, it means that you can fix your hiking boots in the future in case the soles separate again. At the same time, you could also repair your other footwears that need your expertise!
It’s environmentally friendly
If you’re big on a safe ecosystem, you would realize that you should fix your hiking boots rather than throw them in the garbage. So, apart from the fact that they’ll save you a lot of money, it also helps protect the environment.
This is because they are not exactly biodegradable, and they add to the environment’s waste when you dispose of them. Also, hiking boots are difficult to recycle because of the materials they possess.
When you fix your boots yourself, you help keep them from landfills and lower the resources that’ll go into making a new pair. So, you’re helping to contribute to a safer environment when you don’t throw them away.
Cons
It may not look professional
Gluing your hiking boots for a quick fix may look unprofessional. You may have, at the point of fixing it, smeared your boots with glue, making it obvious that an amateur did it.
In addition, you could also maybe add too much or too little glue to the sole. This could either smear the glue over the sole or not be too much to bond the boot.
However, if you care more about its functionality, you wouldn’t let the “unprofessional” look bother you much. After all, that’s what matters.
It can be hard to remove
If the glue sticks on your hands or clothes, it can be hard to remove. However, if you’re quick enough, you can wipe it with a damp rag or acetone before it dries up
To avoid it smearing on your skin, clothes, or other surfaces, you should wear protective gear and cover the spot you use.
Glue isn’t non-toxic
Adhesives contain toxic substances which are harmful to humans. So, you must wear a glove or wash it off your hands under running water immediately after contact.
Also, try not to inhale the fumes while you’re working with it. Ensure that you use them in an area with enough ventilation.
Also, they may be flammable, so you’d want to be careful when using them.
Reasons To Glue Hiking Boots
Do you think it’s unnecessary to glue your hiking boots and go for a new pair instead? There are many reasons why people glue their hiking boots, and they are:
1. The boot needs repair
One primary reason anyone would want to fix their hiking boots is that they need to fix them. For example, the sole could’ve peeled off from exposure to moisture or too much heat.
Also, it could be that there’s a hole in the sole that you need to fill up. You will need to repair it if you want optimum protection for your feet when you wear them hiking.
2. Prevents Easy Separation
Here’s something you might not consider. Gluing hiking boots doesn’t always have to be after it has gone bad.
Sometimes, you can glue the sides between the sole and upper part for added adhesive strength.
For instance, if you feel your hiking boot isn’t durable enough for the trail you are about to hike on, you might want to add some glue. This way, there is a lesser chance of your hiking boot’s sole separating from the upper part.
3. You don’t want to give them up yet
Another reason why you would want to glue your hiking boots is to avoid replacing them. However, sometimes we’d feel that some things mean a lot to us, and we don’t want to give them up yet, so we try to fix them.
So, the solution to that is to ensure that you can still wear them. And since it’s easier to glue hiking boots on your own, why not?
How To Prevent Hiking Boots Soles From Separating?
Some of the issues you will likely face while using hiking boots lie with the separation of midsoles and outsoles. In boots generally, the midsole is usually between the footwear’s outsoles and the insole.
Manufacturers usually make the midsole with polyurethane or EVA because of the shock absorbency they possess. However, one of the many things that could tamper with the glue keeping hiking boot soles together is moisture.
How? Moisture could cause hydrolysis, which is a chemical breakdown. So, if your hiking boots absorb water often on its inside, the midsoles are prone to damage, leading to separation.
However, you can try to prevent further damages like sole separation. How?
1. Store your boots properly
You will need to protect your boot from moisture at all costs. And you can do this by storing them in a place with enough ventilation as heat could cause hydrolysis.
2. Keep them dry
Always ensure that your boots are always dry. If you wash them, ensure they properly dry before you store them.
In addition, if they get wet, you have to ensure they are dry before taking them in.
3. Wear them often
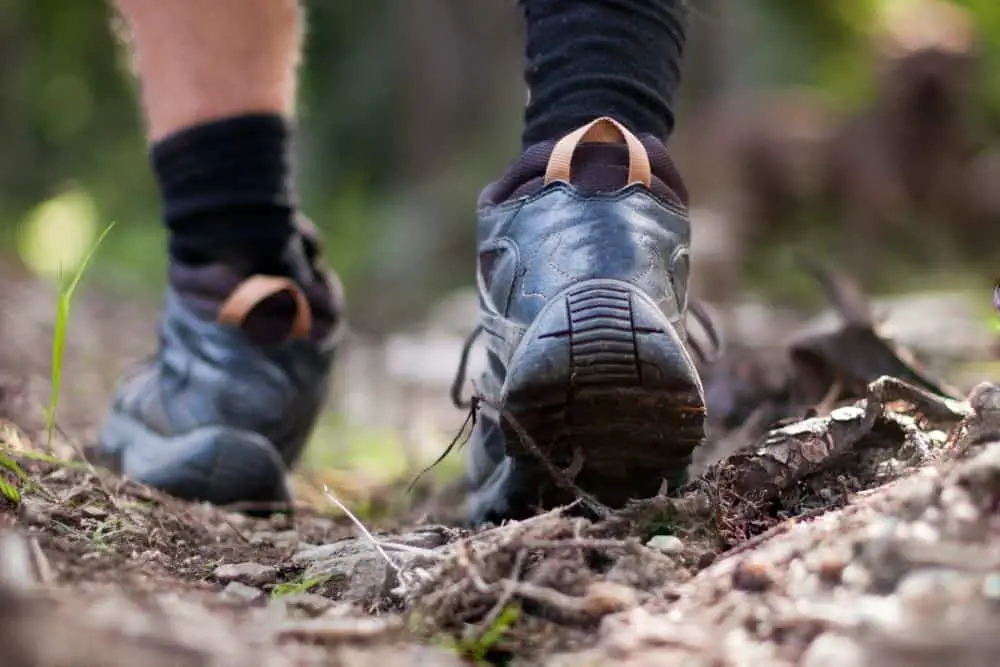
Contrary to what people may think, wearing your hiking boots often can help prolong the midsole. So, if you store them more than you use them, the polyurethane is more likely to decompose.
Moreover, you can quickly know that your hiking boot midsole is about to peel off when you see tiny cracks around its area. So, it’s best if you check frequently to find out.
Also, you can try a pressure test to see if the sole is still intact. You can press an object in the sole and see if it’s still hard. If, by chance, your midsoles peel off while hiking, you can hold them in place temporarily with tape.
So, you may want to consider carrying duct tape with you when you go hiking.
Conclusion
It can sometimes hurt to see your precious hiking boots wear out, especially when they start ripping or peeling. However, you don’t have to let them go just yet. You can fix them up with glue, and they can still serve you for a longer period.
This article has listed ways you can fix your hiking boots with glue, with clear step-by-step guides. All you need to do is stick to the directions, and you can keep wearing your hiking boots.
Also, you need to bear in mind to get quality materials for a long-lasting fix. Good luck gluing your hiking boots!
Read more: How To Fix Leaking Hiking Boots?