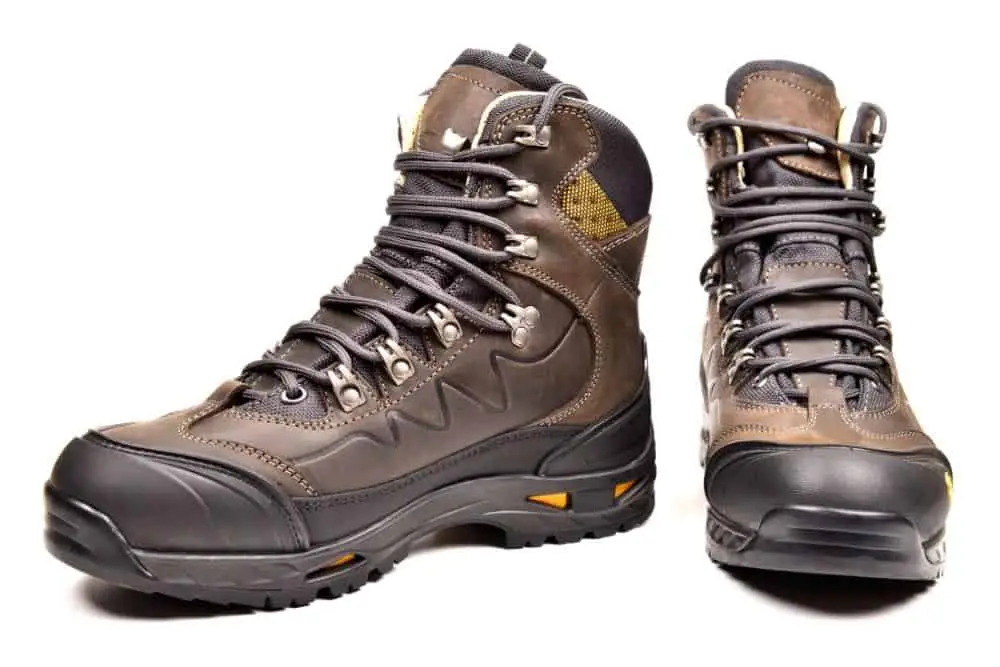
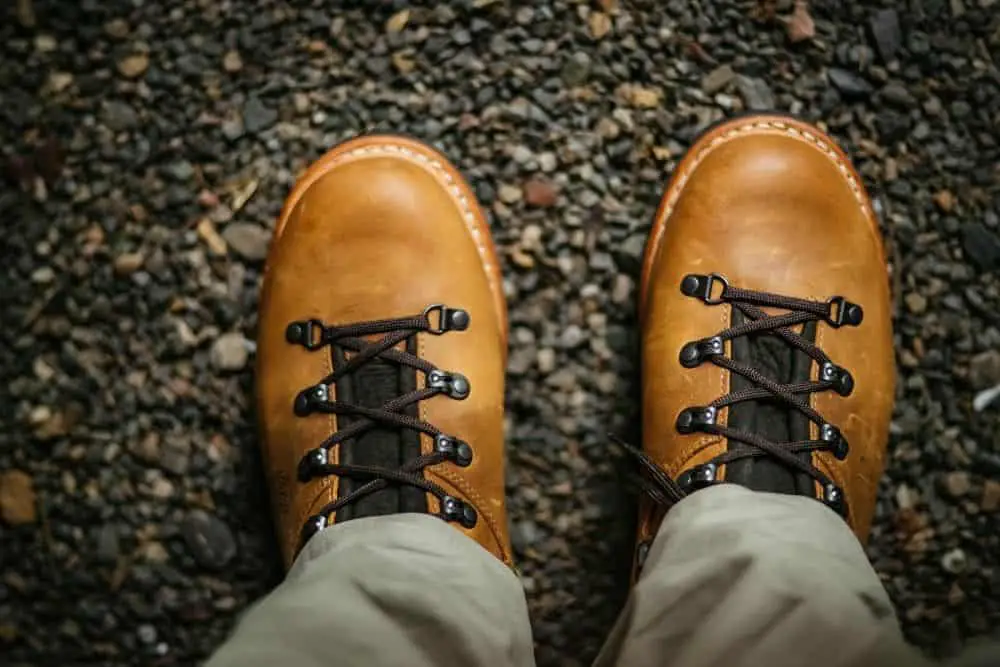
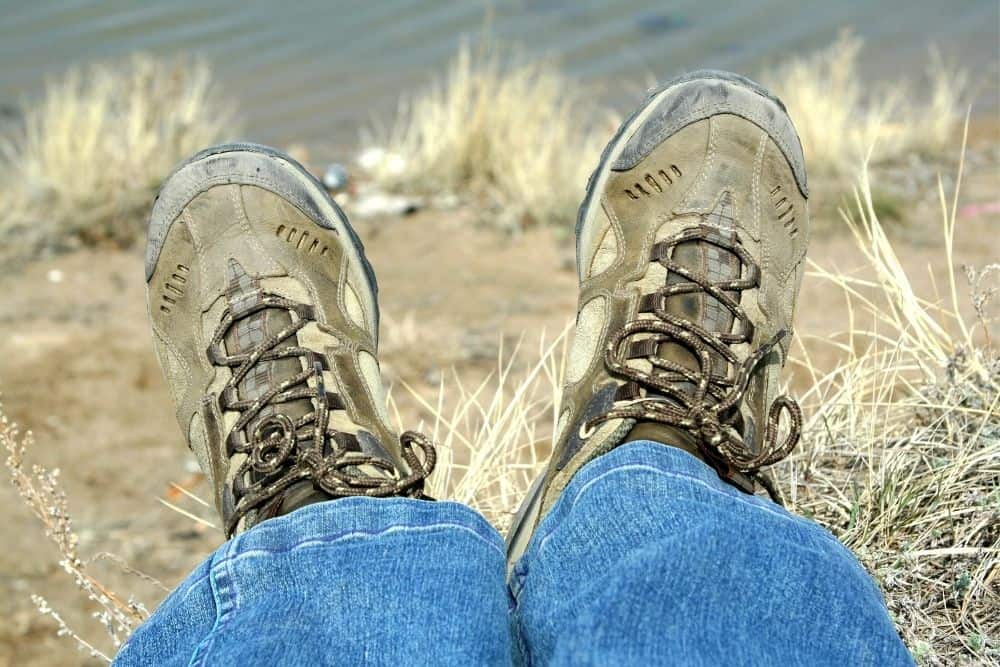
You’ve probably wondered for a while whether you should dye your fading hiking boots. Numerous thoughts might have crossed your mind on how you can make them look better before you finally arrive at a decision.
This solution has you Googling how to dye hiking boots, and here you are looking for an answer. But, first, you should know that dying your hiking boots isn’t a right or wrong choice.
In fact, it’s a creative way to transform your hiking boots’ look. However, you might need to consider certain things before you dye your hiking boots.
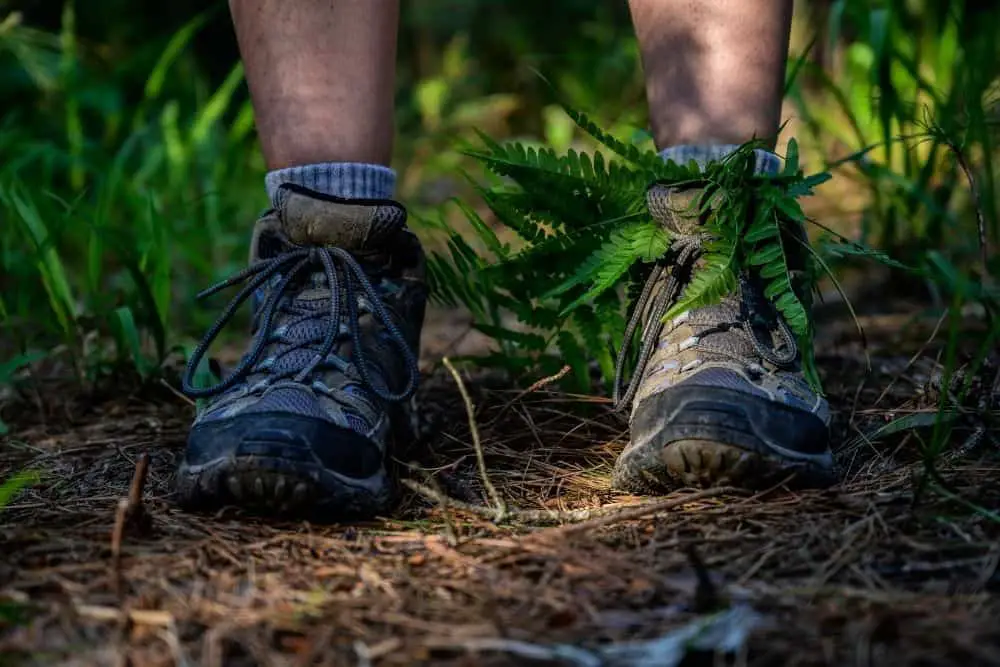
After all, you clicked this article because you needed a guide to follow, and we’ve got you. Firstly, what kind of fabric type are your hiking boots? Are they leather, synthetic, or mesh?
Based on fabric, you would need to dye them differently since they are not the same material. However, we’ve got that covered, as we have different guides you can follow to dye your hiking boots.
So, it doesn’t matter whichever material you have; you’ll find your answer here. We’ll also highlight what you need to get the best results.
Let’s get into it.
Contents
How To Dye Hiking Boots?
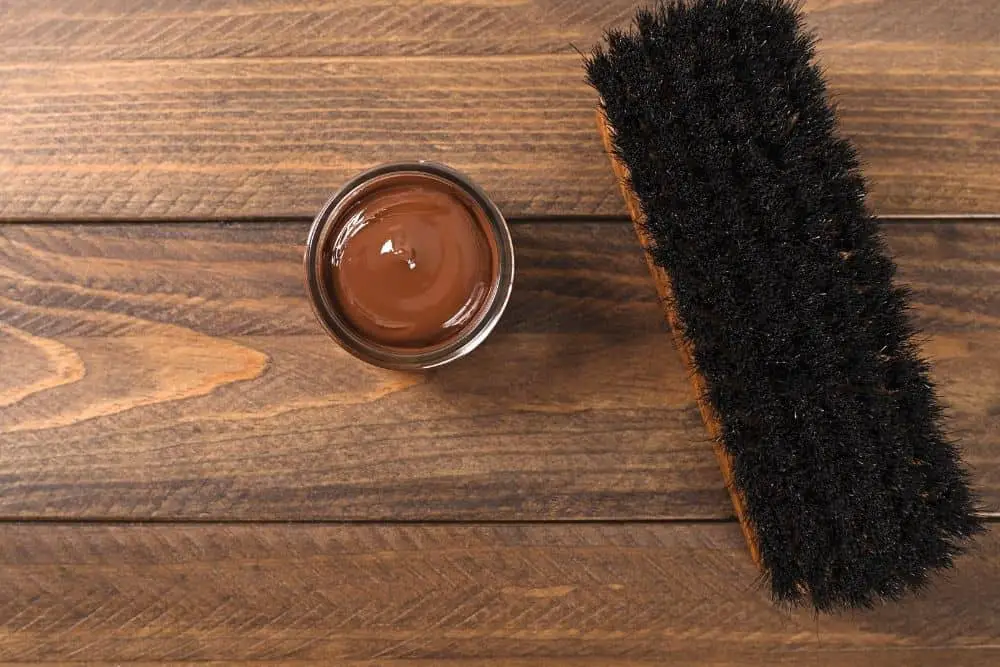
Dyeing your hiking boots isn’t a challenging task that requires profound skills or anything. That’s right, all you need is the right equipment and guide.
So, we’ll be answering your question on how to dye hiking boots under different sections based on various materials. How should you dye your hiking boots?
Follow these steps:
- Remove the boots’ laces
- Clean boots with a brush
- Pour dye in a container
- Test the color on a surface
- Apply dye with a paintbrush
You can also view this demo video to get a visual representation of the steps we listed.
Now, let’s get into how to dye hiking boots based on different materials.
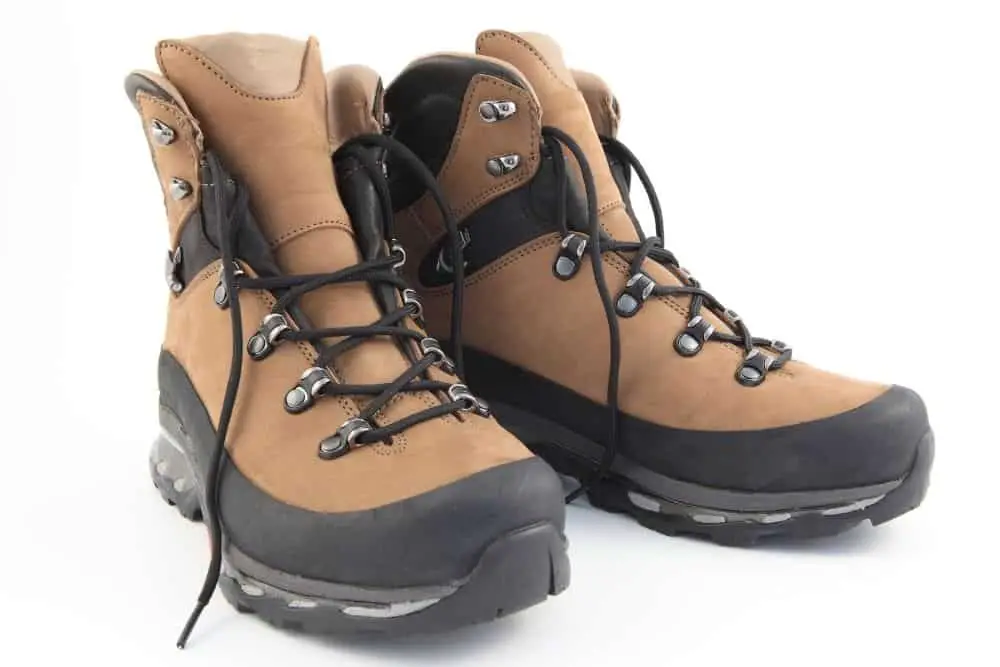
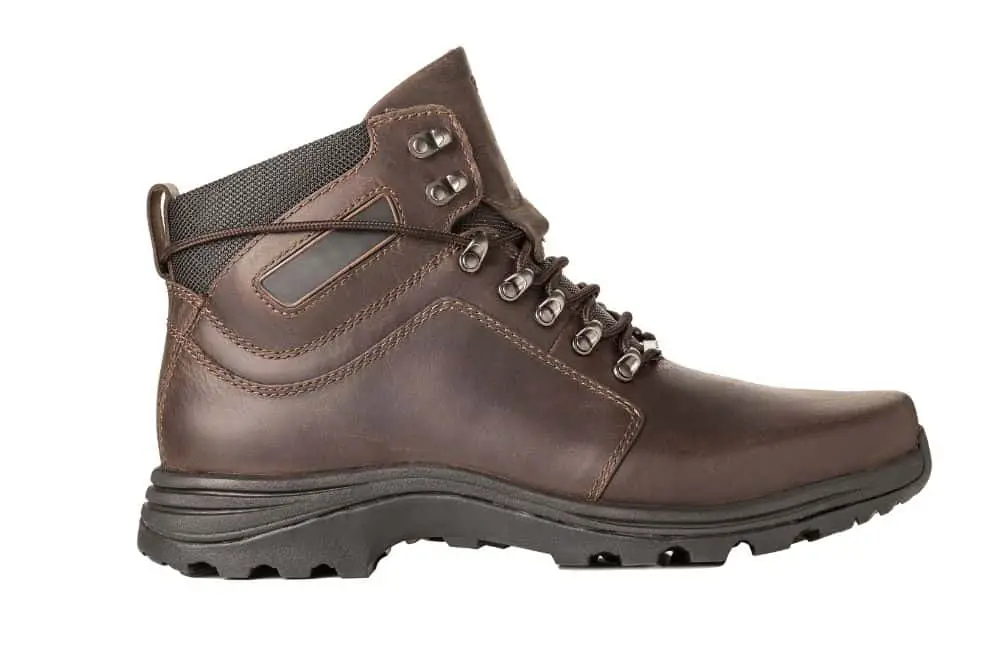
How To Dye Leather Hiking Boots?
If you are familiar with fabric types, you would know by now that there are different leather types manufacturers use in making hiking boots. These various leather types have different feel and durability.
What makes them different is their finishing, tanning, and dyeing methods. So, we’ll describe how you can dye full-grain, faux, split-grain, and nubuck leather hiking boots.
1. Full-grain leather

Full-grain leather is the highest quality leather type, and it retains its epidermis and hides. That is, full-grain is most considered as the real leather. So, how do you dye your full-grain leather hiking boots?
Things you need
- Shoe polish
- Leather dye
- Leather preparer
- Few rags
- Some small plastic containers
- Brush
- Masking tape
- Paintbrushes
- Horsehair brush
- Gloves
- Leather scraps

Last update on 2023-11-10 / Affiliate links / Images from Amazon Product Advertising API
Steps to follow
Step 1. Prepare your workspace
First, you need to prepare the space you’ll use in dyeing your leather hiking boots. Next, you need to ensure that the room has enough ventilation.
You also need to prepare the surface you want to use. Since dyes are permanent, you don’t want stains all over the place, to avoid disfiguring surfaces.
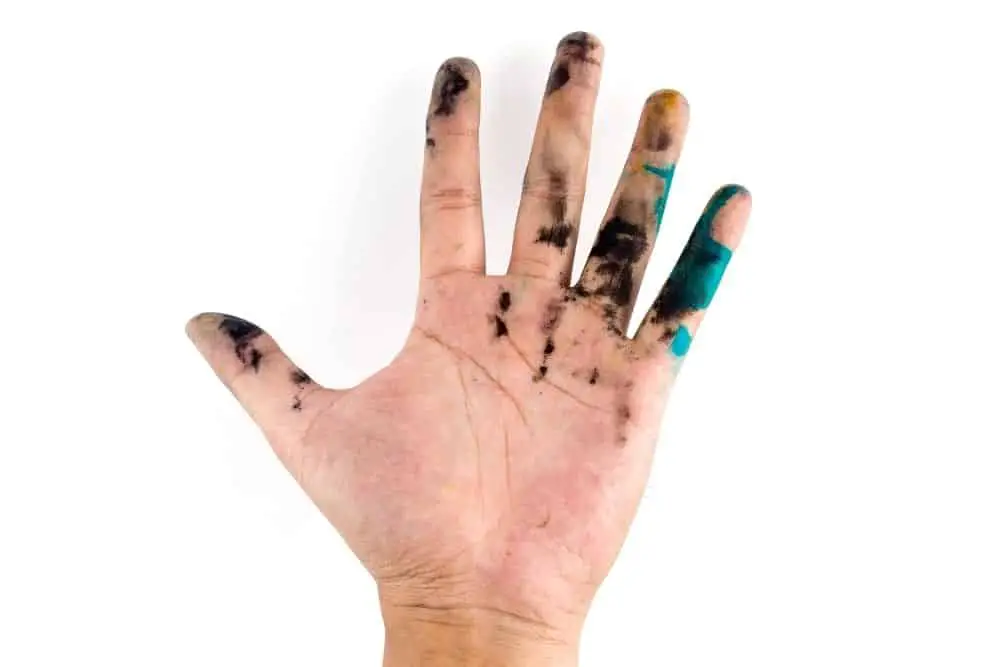
So, you would need to cover the surface with newspapers or rags. Then, if you smear dye, or they drip off, you’ll be able to catch them in the paper or clothes. Also, you might want to wear some gloves to prevent dye from getting on your skin.
Step 2. Prepare the boots
The first thing before applying dye is to rid your hiking boots of the last finishing in the leather. Before that, you need to clean the boots and remove any dirt on them.
You can remove the laces from the boots and brush off the dust and dirt on them. After, pour a little leather preparer or acetone on a cloth and massage it into the leather.
This is to remove the existing finishing from it. Keep flipping the clothes to different sides so you don’t end up moving the finishing from one place to another on the boot.
Whether you are using a leather preparer or acetone, be sure that you are nowhere close to flames or smoke and the area has enough ventilation. You’ll know when you’ve removed the finishing when you see the leather change to a duller color.
Step 3. Tape areas you don’t want to dye
If you would rather not dye your whole hiking boots, especially the outsole, you need to cover the area with tape. This is because you won’t be able to remove the dye if it gets to those places. So, cover up other areas before you apply the dye.
Step 4. Try out the color
You may want to test the leather dye on similar material to see how it’ll look on your boots. Also, test some of the paint on the leather scraps so you can know if you’d like the color on yours.
You should note, however, that these dyes react differently on various leathers. Also, you shouldn’t rely on online catalog displays. Bear in mind that the more you coat the surface with dye, the deeper the color looks.
Step 5. Apply the dye
This is the most crucial part of this process because you would be coating your hiking boots with dye, and you don’t want anything to go wrong. But, first, you need to read the manual that comes with the dye.
After, dip your brush into the dye and apply it on the boots in long consistent strokes. Ensure that you try to be as consistent as possible, so one part isn’t darker than the other.
Also, don’t mess the coating when trying to cover it all up quickly. Instead, ensure that it looks professional and consistent all through.
After the first coat is dry, apply a second one so the boot has a deeper color. If you want a part to have a deeper shade, you can add more coats to the area with more dye.
Step 6. Finish up
You need to apply finishing touches to the beautiful work you did after the dye has dried completely. The next thing you do is use a neutral color shoe polish on your boots.
Before applying the polish or conditioner on the hiking boots, try them on your leather scraps to see how they’ll turn out. Some can make the color darker or brighter, so you know if you want that.
Before you apply the polish, condition the leather with the leather preparer. Then use the first coat of polish on the boot. After that dries off, clean the boot with a horsehair brush. Then apply the next coat of polish on it.
Afterward, wait for 24 hours for the coat to dry and brush it so that it shines. Ensure you condition and brush it from time to time to maintain the color for a long period.
2. Split-grain leather
You can refer to split-grain leather as a weaker version of full-grain. Manufacturers get it from the lower part of leather after splitting it. So, how do you dye split-grain leather?
What you need
- Dye
- Brush
- Masking tape
- Gloves
- Paper
- Paintbrushes
Steps to follow
Step 1. Prepare the boots
Firstly, you should prepare the boots. So, brush the hiking boots with a suede brush to get all dirt that may be on its surface.
Step 2. Use masking tape
After that, you will need to mask off the areas you don’t intend to dye – this prevents you from staining such surfaces. Then, remove your boots’ laces and stuff them with paper to absorb the color easily.
Step 3. Dye the boots
Touch the paintbrush to the dye and apply it to your boots.
Apply the first coat evenly and allow it to dry before you use the dye a second time. You can wait for one to two hours for the first layer to dry up.
Step 4. Brush your boots
After the first and the second coats are dry, you then brush your hiking boots so they can shine as they should.
3. Nubuck leather
Nubuck is often the kind of leather that manufacturers didn’t finish or brush. One thing about them is that the sun can make them fade and stain easily.
So, how do you dye them when you want to? First, you must know that you can’t precisely dye them another color. Instead, you can only dye them a deeper color of their present color.
Things you need
- Nubuck leather dye
- Brush
- Gloves
- Masking tape
- Paper
- Paint brush
Steps to follow
Step 1. Get ready
The first thing you should do is to prepare everything you need. So, you need to prepare the surface you’ll dye the hiking boots on. How?
You can spread newspaper or rag on the area to serve as protection. Also, you need to keep your hands from touching the dye.
Step 2. Brush the hiking boot
Next, you need to clean the hiking boots with a brush to remove dirt from them. This is because dirt can hinder the dye from penetrating the material.
Step 3. Tape other areas
You need to protect the areas you don’t want the dye to touch in your hiking boots.
Step 4. Dye the boots
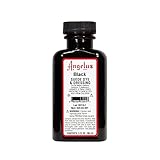
- Reach for Angelus next time you need to spruce up any of your suede
- Brings life back to faded suede
- Permanently dyes all of your new suede and nappy leather creations and crafts
Last update on 2023-11-10 / Affiliate links / Images from Amazon Product Advertising API
Before you dye the hiking boots, stuff them with newspapers so the material can absorb the dye properly.
Then, apply the dye with the paint brush that comes with the nubuck leather dye. Also, ensure that you apply the dye with a consistent stroke so it doesn’t look shabby.
Step 5. Brush
When the dye is completely dry, you can remove the tape and paper and brush the hiking boots.
4. Faux leather
Faux leather is fake leather manufacturers made from different synthetic materials as a leather alternative.
Since they are quite different from natural leather, you can’t use full-grain leather dye on them as you may not get the same result.
Also, they may sometimes not absorb color like other leather materials. So, how do you dye them?
Things you need
- Dye
- Glove
- Brush
- Tape
- Conditioner
- Paint brush
Steps to follow
Step 1. Prepare the area
Cover up your work area with paper or rag, so the dye doesn’t mess it up. Also, wear gloves on your hands, so you don’t get dye stains on your hands.
Step 2. Brush your boots
Then, you brush your boots to remove any dirt stuck in them.
Step 3. Use tape
Tape the area you don’t want to dye in your hiking boot.
Step 4. Apply the dye
You need to read the manufacturer’s manual before you coat your faux leather hiking boots with dye. Then, apply the leather conditioner on the hiking boots to prepare them to absorb the dye.
Also, ensure you use the dye applicator that came with the pack because it can be harsh on your hand or clothes. At the same time, it helps you apply the dye in even strokes.
Step 5. Apply conditioner
Once the dye is dry, apply conditioner to massage the color into your hiking boots. This will help the boot retain the shade for a long time.
How To Dye Mesh Hiking Boots?
Mesh materials are a highly breathable choice fabric for boots, making them suitable for hiking.
However, you may want to switch up their looks by dyeing them in another color. So, how do you achieve that?
Things you need
- Dye
- Masking tape
- Brush
- Gloves
Steps to follow
Step 1. Prep the boots
First, you need to ensure that the boots are clean. So, remove the laces and clean with a shoe cleaner.
You may need to use a preparer to remove the manufacturer’s finish from the mesh boots or not.
After that, you need to mask off the area you don’t want to dye with tape.
Step 2. Dye the boots
Then, you apply the dye to the boots.
Again, ensure you have gloves on so you don’t smear on your hands. Apply the dye in even coats all through the area till you get your desired result.
How To Dye Synthetic Hiking Boots?
Synthetic hiking boots are more breathable than leather hiking boots since they are not natural materials. Also, they can be a little harder to dye than leather or mesh materials. Under this heading, we’ll discuss how to dye Cordura and denier nylon hiking boots.
1. Cordura nylon
Cordura is a very tough material to dye, no doubt. It doesn’t absorb color like other fabric types. So, you’d have to dye it in boiling water for it to turn out the way you want.
In addition, you cannot dye it to a lighter color of your hiking boot, but only to darker shades of brown, green, or black. The only exception is if the original color is white or off-white.
What you need
- Plastic gloves
- Stainless steel pot
- Synthetic dye
- Metal tong
- Table cover
- Stove
Last update on 2023-11-10 / Affiliate links / Images from Amazon Product Advertising API
Steps to follow
Step 1. Clean your boots
First, you need to ensure you clean any visible stain off your hiking boots. You can do this by washing your boots in warm soapy water.
Step 2. Prepare the area
You will need to cover your work and stove area with newspapers or table cover, so the dye doesn’t spill and stain it. Also, you should have paper towels around, so you can wipe off stains immediately.
Step 3. Prepare your dye
Add your dye to a pot of boiling water at 95°C (203°F). Ensure that your pot is big enough to take in your hiking boots and allow them to move freely. If your stainless steel pot isn’t big enough, you can use your washing machine – but, this shouldn’t be the first option.
Step 4. Dye your shoes
When the dye is ready, insert your hiking boots and leave them to absorb the dye color for about thirty minutes or an hour. Remember to remove the laces if you don’t intend to dye them.
When you have achieved your desired pigment, you can bring them out with the tong and rinse them in lukewarm water. After that, you should rinse your hiking boots in cold water till the water is clear. Then, leave the hiking boots to dry before you wear them.
2. Denier nylon
Denier nylon is just like any other synthetic materials that are difficult to dye, so you’ll have to dye them using the stovetop method.
So, follow the steps that we listed on how to dye your Cordura hiking boots.
Dyeing Hiking Boots | The Good and Bad
Dyeing your hiking boots can be very beneficial to you. But, at the same time, dyeing hiking boots has its disadvantages. Let’s check the pros and cons of dyeing your hiking boots.
Pros
1. It is easy
Dyeing your hiking boots is easy. Instead of throwing your hiking boots away due to color fade, storing them without use, or bearing with the color, you can give them a new look.
You only need to get some supplies, and you can do them independently without any expert supervisor. You only have to follow the steps we provided in this article.
2. A cheaper way to transform your boots
You may have been considering abandoning your hiking boots to get a new one or seek the help of a professional. Unfortunately, those options can be expensive because a professional will charge you for many things, and new hiking boots cost a lot.
Instead, you can get some dyes and explore your creativity. The supplies you need aren’t so expensive, and you could also use some you have in your home.
3. Good for the environment
Dyeing your hiking boots is good for the environment. How? They won’t add to the waste we already have.
4. It helps extend their lifespan
When you dye your faded boots, you’re elongating their lifespan. This means you can still wear them for hiking and with any clothing you want, especially if you dye them with a non-selective color.
Cons
1. Uneven dyeing
One of the cons of dyeing your hiking boot is you could end up with uneven dyeing.
As a result, you may miss some spots while coating your hiking boots, or you may end up shading an area darker than others. This could affect the desired results you want to achieve.
2. It takes time
Dyeing your hiking boots can be time-consuming. You would need to take your time to apply the dye carefully on your boots, or you may not get the best results.
3. Dyes can be toxic
Dyes are toxic, so it would be best to wear gloves when working with them. Also, you need to use them in areas with good ventilation, away from flames. On the other hand, you could use natural dyes that are not toxic; however, they are more expensive.
4. Could get messy
Dyeing your hiking boots can get messy. You may end up messing up the whole area with dye. Also, they could spill on your clothes, which can become difficult to wash off.
5. Stains can rub off on socks
You could get some stains on your socks when you wear your dyed hiking boots. Trust us, they can mess up your socks, and you may not be able to get them out completely.
You can prevent that from happening if you seal the dye in your boots with vaseline, hairspray, shoe cream, or damp cloth.
Reasons To Dye Hiking Boots
Why do people dye their hiking boots? People dye their hiking boots for different reasons like the following:
1. Light colored hiking boots get dirty easily
One of the primary reasons people dye their boots with a different color is that they get dirty quickly. This happens most with hiking boots having bright colors, like white, off-white, or pink.
So, you can dye your hiking boots to a deeper color that can mask dirt if you’re tired of washing them every time you wear them.
2. To maintain or restore the color
Another reason why people dye their hiking boots is to maintain their original color. This is because they can wear off or fade with time due to washing or ultraviolet rays from the sun.
So, if you would rather retain your hiking boots’ color, you can touch them up with dye.
3. Give them a new look
You could also dye your hiking boots to give them a new look. Dyeing them is one of the cheap ways to switch up your hiking boots’ appearance.
4. Water and light damage
Hiking boots’ color can fade after exposure to constant water or light. One way you can resolve that is to dye them a different color that is less susceptible to water or light damage.
Conclusion
Dyeing your hiking boots is an easy and cost-effective option if you want to switch up the look of your footwear. Personally, you don’t always have to buy a new pair of hiking boots to get a new look when the supplies you need aren’t so expensive.
If the colors are faded, they get dirty quickly, or you want them to look different, you can dye your hiking boots. Also, dyeing hiking has some advantages. But, that isn’t to say it does have some disadvantages.
This article discussed different ways to dye various hiking boots materials and listed the supplies you need. As long as you follow the guides we listed, your hiking boots will turn out the way you want them to.
Good luck with that!