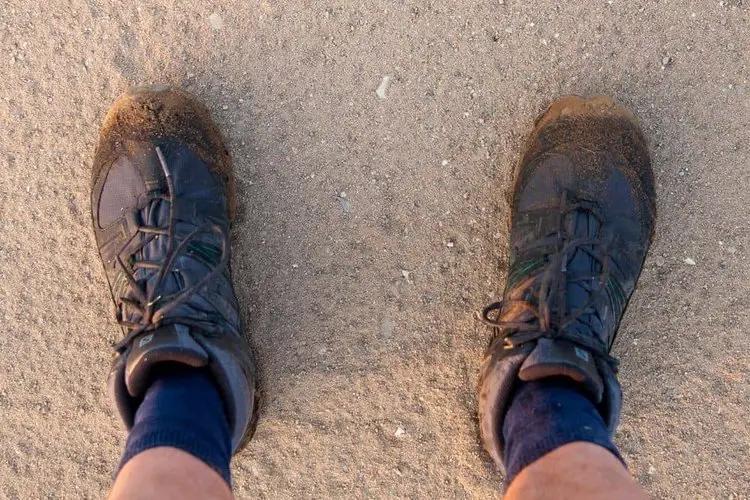
There are over a dozen reported benefits of running or walking barefoot on sand including helping you to burn calories, relax, promoting natural exfoliation, gait analysis, and so on. However, having sand in your boots is simply annoying.
But, why do you need to get rid of sand in your boots in the first place? Well, besides the discomfort that sand can bring when it gets in your boots, it can also facilitate blistering of the heels during long hikes. Sadly, keeping sand out of boots is often a difficult task—especially for beginners.
If you have been dealing with sand in your boots, we have all the solutions that can help you to get rid of the problem once and for all. Keep reading to find out how you can deal with that problem once and for all.
Contents
How to get sand out of hiking boots?
Having sand persistently in your boots can be frustrating. Perhaps you have tried and failed a few times to get the sand out and are currently considering decommissioning the boots for any sort of hike.
Whether you have wet sand or baked clay or humus that has caked inside your boots will determine the type of technique that you should employ in trying to get it out.
Determining the right method to solve the sand in boots problem can be a frustrating experience. Below are some of the techniques that worked for us.
1. Washing
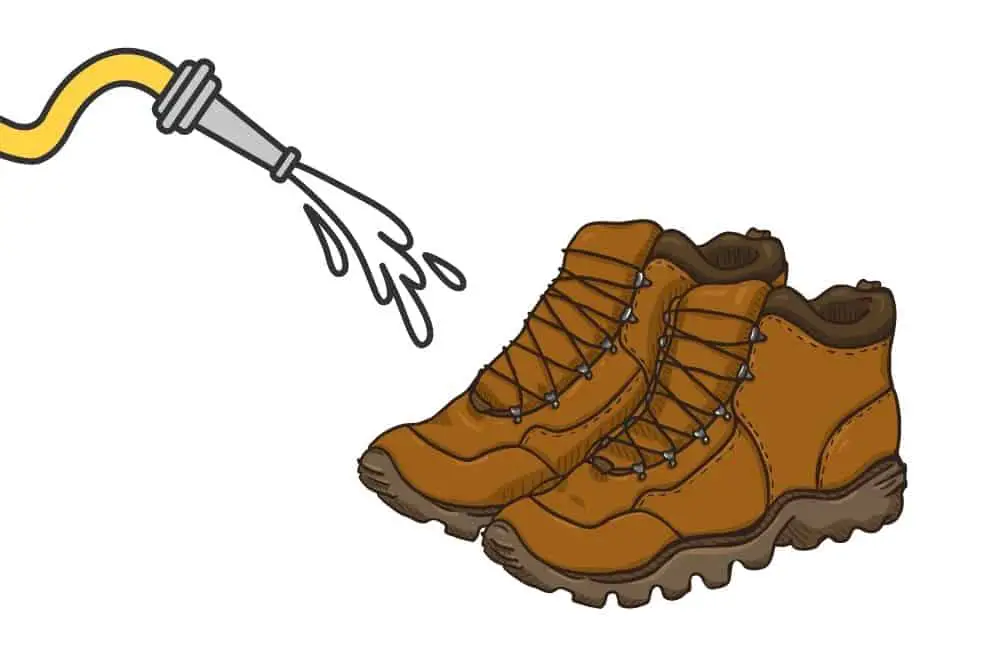
Instinctively, the first thing that you will want to do when you have sand in your boots is to pull them off. Follow these steps to get rid of the sands from your boots.
- Once you take off your boots, remove the lace so that the tongue of the boots will flap downwards to create a larger space for the sands to fall off.
- Remove the insoles to expose any trapped sand or debris
- Turn the boots upside down and hit them on the side with some force to dislodge the sand. Shake occasionally in-between hits
- Hit and shake for up to 5 minutes
- Thoroughly rinse the inside of the boots with water. A pressurized tap is preferable so that when you run the boots under the tap the pressure from the tap or hose will help to dislodge sand that is stuck to the leather
- If you are using a hose, run the water from the outside to the inside and vice versa
- Do this for 3 to 5 minutes
- Let them dry thoroughly. You can hang them in front of a fan or stuff the inside with newspaper to suck the moisture from the boot. Change the newspapers when they get wet
- Once dry, polish them, and insert the insoles and the lace
We cannot emphasize enough the importance of allowing your boots to dry properly before wearing them for your next hike. Wet boots will attract sand and in no time you will be back to where you began.
Note: Washing is suitable for boots made of real leather, synthetic and fabrics. Washing suede with water is a bad idea. While it is still possible to clean suede boots, you will need a suede cleaning brick and clean towel rather than submerging them in water.
Pros
- Gets rid of sand and other dust locked in areas you never knew
- It will take a longer time for the dirt and sand to build up again
Cons
- Boots take time to dry after washing and can cost you a few days hike
- The entire process is tedious and tiring
2. Vacuuming
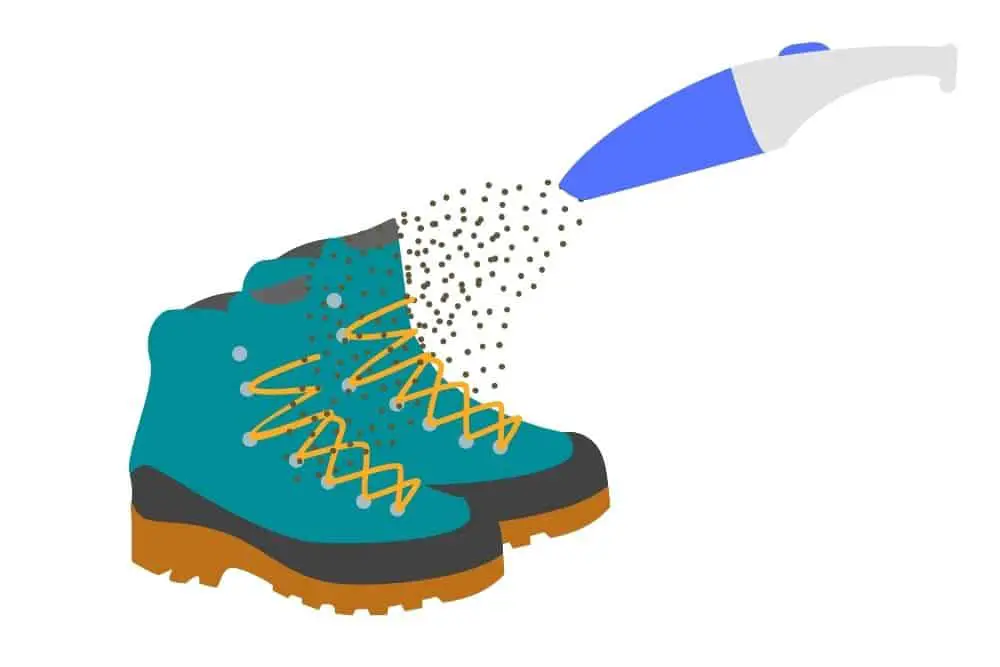
Perhaps you have a handheld vacuum which you use to clean the furniture at home. What if you were told that it can come in handy when you want to get sand out of your boots?
Thankfully, most handheld vacuum cleaners are lightweight and can fit into your backpack without weighing you down. Also, they make use of lithium-ion batteries meaning you can use them while on the hike.
Some handheld vacuum models have switchable nozzles that allow you to reach tight corners. Below is a step-by-step guide on how to use a handheld vacuum to get sand out of hiking boots.
- MULTI-SURFACE USE – Removes hair, dirt, and debris from carpets, car interiors, furniture, and...
- LIGHTWEIGHT AND PORTABLE – Easy to carry and maneuver, even in tight spaces. Has a charging base...
- ERGONOMIC DESIGN – On-board extension means you won’t need to bend over as often.
Last update on 2023-11-11 / Affiliate links / Images from Amazon Product Advertising API
- Shop for the desired handheld vacuum cleaner. Look for those with a thin nozzle so that you can reach the tight areas of the boots
- Remove the insoles from the boots
- Undo and take out the laces
- Turn on the handheld vacuum cleaner
- Slowly move it around the inside of the boots. Run it over an area multiple times to make sure that it traps all the sand and dust particles
- Once you are satisfied, replace the insoles and the lace
Note: Vacuuming can be used on all types of boots irrespective of the material. However, it would be more effective against loose sand than stick and cake on the body of the boot.
Pros
- If you can use a vacuum cleaner this will not be any strange
- You can use it while on the hike
- Only takes a few minutes to complete the entire process
- Since your boot is not wet you can keep using it after vacuuming
Cons
- Batteries can die when you need them the most
- The durability of most handheld vacuum cleaners are questionable
3. Baby powder
Avid hikers know that baby powder is useful for keeping the feet dry as well as preventing the foot from sliding inside the boots. Well, it can also be useful in dislodging sand from your boots.
- The Best Talc Free Baby Powder Made For Delicate Skin. Gentle, nutrient rich dusting powder that's...
- Start Off On The Right Foot With Natural Baby Powder. Avoid harsh chemicals and toxic ingredients...
- Dusting Powder Formulated For Sensitive, Irritated Skin. Skin powder perfect for dry, cracked,...
Last update on 2023-11-11 / Affiliate links / Images from Amazon Product Advertising API
When you apply baby powder to the inside of the boots, it helps to break up the adhesion between fine sand particles and the leather of the boots making it easier for you to get them out. Use baby powder to get sand out of hiking boots in the following steps;
- Sprinkle two teaspoonfuls of baby powder in the boots
- Use a clean towel or a toothbrush to massage the power with the skin and soles of the boots particularly in the areas where you feel the sand
- Turn the boot upside down and give it a good beating to allow the sand and powder to fall to the ground.
Note: Powder is more useful when you are trying to remove wet or loose sand from your boots. It will be almost useless against burned clay that is stuck to the body of the boots.
Pros
- With this method, you don’t have to submerge your boots in water
- Anyone can pull this off with ease
Con
- You will end up with powder in your boots
4. Submerging in water
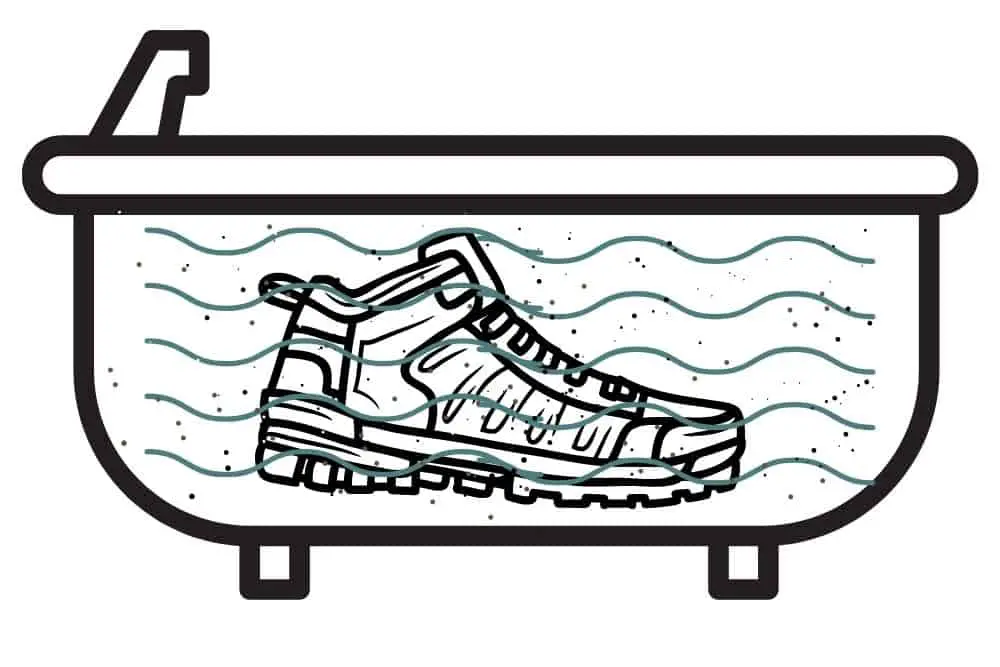
Have you been to the beach before and had sand particles stuck to your feet and you had to swirl your feet on the surface of the water to get the sands loose? You can use the same technique to get sand out of your hiking boots.
This method is pretty straightforward as follows:
- Take off the boots
- Undo all the laces to expose the inside properly
- Fill a tub with water to a point where you can submerge your boots
- Submerge in water and swirl while holding the boots sideways
- Turn the boots upside down to pour out the water and everything else in it
- Repeat two to five more times to be sure that all the sand is gone
- Hang the boots to dry or use any other appropriate drying method
Note: As long as you are not dealing with suede boots, this technique will be useful in removing both wet and caked sand on all other materials. The longer and deeper you submerge the boots, the better it will soak the baked sand and loosen them from the attached surface.
Pros
- Easy and requires no technical knowledge
- It will only take a few minutes to be done
Cons
- Wet boots take time to dry
- Submerging boots can hasten its deterioration
5. Washing machine
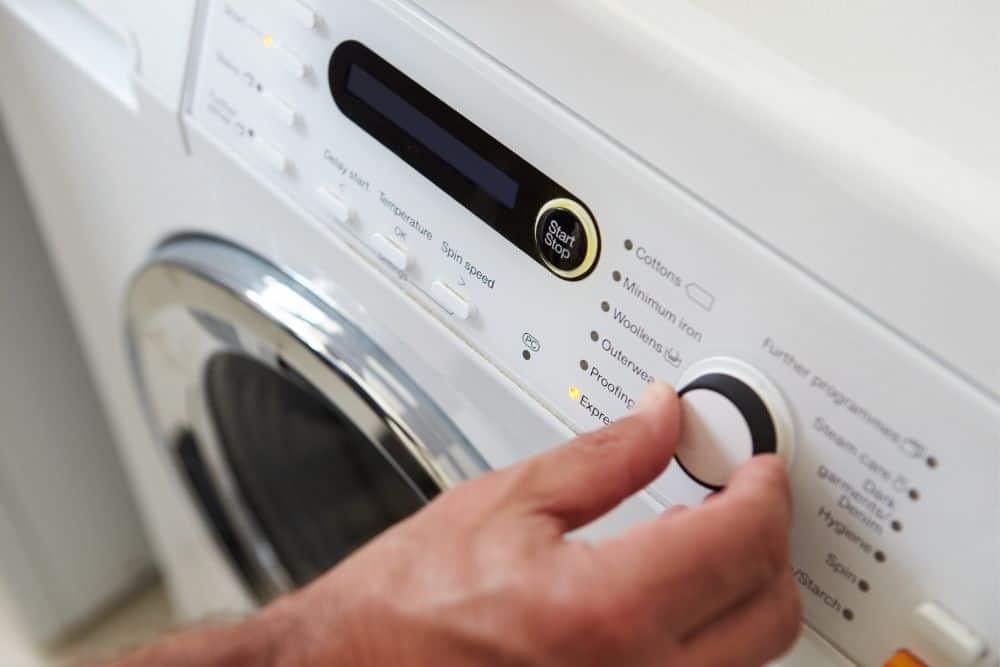
Submerging your boots in water is bad enough but tossing them in a washing machine sounds extreme on another level. But, what if that is what it will take to get sand out of your boots, will you be willing to give it a try?
Perhaps, you will feel less apprehensive about this idea when you know that a lot of hikers have also tried it and attest to the result. If you have a washing machine, this is pretty straightforward.
- Make sure that your boots are sturdy enough to survive the washing machine
- Clean the outsoles of your boots and dislodge any mud or dirt in the lugs
- Take out the insoles and the laces of your boots
- Toss them in the washing machine and set the timer
- Pull them out at the end and hang them to dry
Note: You can toss leather boots in the washing machine without getting worried that it will rend the leather but you cannot do the same for suede.
Pros of washing machine
- Doesn’t require any expert knowledge
- It will only take a few minutes to get the sands off compared to hand washing
- Gives the boots a squeaky clean including areas you never thought was dirty
Cons of washing machine
- Can affect the integrity of the boots in the long run
- You cannot wear the boots till they dry
- Can push up your utility bill
6. Drying
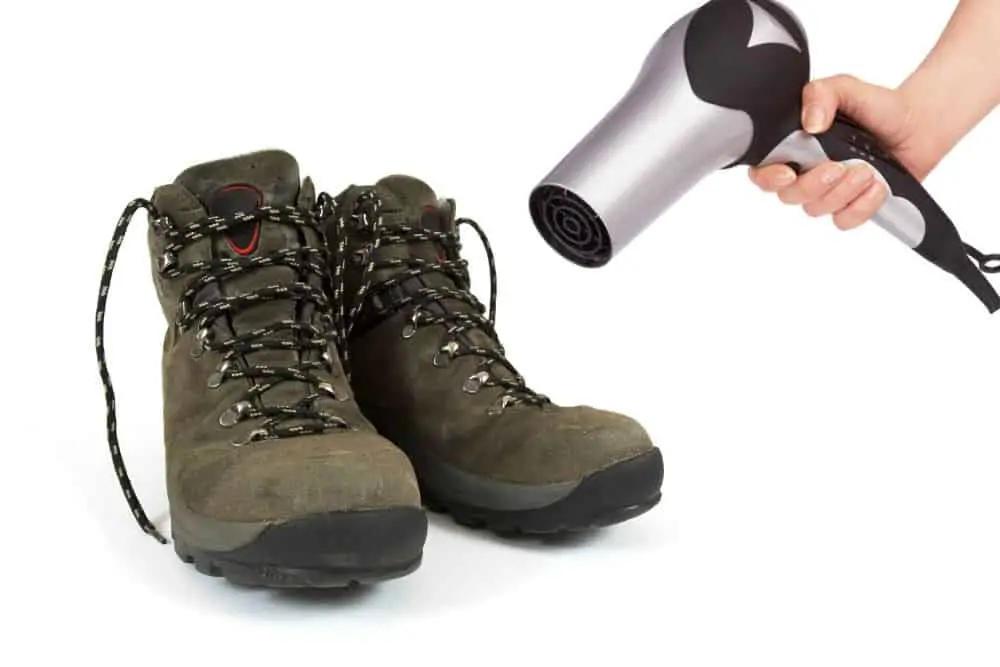
Sand easily sticks to wet boots but the opposite is the case with dry boots. Therefore, one of the easiest ways of getting sand out of hiking boots is to dry them thoroughly so that the sand will find it difficult to stick.
When it comes to drying hiking boots, the first thing that you should know is that drying them close to open flames or heat sources is a bad idea because the heat will dissolve the gum used to hold the outsoles with the upper.
Therefore, you have to be strategic in your approach to ensure proper drying without ruining your boots. Some of the drying techniques used by hikers are as follows:
Placing the boots under the sun: you have to be careful not to overdo this to avoid ruining your boots. If you must dry your boots directly under the sun we recommend you do it under morning sunlight and take them out once it is midday.
Placing them at a safe distance from a heater: just like placing them under the sun, this technique is risky and you need to make sure that you don’t overexpose to avoid ruining your boots.
Use a blow dryer: bow driers can come handy in drying your boots because it allows you to set the heat to a level that will not ruin your boots.
Once your boots are dry, give it a good beating or knock the boots against each other to dislodge the sand. Then, turn them upside down to pour out the free sand.
Note: While drying can be used on all boot types, it is best for getting wet sand out of the boots. Using this method for dry clay that has stuck to the body of the boots, for example, will be counterproductive.
How to keep sand out of hiking boots?
Perhaps, you can save yourself the stress of struggling to get sand out of your boots if you take a few preventive measures to stop the sand from getting into your boots in the first place. There are a few steps you can take to prevent sand from getting into your boots including;
- Wearing longer pants: longer pants that cover the collar of your boots will make it harder for sand to get in.
- Use gaiters: this is another useful tool that covers the top of your boots making it more difficult for sand or stones to get in.
- Changing your walking style: perhaps you throw up sand with your heels because of the way you walk. Changing the way you walk and being mindful of the way you walk will limit the amount of sand that gets into your boots.
- Wearing thick socks: thicker socks can fill the boots especially at the collar to make it more difficult for sand to get into the boots.
Last update on 2023-11-10 / Affiliate links / Images from Amazon Product Advertising API
There are various other strategies that you can adopt like walking on a clear path or using taller boots. Check out our comprehensive list of ways to keep sands and stones out of your hiking boots for a detailed description of the pros and cons of all the available techniques.
Conclusion
If you have ever experienced the discomfort and risk associated with having sand in your boots, you will understand why it is paramount to get the sand out as soon as possible. With sand out of your boots, you will have a smoother hike with less pressure on your feet.
Hopefully, you will find one of the methods we mentioned above effective in helping you to get sand out of your hiking boots. You can also be creative in your approach by combining two or three techniques. When everything fails, you have a good excuse to buy a new pair of hiking boots.

