Not everyone likes wearing plain and boring outfits. Sometimes, we want our outfits to match our personalities; maybe they are funny, deep, bright, or anything.
Of course, hiking boots are for hiking, and this is the idea behind the design and how they look. But sometimes, you may want more than one color on your boots, or you may want more bling or fun.
Since hiking boots are not like clothes or regular shoes, you may wonder what you can do to make them look cute. However, there are many ways to make your hiking boots look cute without sacrificing their functionality while doing so.
Sometimes, people try to make their hiking boots better by polishing or dyeing them, which, of course, works. It does make your hiking boots look better, maybe newer.
But you can make your hiking boots finer and cuter than that if you want. So if you cannot find the cute hiking boots you desire, why don’t you make them yourself?
If you’re wondering how to make hiking boots look cute, you’re about to find out.
Let’s get into it!
Contents
How To Make Hiking Boots Look Cute?
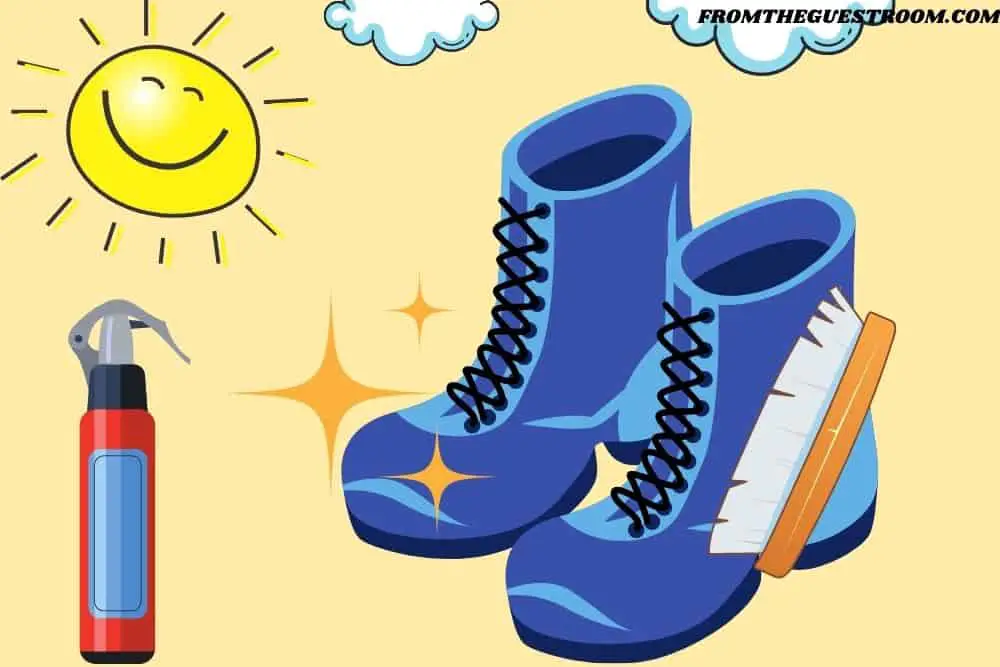
Instead of letting your hiking boots have the same look every time you wear them, why don’t you just switch up their looks? Who says your hiking boots can have one look?
Making your hiking boots look cute helps compliment your looks on the trail. In addition, you get to take awesome pictures for your social media, and you could have fun while at it.
Improving your hiking boots’ looks can be subtle or in the face, depending on what you want. Even if you have no idea how to make your hiking boots look cute, we have some methods you can try.
Remember to be as creative as possible to get the best results. Here are the ways you can make your hiking boots look cute:
Paint hiking boots
Painting shoes or outfits is one of the common things people do to improve their outfits and shoe looks. For example, you can decide to paint your hiking boots in different colors to brighten their appearance or draw on them.
You know, you can do so many things with paint, and you should not restrict yourself. However, whichever way you choose to paint your hiking boots depends on your creativity and your expertise in painting.
Of course, you would not want the outcome of the painting to be bad. However, things like uneven strokes or smeared painting may ruin the cute look you are going for.
But you may not necessarily have to paint your hiking boots yourself if you don’t want to or are not an expert at it. Instead, you can ask a painter or artist to help you out.
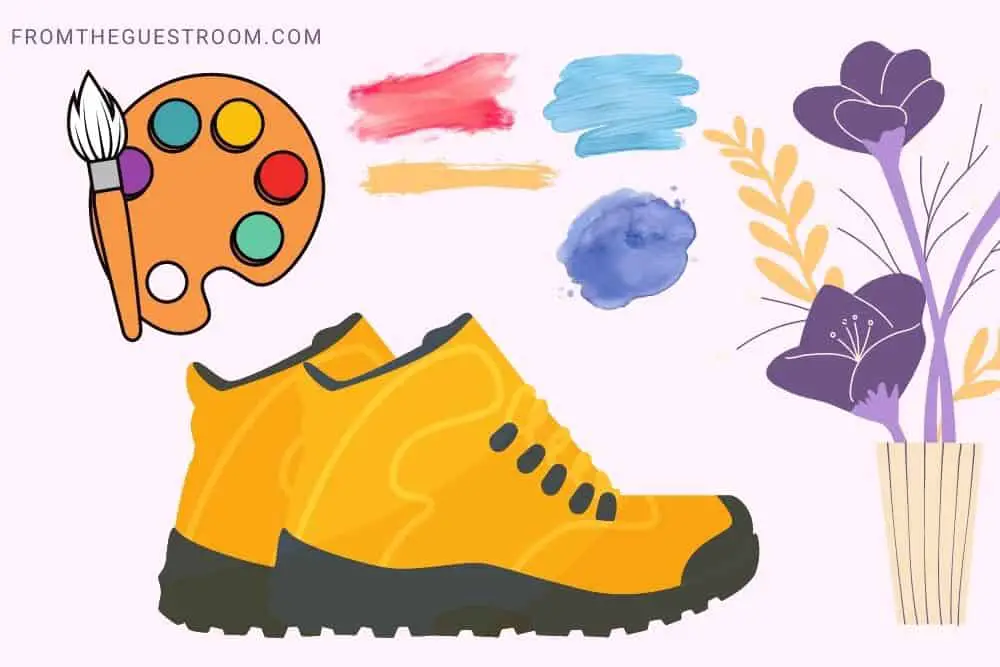
What creative ways can you paint your hiking boots to look cute? For example, you can transform your hiking boots into golden boots, or paint the toe caps, or make colorful stripes on them.
Before you start painting your hiking boots, you should have a picture of what you want in mind. You could even sketch it out before splattering paint all over your hiking boots, because getting the paint out after you finish can be stressful.
You should also choose the colors you want on your hiking boots. Depending on the original color of your hiking boots, colors can be a bit restrictive, but remember to choose colors that will pop on your boots.
Once you have settled that, you can go ahead and get the supplies you need for painting your hiking boots.
Things you need:
- Paintbrushes
- Paint
- Leather conditioner for leather hiking boots
- Leather scraps
- Deglosser for shiny leather/deglaze
- Paint sealer
- Masking tape
- Cotton balls or clothes
- Shoe brush
- Newspapers

Last update on 2023-11-10 / Affiliate links / Images from Amazon Product Advertising API
How to paint hiking boots varies, and sometimes the supply does too, depending on the material of your hiking boots. For example, you should not use leather paint on fabric or vice versa.
The best paint to use on leather material is acrylic paint, but it is different from the one you normally use on wood or paper. So, you should keep that in mind when buying your paint.
Now, let’s get into how to paint your hiking boots.
Steps to follow:
Step 1:
You need to remove any form of dirt from your hiking boots with your shoe brush. If your leather hiking boots are dry, you should condition them beforehand so the paint can settle into the material.
Step 2:
After brushing off the dirt, you need to deglaze your hiking boots using cotton balls and deglaze or isopropyl alcohol. Soak the cotton balls or clean clothes with the liquid and work it into the leather in one direction on the surface you want to paint.
Step 3:
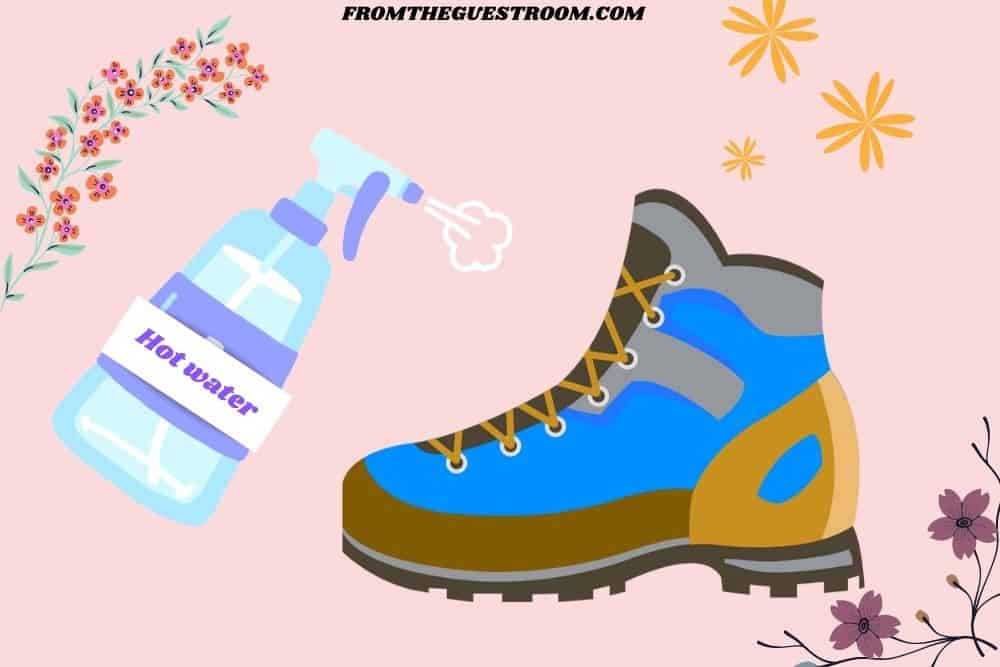
Then use warm water to clean the area and leave it to dry. You only need to clean off the dirt with warm water and soap for fabric hiking boots. Use a clean cloth to wipe the surface and leave the boots to dry.
Step 4:
Before you start painting, you need to stuff your hiking boots with newspapers or rags so they can stretch out for easy and effective application. Then mask off the place you don’t want to paint with the tape so the paint doesn’t smear on the area.
Step 5:
Apply the paint to your hiking boots using a spray can or gun. Before doing that, you should test the paint on the leather scrap to see what it will look like in your hiking boots.
Then use your paintbrush to paint however you want. For example, you can apply the paint on the hiking boots using the paintbrush to decorate a bit.
If you intend to apply layers of paint, you should wait for one layer to dry out before you apply the next.
Step 6:
After you finish painting, you should leave the paint to dry. Then you can apply a paint sealer or finisher to protect the paint or make it look shiny. But, of course, you don’t have to if you’d rather not.
Pros:
- A nice way to transform your hiking boots.
- Helps waterproof hiking boots.
- Extends the lifespan of hiking boots.
- Cute hiking boots make you look great on the trail.
- A long-lasting solution to make your hiking boots look cute.
Cons:
- There is the risk of messing hiking boots up.
- Affects hiking boots’ breathability.
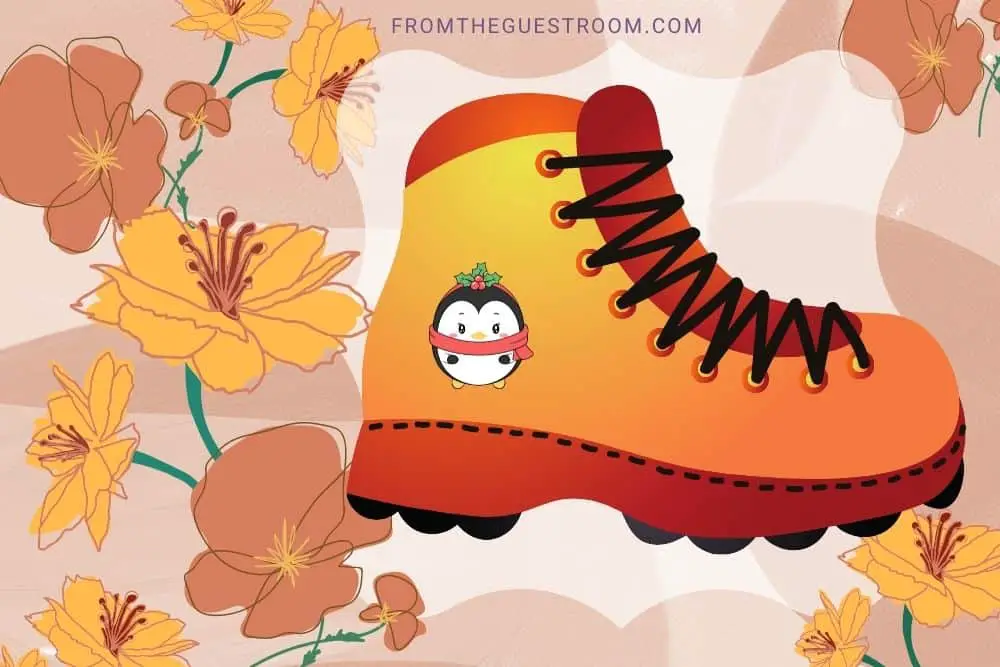
Decorate with stickers
Boring hiking boots suck, and if you are not such a great painter or don’t feel like painting much, it is not the end of the world. You can make your hiking boots cute without trying much or putting that much effort into it.
Stickers can make your hiking boots come to life and look cute without ruining anything on them. The good thing is that stickers have different designs, and you can get one that matches what you are looking for.

You could get stars, circles, or some of your favorite cartoon characters on your hiking boots. So you can change up your look for the next few hikes or for as long as you like.
And the good thing is that you can wear your hiking boots for purposes other than hiking, and people can admire your boots all day long. In addition, you have plenty of online resources to hunt for your favorite stickers.
Or you could even improvise! Maybe you can cut out the designs you want or print them out. You can go for whatever option you want, but just make sure it is what you want on your hiking boots.
You can pick stickers with glitter for an extra bling look on your hiking boots.
Things you need:
- Adhesive stickers
- Scissors
- Iron
- Glue (optional)
- Cotton scrap
Steps to follow:
Step 1:
You need to clean your hiking boots before starting. Therefore, brush off dirt and wipe it off the surface of your hiking boots.
Step 2:
Cut and trim the stickers from the part depending on how they arrive. Some stickers are usually together, so you have to separate them.
You can then mark where you want to place the stickers, so they look more organized and you don’t end up with shoddy work.
Step 3:
After that, you need to place the stickers on the boots. If the stickers have adhesive, especially for the ones you buy, you may not need to use glue to hold them on your hiking boots. However, if it is DIY without adhesive, you can use glue.
To use the adhesive stickers, place the stickers on your hiking boots and place the cotton scrap over them. The cotton scrap helps to protect the stickers and your hiking boots from heat impact.
Step 4:
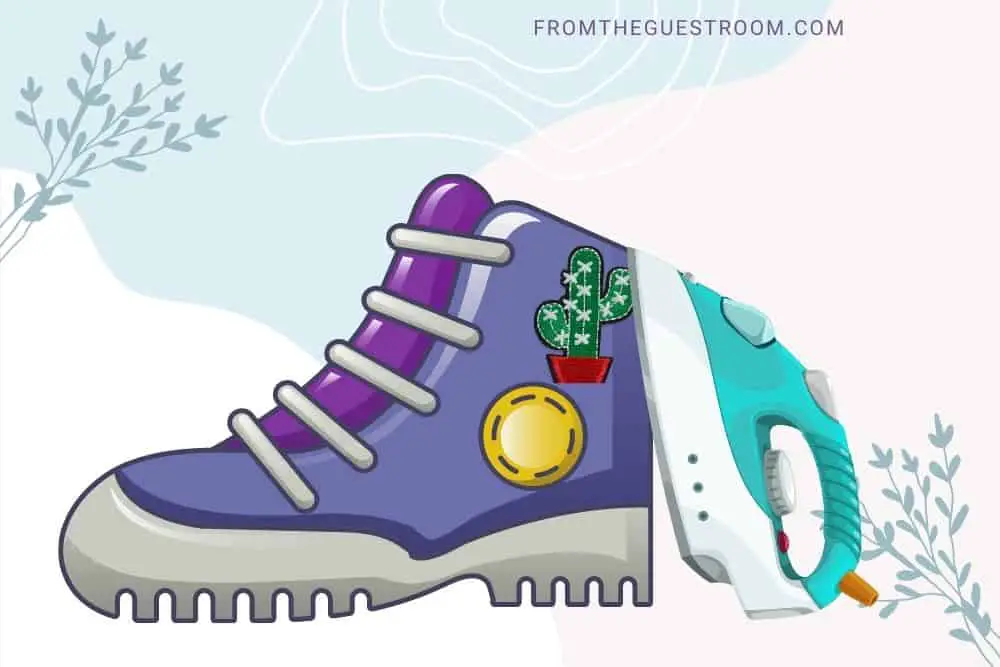
Then turn your iron to the hottest heat and place it over the cotton scrap. Press the iron gently over it for a while. Lift the iron and the cotton and check to ensure that the sticker adheres well to the hiking boots.
Step 5:
Peel the plastic top of the sticker away if there is one, and repeat the process till you have covered your marked area.
There! You have your cute sticker-layered hiking boots.
Pros:
- Stickers make your hiking boots cute.
- The process is not so stressful and time-consuming.
Cons:
- Stickers may not last long on your hiking boots.
- It affects hiking boots’ breathability to an extent.
Add crystal sparkles to the toe cap
You can make your hiking boots beautiful with some sparkles. It doesn’t hurt to have shiny objects on your hiking boots that in no way affect your boots or your movements on the trail or anywhere else.
If you don’t want to beautify all your hiking boots, the toe cap is a good place to start. This is a good way to transform your old hiking boots and give them more life.
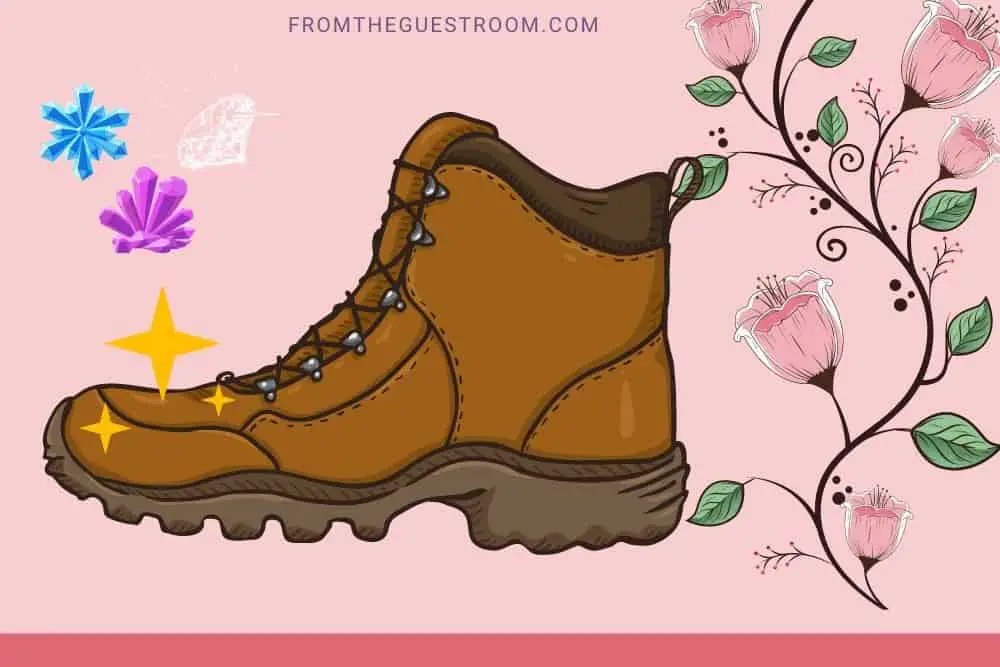
If you don’t like crystal sparkles or that is a little bit too in your face for you, you can use something simpler, like beads or other tiny, colorful objects that can replace crystals. You can make the objects have one shape or combine different shapes just for creativity and fun.
You can use available objects you have at home, or you could visit some online or offline stores to find something better or unique. Once you have that, you can go ahead and make your hiking boots cute.
Things you need:
- Adhesive
- Crystal/bead/or other objects
Steps to follow:
Step 1:
You should ensure the surface you want to work on is completely clean, that is, the toe cap. Then, brush off any dirt, clean the area with water, and leave it to dry.
Step 2:
After that, pour the adhesive on the area and even it out using the tip of the package’s toothpick.
Since some adhesives dry out quickly, you may need to be fast with placing the crystals on your hiking boots. Therefore, gently arrange the objects on the toe cap as you desire.
If you don’t want glue on your hand, you should protect your hand with gloves before starting the process. You can also leave lone objects in different areas of your hiking boots if you want.
Step 3:
Then, leave the adhesive to dry. Then, you are good to go!
Pros:
- Helps to brighten up your hiking boots.
- It is not stressful or time-consuming.
- You get to wear your hiking boots for purposes other than on the trail alone.
Cons:
- After a while, the objects can start falling off.
- The glue can ruin the looks of your hiking boots.
Add glitters
Do you know what can make your hiking boots better? Some glitters! Yeah, the real bling. Say no to monochrome hiking boots and smother some glitter on them.
Glitters on your hiking boots make them look good, fancy, and stylish. But, of course, you don’t have to cover the whole surface of your hiking boots with glitter.

You can just pick a section of your hiking boots and cover it with glitter. This might actually be better than making the whole of your hiking boots shine, especially if you don’t want anything too much.
You could add glitter to the toe cap, the edges of the top of your hiking boots, or one side of your boots. It all depends on you and the picture you paint of your soon-to-be transformed hiking boots.
Things you need:
- Paintbrush
- Masking tape
- Glue
- Permanent adhesive is optional
- Glitters
- Spray sealants
Steps to follow:
Step 1:
Clean your hiking boots thoroughly, removing all dirt and ensuring your boots are dry.
Step 2:
Use the tape to mask off areas you don’t want to cover in glitter. Pour the glitter into a plastic bowl, add the glue, and then mix it all together with a brush.
Then coat the area you want to work on with a layer of the mixture of glitter and glue.
Step 3:
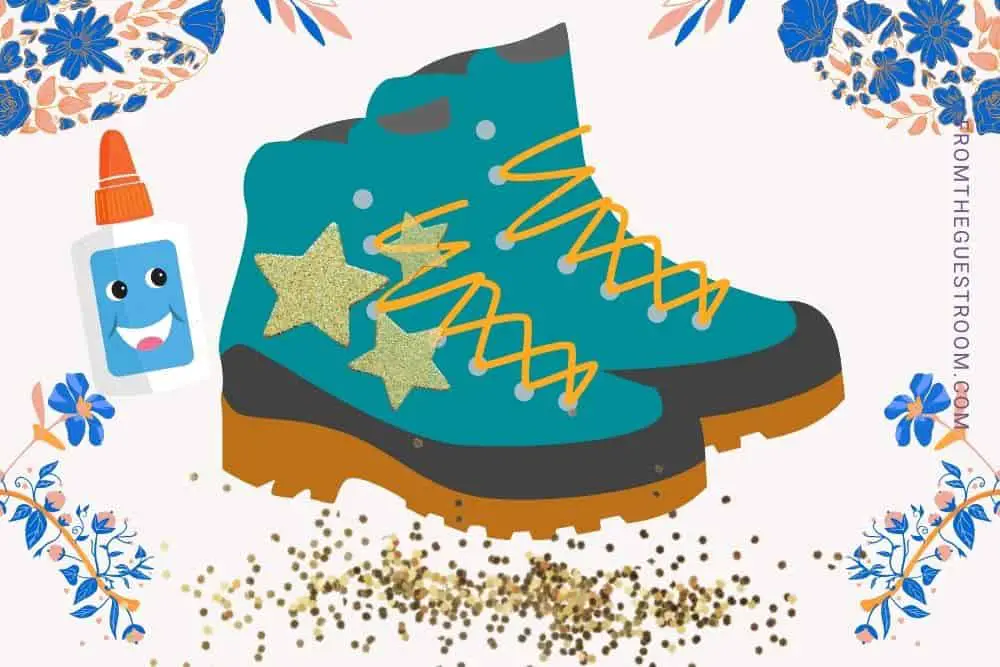
After that, pour the glitter directly on the layer as much as you desire, or the glue can take it. You should probably place a dry, empty bowl beneath your boots so the glitter doesn’t waste away.
Step 4:
Leave your boots to dry overnight. That isn’t all because the glitter can still fall off, so you need to use spray sealant.
Use a high-gloss spray to seal the glitter on your hiking boots. You can either use the spray alone or mix it with glisters before applying it to the one on your hiking boots.
Leave it to dry for about 24 hours.
Step 5:
Then remove the masking tape, and voila! You have your glittering hiking boots.
Pros:
- Glitters make your hiking boots look beautiful and shiny.
- Your hiking boots will become more suitable for other purposes.
- The process isn’t stressful.
Cons:
- The glitter can fall off and wash off easily.
- It affects hiking boots’ breathability depending on the areas covered.
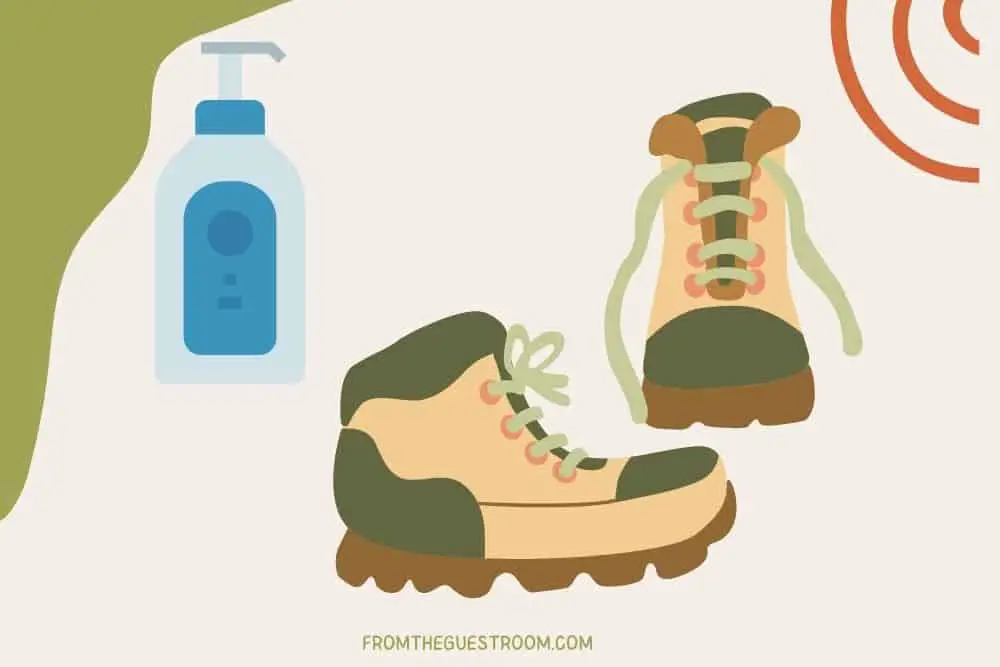
Wear a boot chain on your hiking boots
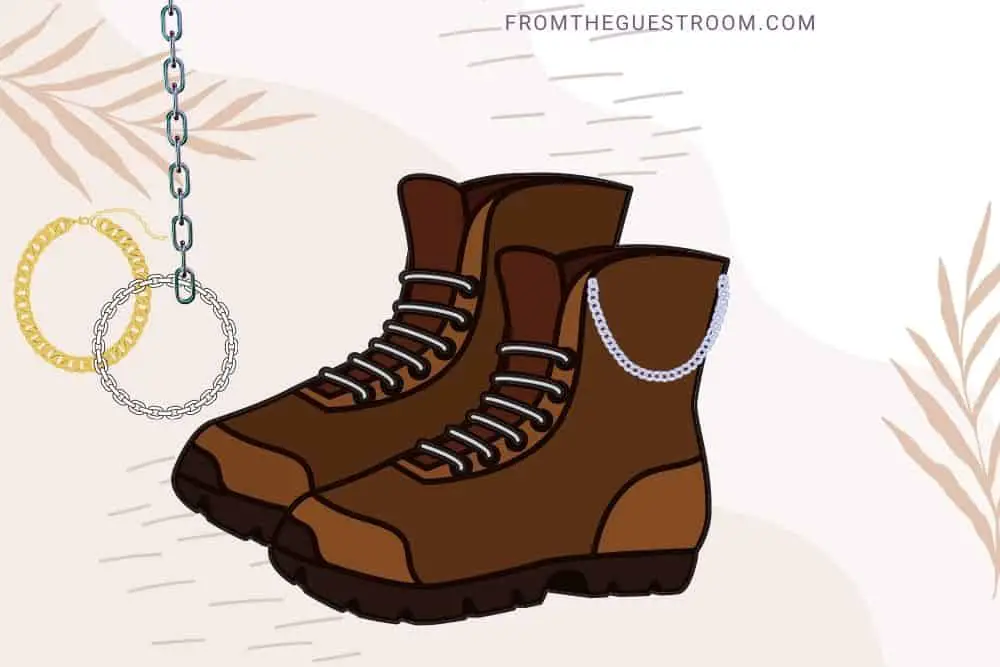
Who says you can only wear a bracelet or anklet? Your boots can get wet too. If you enjoy wearing jewelry or other similar items, this method of making your hiking boots cute is for you.
You can wear boot chains over your hiking boots around your ankles. If they are big, they can lie freely on top of your hiking boots, and you can wear tight ones that will stay in place.
In addition, you can go for already made boot chains, or you can do that yourself if DIYs are your thing. You can check online and offline stores for already-made boot chains, or you can shop for the supplies you need to make yours.
Things you need:
- Jewelry plier (3 in 1 is better)
- Jewelry clasps
- Metal beads
- Metal connector for jewelry
- Thick chains
- Eye pins
- Jump rings

- 3 In 1 Round nose Flat nose Cut wire
- Ideal for making a wide variety of loops with wire for jewelry and other crafts
- Equipped with coated Anti-slip grip handles for a maximum comfort.
Last update on 2023-11-11 / Affiliate links / Images from Amazon Product Advertising API
Steps to follow:
Step 1:
Add metal beads to eye pins. Let the eye pins form loops that hold the metal beads together. Let it be long enough to go around your hiking boots.
Step 2:
Add a jump ring to the end of the last metal bead. Attach the chain to the jump ring.
The jump ring and metal bead loop shouldn’t be too big for your hiking boots, so trim them if they are.
Step 3:
Attach a jewelry clasp at the end of the chain. Clasp the end and wear it over your hiking boots.
Pros:
- Boot chain looks good on your hiking boots.
- They are removable, so you can always switch your hiking boots’ looks.
Cons:
- DIY is tedious.
- It can add to hiking boots’ weight.
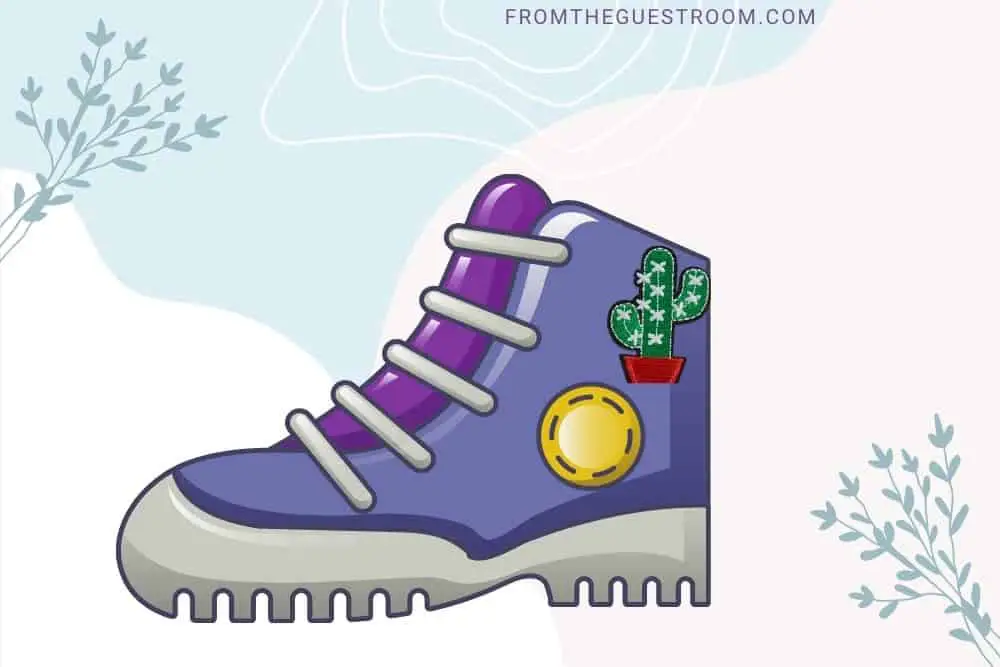
Decorate with embroidered flower patches
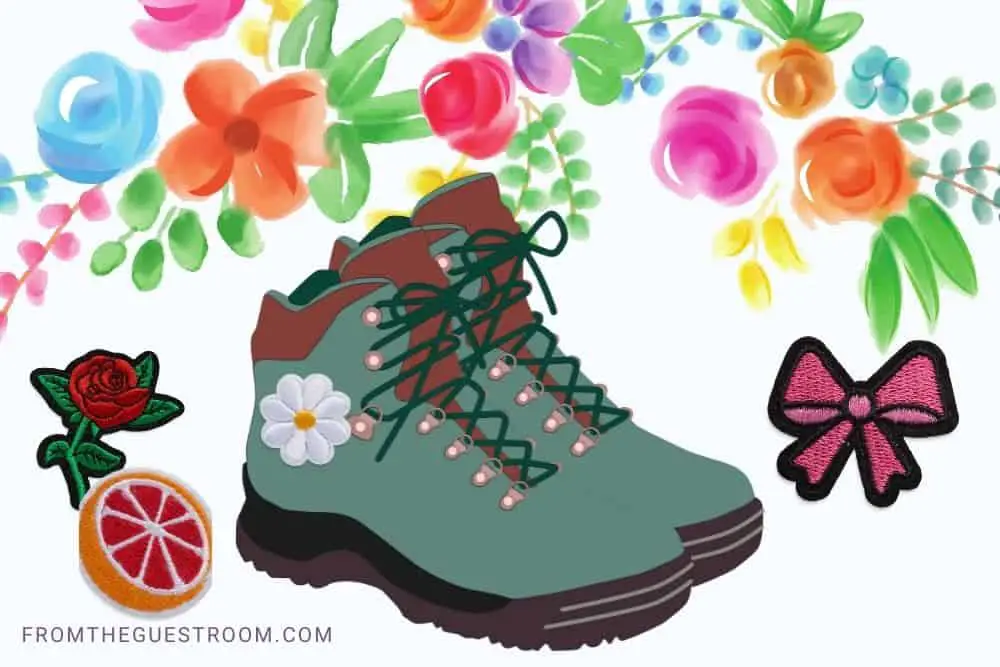
Embroidered patches are mostly for backpacks, clothes, and other items. You probably never thought that they would look good on your hiking boots. Well, they will.
You can have a single big embroidered patch on your hiking boots, or you could have a couple of small patches. This depends totally on you.
The good thing is that you don’t have to embroider yourself; you can get the patches from stores.
Things you need:
- Embroidered patches
- Brush
- Glue
- Package include: 37pcs assorted size patches.
- Material: Fabric. Color:As the picture show. Size:Mix as the picture show.
- High quality embroidered with hot melt adhesive on the back, easily iron on or sew on.
Last update on 2023-11-11 / Affiliate links / Images from Amazon Product Advertising API
Steps to follow:
Step 1:
You first need to ensure your hiking boots are clean.
Step 2:
Then apply glue on the other side of the patch using a brush. Place the embroidered patch on your hiking boots with the glued part directly on the boots.
Step 3:
Press the patch on the boots and fill in other parts that are not totally glued with glue. Leave the glue out to dry.
Pros:
- They look good on your hiking boots.
- It is not stressful to do.
Cons:
- May peel off with time.
Conclusion
Hiking boots don’t have to be boring; you can brighten them up. You don’t have to go the regular route of making your hiking boots better by polishing or dyeing them.
You can paint them or add glitter, stickers, crystals, and other beautiful items to your hiking boots. The most important thing is that you know what you want your hiking boots to look like.
You should also ensure that making your hiking boots will not get in the way of their functionality on the trail. With that said, you can go all creative with your hiking boots.
Good luck!