Hiking downhill is tricky; you’ll want to be cautious so you don’t fall, and you have issues to worry about. One would think that hiking downhill would be easier than going uphill, which, of course, is less stressful. However, it is more than that.
Hiking downhill does not have to hurt so much or at all if you know what to do. And one of the things you can do to make walking downhill easier and less painful is to go down in a zig-zag pattern and use trekking poles.
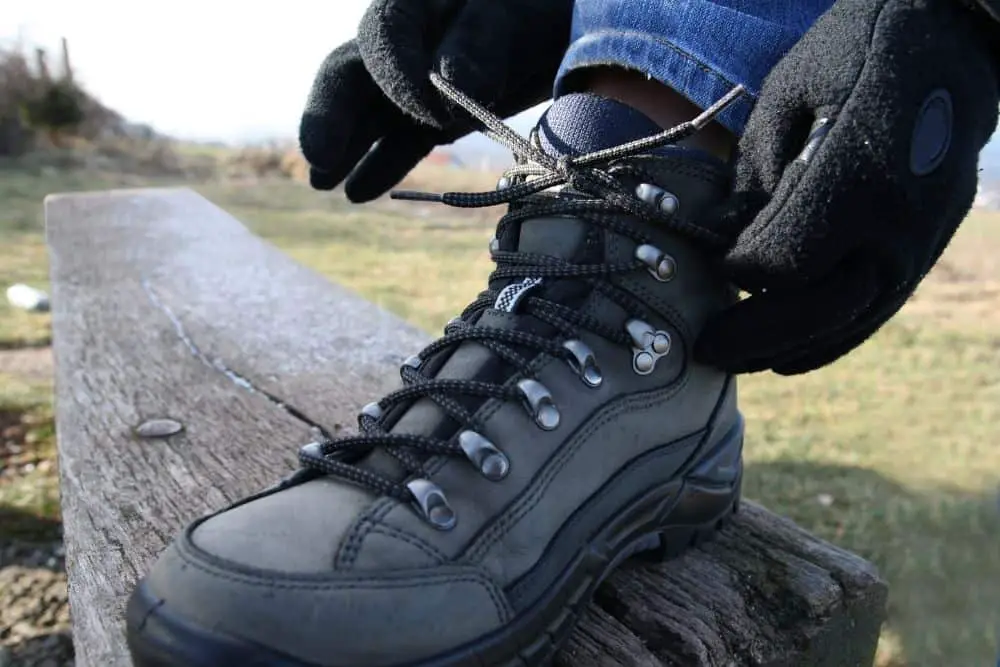
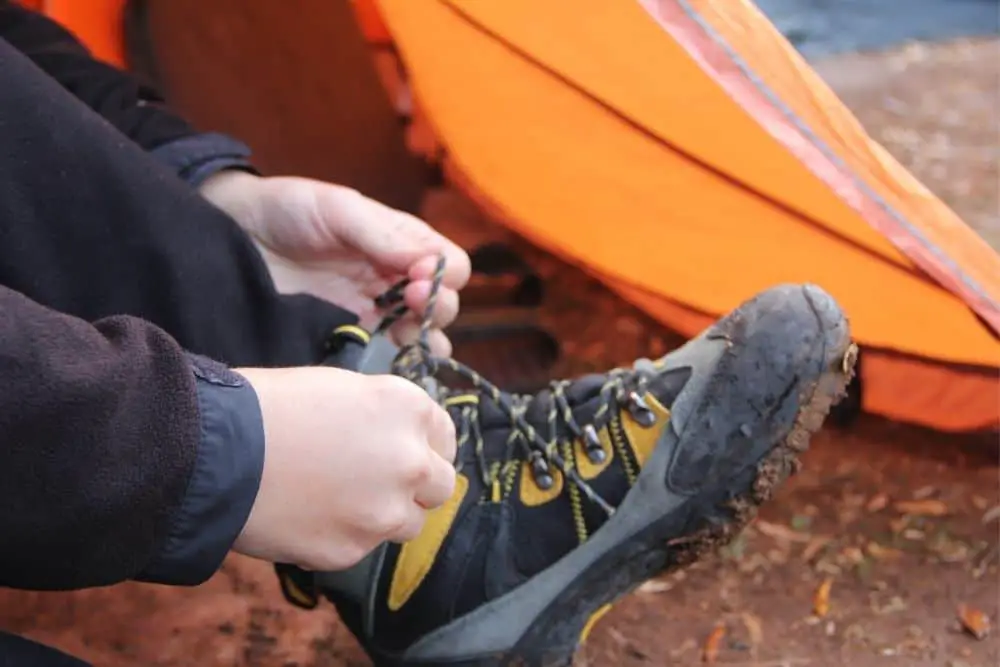
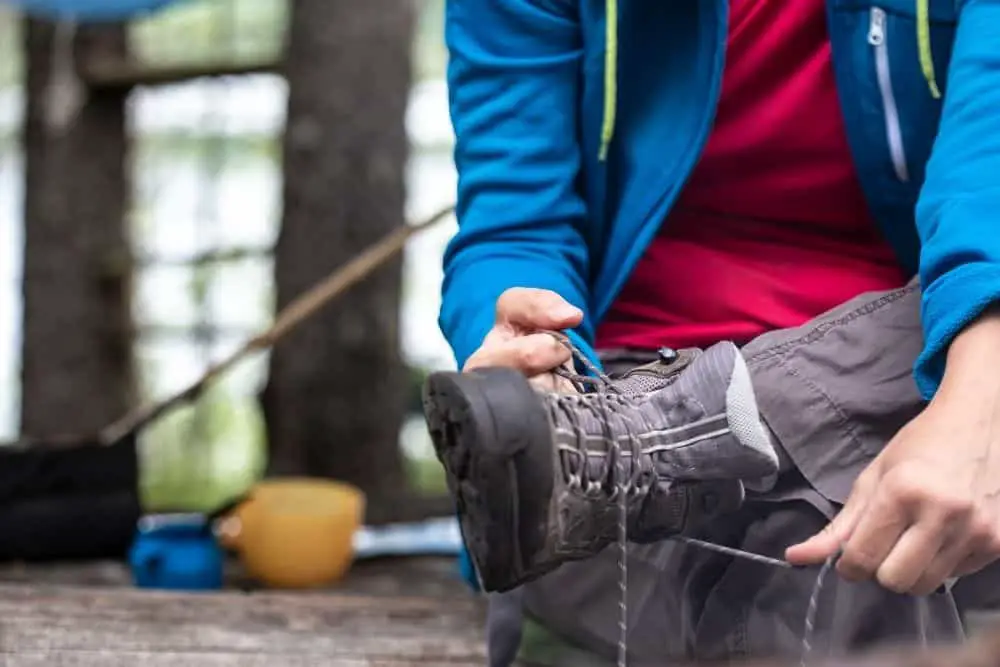
But you could even do better by tying your hiking boots properly. Some experts advise that you should retie your hiking boots at intervals to adjust to your foot size and the state of your feet when hiking.
Besides, the lacing technique you used for hiking uphill may not work for downhill, so you would need to retie your laces. Tie your hiking boots when hiking downhill to help prevent heel slippage, blisters, and toe pain.
Therefore, you need to know how to tie hiking boots downhill for your future hiking activities. What are the best ways to do that?
Let’s find out!
Contents
How To Tie Hiking Boots For Downhill?

You probably think tying your hiking boots should not be a big deal and that the usual method of lacing hiking boots will do just fine. The truth is that lacing your hiking boots the appropriate way on the trail is important as it helps to make the experience better.
Tying hiking boots normally would have probably passed if you were hiking on plain terrain, where you don’t really have much to worry about. However, it should matter when hiking downhill for maximum protection.
Since you will be descending, you need to tie your hiking boots in a way that enhances your grip and improves your stability on the trail. You also need to keep rubbing and blisters at bay and lock your feet in place in hiking boots.
You sure don’t want to deal with pain after hiking. One more thing: toes can get badly hurt from the impact of hitting hiking boots or possible boulders on the trail.
Correctly tying your hiking boots can help prevent that. Therefore, you need to secure your feet in your hiking boots when going downhill. So, how do you tie your hiking boots?
Before we get into that, you should try to divide your hiking boots into two sections: the upper and the lower section, which is the ankle collar area. When you do this, you will be able to adjust the laces as necessary when going downhill.
Now, let us get into how to tie hiking boots downhill. When hiking downhill, you should tie your hiking boots with the following method:
1. Surgeon’s knot

You can ensure foot health when hiking downhill with the surgeon’s knot. One of the problems hikers face when walking downhill is heel slippage, which can happen for a few reasons.
This can happen when your hiking boots are too big for your feet. Here, we must mention that if your hiking boots are too big, there is only a little tying your hiking boots can do.
Your feet will probably still hurt the same way, or you could feel uncomfortable on the trail. However, if that is not it and your hiking boots fit you properly, then your heels will slip excessively due to too much space at the top of your foot.
Here is what a surgeon’s knot does for you; it reduces the space at the top of your foot and locks your heels in place to prevent rubbing and slipping. In addition, this tying technique helps to reduce hotspots in hiking boots and, consequently, blisters.
The surgeon’s knot also helps you relieve pressure in some parts of your hiking boots by segregating tight and free spots on your feet. You can secure the top of your feet and lock your heels in place with two surgeon’s knots.
How to tie:
Step 1: Start tying your hiking boots
Before you tie the first or second surgeon’s knot, you need to lace your hiking boots up to an extent. After that, you can start with the regular lacing technique you are familiar with.
Since the criss-cross style is more common and easy, you can try that. Insert the laces into the first two sets of eyelets on your hiking boots.
Step 2: Twist lace together
After you have laced the two sets of eyelets normally, you need to tie the first surgeon’s knot to reduce the space on top of your hiking boots. Then, hold the ends of the laces, pull them tight, and twist them together.
This will further ensure that there is no loose room in your hiking boots. Make sure they are properly twisted and tight. Then insert the ends of the laces into the next sets of eyelets. With that, you have tied your first surgeon’s knot.
After that, you need to tie the second surgeon’s knot. Just like you twisted or threaded the lace together, repeat the same thing and secure the upper part of your hiking boots and lock your heels in place.
Step 3: Finish lacing up your boots
Once you have your two surgeon’s knots tightened in place, you can then completely tie your hiking boots. To do this, you can finish up with the lacing technique you started with, the criss-cross or standard method you are used to.
Lace-up tightly till you get to the top and secure the last eyelets with the granny’s knot or quick pull. Once you are done, you can hike downhill without blisters or heel slippage. You can start hiking downhill with this technique or switch from one to another with it.
2. Heel lock
When hiking downhill, your feet are likely to move forward, leaving room around your heel area. This can cause your toes to hit your hiking boots, causing them to hurt badly.
At the same time, it can also make your heels slide up and down in hiking boots resulting in a lot of friction and possibly, blisters. Heel slippage when hiking downhill is also more likely to occur when your hiking boots don’t fit snugly around your ankle.
Leaving your heels to slip in hiking boots is not the best option because you leave the topmost layer of skin on your heel prone to peeling. Likewise, tying your hiking boots the regular way won’t help much either.
You need to lock your heels in place so that no matter how far the journey is downhill, you will not feel the impact much on your toes or heels. And the heel lock tying technique will help you with that.
How to tie:
Step 1: Slide your heel to the back
Before you start tying your hiking boots, you have to ensure your heels are in place, where they ought to be. Therefore, slide your heel to the back and let it rest inside the collar area of your hiking boots.
If you need to tap your heel on the ground to be sure they are in place, you can do that.
Step 2: Start tying your boots
You can start lacing up your boots when you are sure your heels are in place in your hiking boots. Then, you can start tying your boots using the standard criss-cross method you are familiar with.
However, make sure you insert the laces outward rather than inward when doing that. Keep lacing up the boots till you are almost at the top of your hiking boots.
Step 3: Tie the lace together in a loop
When you have laced up to the top of your hiking boots, you take the two ends of the laces and insert them into the next set of eyelets to form a loop. But instead of inserting them using the criss-cross method, you insert the lace eyelets directly on top of the current one.
However, you will not insert it completely but rather let it be a loop. Then you cross the end of the lace to the other side and insert it into the loop on both sides to lock your heel in place.
After you have pulled the lace through the loops, you can tie a surgeon’s knot at that point, or finish up using the granny’s knot or quick pull.
3. Toe relief lacing
After hiking uphill all day, you may feel a bit of discomfort around your toe area. This is after they have probably been squashed against the inside of your hiking boots or hit the front from moving around all day.
Therefore, when hiking downhill and returning to the trailhead, you can relieve that area for a while and let it wiggle in your hiking boots. Your toes should not hurt much in hiking boots if you wear the right hiking boots or stretch the toe box.
If your toes still hurt even in both cases, then you should try this technique when hiking downhill.
However, you shouldn’t use this tying method alone. Instead, you can combine it with the heel lock method, surgeon’s knot, foot lockdown, and other lacing techniques for extra effectiveness on the trail.
How to tie:
Step 1: Undo your laces
Tying your hiking boots using this method requires that you completely undo your hiking boots. Therefore, you have to remove your hiking boots’ laces and start again.
Step 2: Start lacing up
For this tying technique, you will need to skip the first set of eyelets on your hiking boots. So, ignore them, insert your laces from the next set, and keep lacing up.
You have relieved pressure in the toe box and on your toes there. However, this will leave your toes susceptible to sliding forward and hitting the front of your hiking boots.
Therefore, you need to lock your heel in place to prevent that. Then you can finish lacing using the heel lock method, so your feet don’t slide around in your hiking boots.
4. Foot lockdown

Tying the foot lockdown technique is another way to tie hiking boots when hiking downhill. This technique is especially good for you if you have small or narrow feet or low foot volume.
This somewhat shows that there is too much room or space in your hiking boots. As a result, your feet move freely in your hiking boots, which could hurt a lot when hiking downhill.
Your feet will keep sliding forward in your hiking boots, and your toes will bang against the front of your toes. In the end, your toes will hurt a lot, and you may have blisters to deal with later on.
This is why it is important that you wear hiking boots that fit snugly around your feet. However, in some situations, it is just not available.
Therefore, when you find yourself hiking downhill and your hiking boots feel a bit too big or loose around your feet, you can try this tying method.
The foot lockdown technique will help to securely hold your feet in all the right places in your hiking boots.
How to tie:
Step 1: Note the loose points
For you to correctly tie your hiking boots to lock your feet, you first need to identify the areas that feel loose in your boots. When you wear your hiking boots, try to feel the points and note them.
Step 2: Loosen the lace
After noting the loose areas, loosen the lace to the lowest area where you feel there is too much space. Then, tie a surgeon’s knot at the lowest point you noted.
You can refer to how to tie the surgeon’s knot here. But it is pretty easy; you just have to thread or twist the laces together.
Then, after you have tied the surgeon’s knot at that point, lace up your boots normally using the criss-cross technique till you get to the next point you noted.
Then tie the surgeon’s knot again, and do the same for all the loose spots until you lace up to the top.
Step 3: Finish up
After you get to the top of your hiking boots, you can then secure the laces with either the granny’s knot or quick pull method.
5. Two-zone lacing

Tying your hiking boots with two-zone lacing is also good for hiking downhill. Here, you section your hiking boots into two zones: the upper and lower zone.
Tying your boots this way will help to reduce friction and the chances of blisters on the trail in either of the zones. With this zoning, you can tie one zone tight when hiking uphill and the other zone tight when coming downhill.
Since this concerns hiking downhill, you only need to tighten the upper zone to keep your feet in place and lock your heels in place.
When you loosen the lower zone and tighten the upper one, you relieve the pressure in the area and relieve your feet of the pain and stress of climbing uphill.
How to tie:
Step 1: Start tying your hiking boots
After undoing your hiking boots’ laces, you need to lace them back up to tie the two-zone technique. You need to tie up the first zone.
To divide your hiking boots into zones, you use the deep-drawn hooks on your hiking boots to separate them into the top and bottom areas. The deep-drawn hooks are usually not on the same line as the other eyelets but further away, to the side of the hiking boots.
Therefore, you need to lace up to that area using the criss-cross method.
Step 2: Thread the laces through the deep drawn hook
When you get to the deep-drawn hook, you need to thread the lace together and insert the lace ends into the hook.
Step 3: Tie the second zone
After that, you continue lacing up the second zone, which is the shaft, till you get to the top.
Remember, you are hiking downhill; therefore, you need to tighten the shaft area and not put much pressure in the first zone. You can swap tightening zones depending on which direction you are going.
Conclusion
Hiking downhill is a bit of work, but it can be less stressful if you tie your hiking boots properly before descending. In addition, you need to ensure that your heels don’t slip and your toes don’t hit your hiking boots.
And thankfully, there are several tying techniques that you can try to make up for that, ranging from the heel lock to the surgeon’s knot and others like that.
However, hiking downhill can be tricky, so stopping to change the lacing technique can be dangerous or impossible, depending on how sloppy and slippery the terrain is.
Therefore, you are more likely to hike downhill with just a lacing technique, and you need to do it right. But, of course, you need to wear the right-fit hiking boots for these lacing techniques to work.
You can practice these lacing techniques before you set out uphill, so tying them when coming downhill will not be a problem. Then, once you get good at it, you can start hiking downhill without any problem.