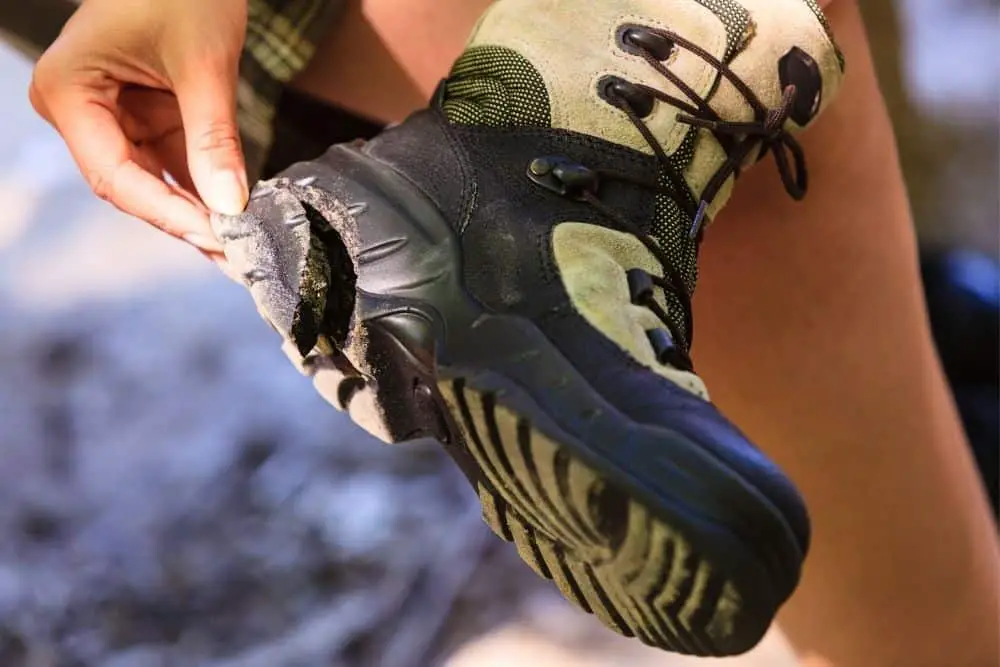
No matter how much you love your hiking boots, that point will always come when you have to replace them. As much as this is commonplace knowledge, the biggest challenge that hikers face is knowing exactly when to call it quits.
There is always that nudging telling you “one more hiker” after your last hike. Letting go of your boots is particularly challenging if you have stuck with a particular pair for many years.
You have gotten to that point where it feels like the boots understand every part of your feet and provide support and anchor your feet in the right places.
The other group of people that push their boots a little longer than their lifespan are those who do not have the means to change them. Sadly, using boots beyond their lifespan usually comes with daring consequences.
If your boots are due for replacement and you fail to do so, you will be putting yourself in great danger every time you wear them out on a hike.
Firstly, their soles may not provide enough grip and traction anymore, which increases your chances of getting involved in a slip and fall accident.
Also, if the material used for the upper has become weak, it becomes easier for plant spikes to penetrate them and hurt your foot.
There are always telltale signs that your boots are going bad and are due for a replacement. The big question here is will you listen?
In this post, we are going to outline all the signs that show your boots are due for replacement as well as tell you the negative consequences that can arise if you fail to replace them after seeing the signs.
Contents
- When To Replace Hiking Boots?
- Signal 1: Distasteful appearance
- Signal 2: Worn out eyelets
- Signal 3: Snapping stitches or weak glue
- Signal 4: Failing ankle support
- Signal 5: Physical deformation
- Signal 6: Wear or cracks in the midsole
- Signal 7: Rips on the collar
- Signal 8: Worn out insoles
- Signal 9: Faded outsole treads and lugs
- Signal 10: Increasing foot pain
- Signal 11: Loss of waterproofing
- What tests can you use to check if your boots need replacement?
- Conclusion
When To Replace Hiking Boots?
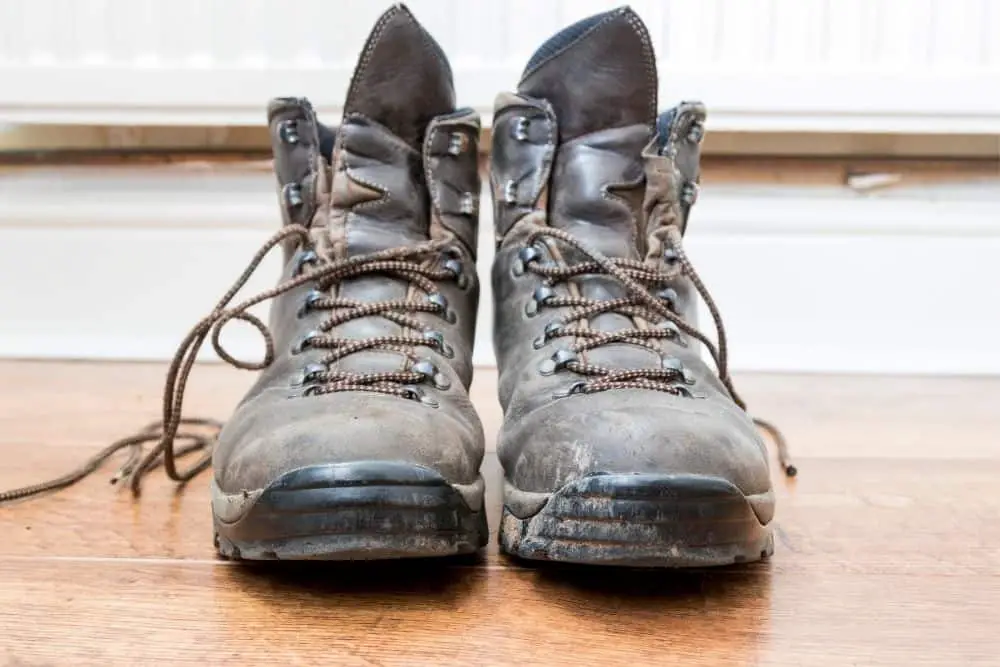
A lot of factors will come into play when determining how long you should wear your boots before replacing them. Firstly, you need to consider how often you hike, your average hiking distance, or how long you spend on a hike, as well as your hiking terrain.
For example, if two people use a similar brand of hiking boots, the one that hikes on rough terrain will need to replace his or her boots faster than the one that hikes on paved terrain.
If you use hiking boots that are not waterproof on perpetually wet terrain, you will simply fast-track their deterioration.
Another important factor that can hasten the deterioration of your hiking boots is the weight of your backpack when you are on a hike. Some boots are designed to accommodate a certain weight.
Most hikers keep this in mind when purchasing a new pair of boots, but fail to factor in the weight of their backpack. So, they just end up getting boots that are within their weight rating or just above it.
Here is a practical example: If you weigh 200 pounds and purchase a pair of boots that are rated at 250 pounds, that is OK. However, make sure that the weight of your backpack doesn’t exceed 50 pounds. Anything above that will amount to overloading your boots.
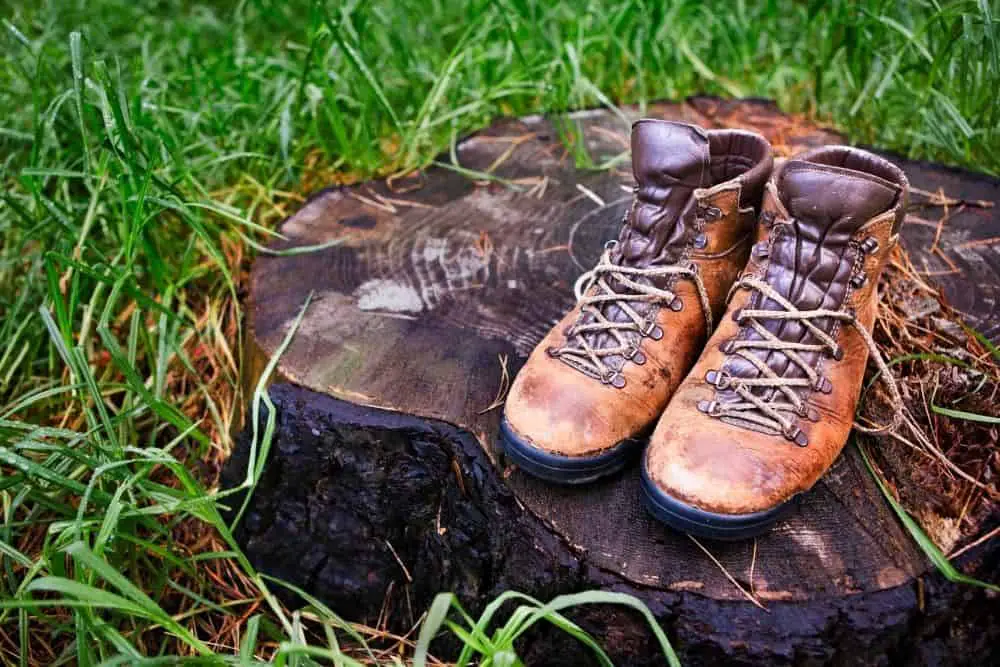
Nevertheless, some hiking experts will tell you to replace your hiking boots every six months or after hiking 350 to 500 miles. Others say your hiking boots should be due for replacement after 500 to 1,000 miles of hiking, depending on the quality of the boots.
While we agree that how often you should replace your hiking boots will depend on usage, placing a time cap or using mileage to determine when you should replace your boots can be deceptive.
Apart from the quality of the boots, where and how you use the boots can cause them to deteriorate faster.
So, when your boots get bad faster than they should, it may be from no fault of the manufacturer. Rather, it may be because you are using them on the wrong terrain or putting more weights on them than they can handle.
Rather than relying on time or mileage to determine when to replace your boots, we believe a better way of knowing when to replace your hiking boots is by looking at the different features of the boots.
Below are the different features of hiking boots, with details on what to look out for in each of them. While some features can be ignored, deterioration in some features is so critical that you will have to replace the boots as soon as possible to avoid accidents.
Signal 1: Distasteful appearance
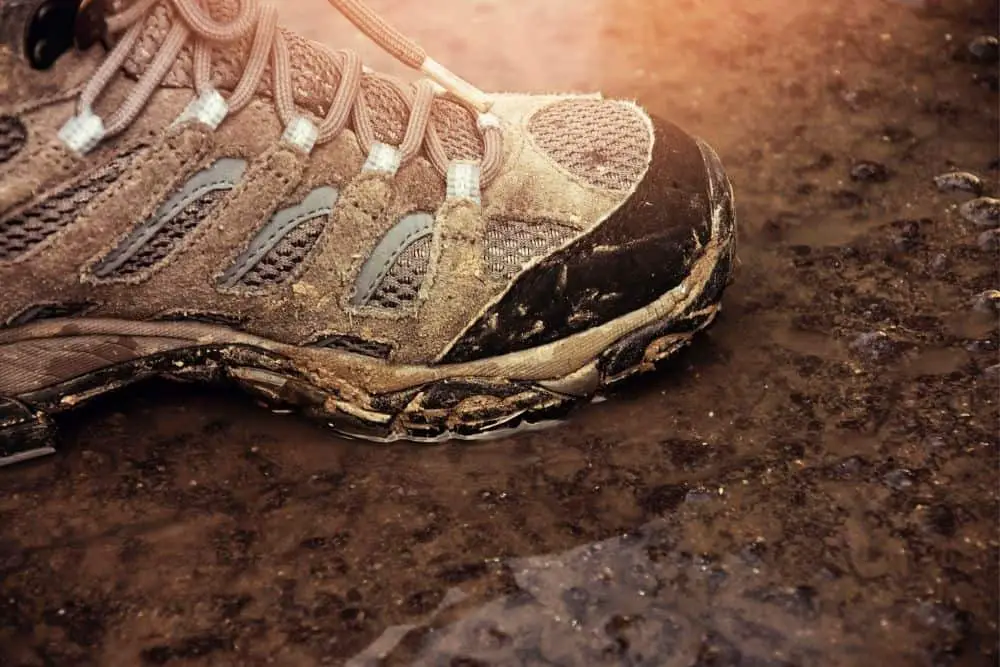
Although a deteriorating appearance may not necessarily affect the efficiency of your hiking boots, it can affect your self-esteem if you are going to be hiking with a group.
However, cosmetic problems like flaking uppers, peeling shoe soles, and cracked leather can suggest deeper problems with the structural integrity of the boots.
For example, a flaking or scarred upper that has been filled up with mud can lead to lower breathability as well as make the boots stiffer in areas that can hurt your feet.
Looking at the appearance of your boots is the first step to determining if they are due for replacement or not. Although some boots can be due for replacement even when they still look nice, it is rare to find a worn-out-looking boot that is not due for replacement.
Signal 2: Worn out eyelets
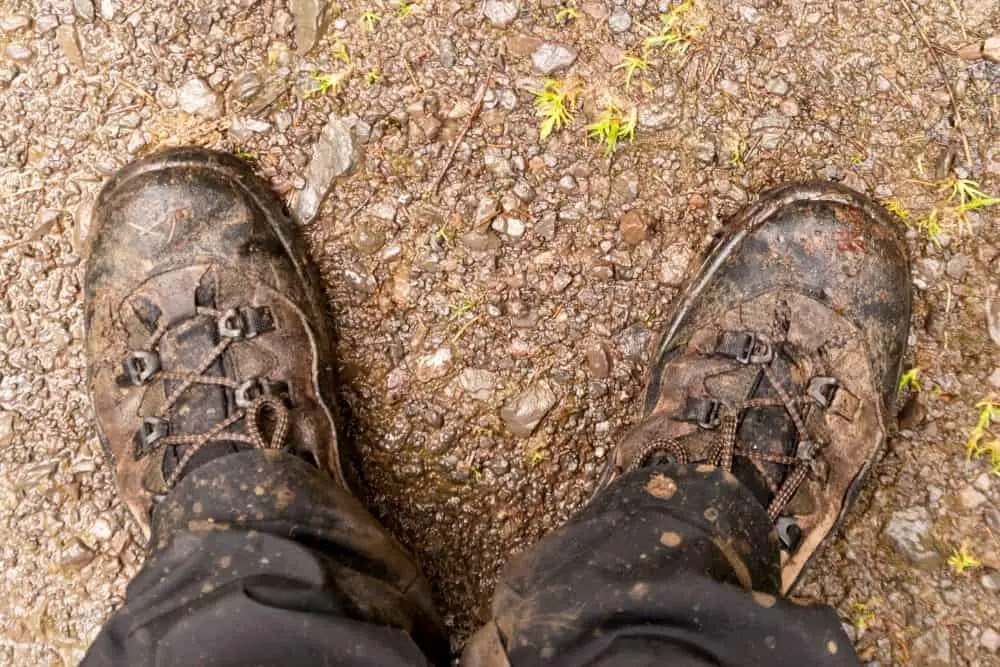
Hiking boots mostly have D-rings or hook eyelets. As the boots get older, the riveting can pull out, leaving a gaping hole from which the boots can start fraying.
Pulled-out eyelets will make it difficult to properly lace the boots, which can result in heel lift or serious discomfort. A persistent heel lift can give you blisters on the heels.
Improper lacing can also cause the tongue of the boots to rub on the top of your foot as you walk, and this can cause blistering in this area too.
Sometimes, the D-rings or hooks on the eyelets will not pull out but will be worn out and tug or prick on the laces. As the eyelets begin to eat into the laces, the laces will lose their rigidity and can snap at any time.
Peeled lacing makes it harder to tighten your boots properly, easily gets undone, and is aesthetically unappealing. If you find yourself in a situation where you have to change your laces every few hikes, it is a sign that your boots need replacement.
If you persist in using the boots, you may get to the point where your laces will snap while on a hike, and you may end up completing the hike barefoot. The consequences of worn out, missing, or bent eyelets are worse with high-cut hiking boots.
Perhaps you may just decide to change the laces. Well, in the long run, you may just discover that you have spent the equivalent of a new pair of boots on just buying laces.
Does that sound like a smart thing to do? Certainly not!
Signal 3: Snapping stitches or weak glue
The different parts of a hiking boot are usually brought together using either glue or stitches. The boots may still be able to hold on if there are only a few stitches that have snapped—especially around the ankle and lower leg.
However, if stitches start to snap around the eyelets and soles or the glued areas start to split, you need to pay more attention to the boots. If used properly, the glues and stitches will usually not start falling apart unless the integrity of the boot material is compromised.
Once the stitching and glue start falling apart, the waterproof integrity of the boot will be compromised. The stitching holes will allow water to seep into the boots, and you may risk hypothermia or frostbite if you use them to hike in really cold terrain, like snow-covered terrain.
Signal 4: Failing ankle support
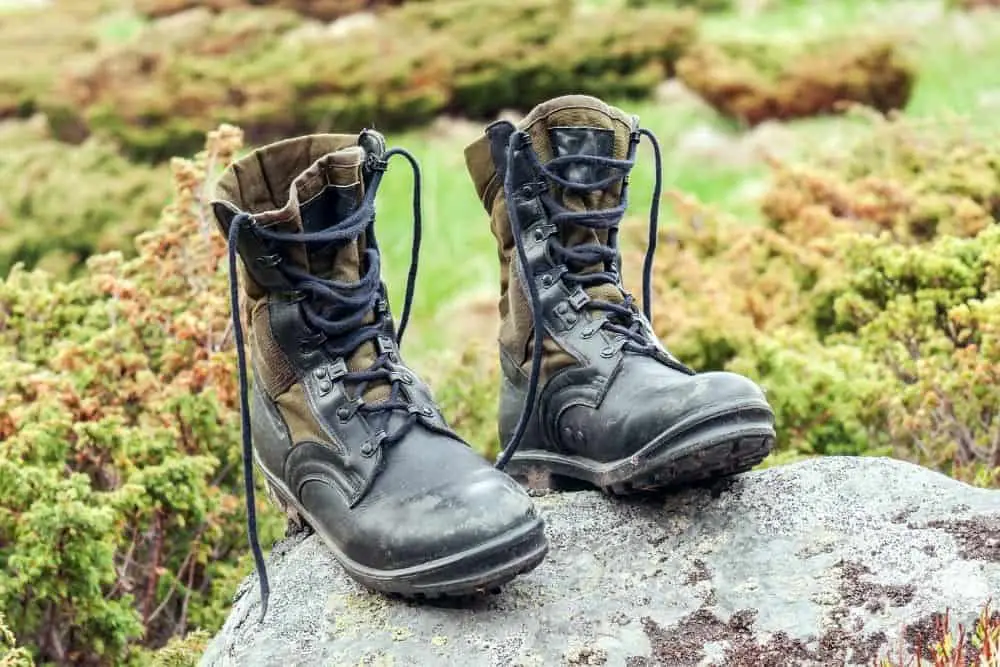
When hiking on rough terrain, a good hiking boot with adequate ankle support can make the difference between a bad experience and getting out of the hike in one piece.
If your boots suddenly start losing ankle support or the firm grip around the ankles, it increases your susceptibility to a sprained ankle. Deterioration of the boot material is the leading cause of declining ankle support.
For example, persistent wear and tear can cause the leather of a hiking boot to slack, thereby losing the ankle support. When this happens, don’t try to fix the boots, replace them.
Signal 5: Physical deformation

A change in the shape of your hiking boots should not be treated with a kid’s glove. When your hiking boots become wider, lopsided, or flattened, it is a sign that they have overstayed their usefulness.
When your hiking boots have one of the issues we pointed out, it makes it harder for you to keep your balance. This increases your chance of slipping and falling on wet terrain.
Also, your body will naturally try to balance out the effect of lopsided hiking boots, and that can lead to a deformation in your posture if used over a long period of time.
Signal 6: Wear or cracks in the midsole
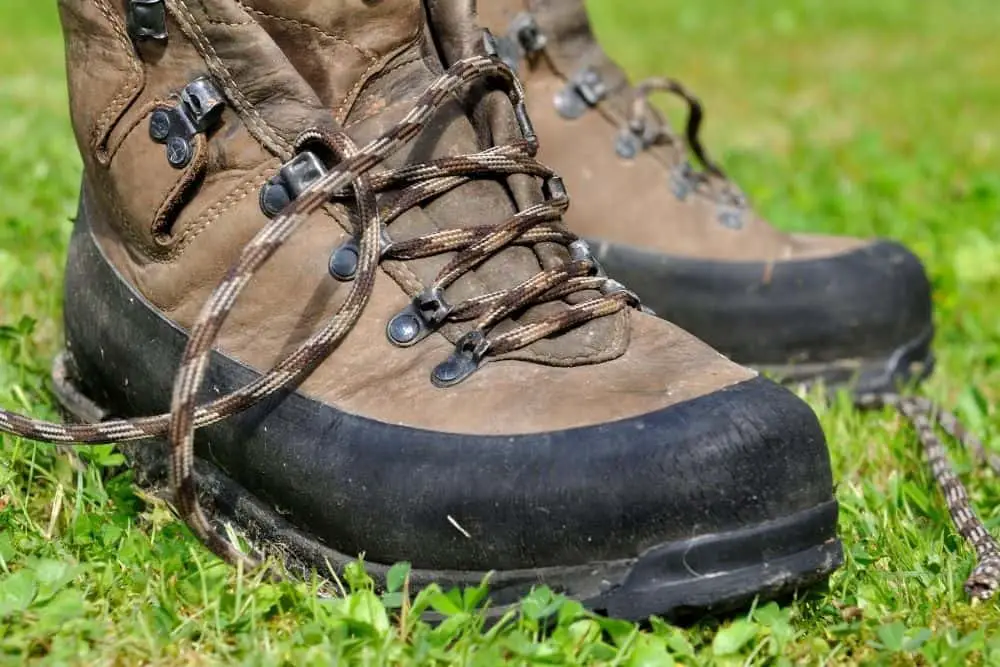
The midsole sits between the outsoles and the insoles. One of its major functions is to provide cushioning for absorbing shocks from the ground, which is highly useful when you hike in rough locations.
Once the midsole is worn, you will lose this cushion and start feeling all the vibration from the trail under your feet. Prolonged use of these kinds of boots will lead to the formation of calluses on pressure points under your feet.
Trying to fix the midsoles may turn out to be more expensive or time-consuming compared to replacing the hiking boots. In a nutshell, not all hiking boot wear is worth fixing.
Signal 7: Rips on the collar
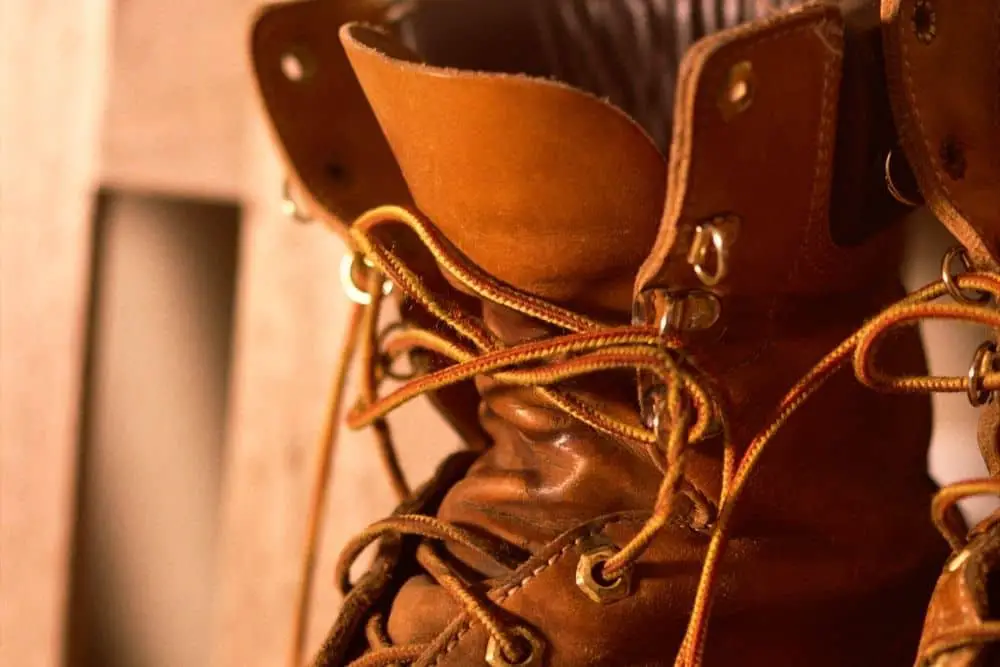
Hikers that own a pair of mid or high-cut hiking boots need to pay attention to the integrity of the collar. The collars wrap around your ankle to provide support.
Once the outer covering of the boot’s collar is broken, the foam on the inside is exposed and starts attracting dirt, small twigs or plant spikes, and debris. This puts you at greater risk of getting injured.
You may decide to always wear socks or long trousers and tuck them inside the boots to create a barrier between your leg and the boots. However, when you are hiking during the hot summer season when you need to be as light as possible, this may not be an option.
Signal 8: Worn out insoles
Hiking boots’ insoles are usually made of premium materials, particularly EVA foam. The insoles work with the midsoles to provide proper cushioning for your feet.
If you suddenly stop feeling the cushioning effect of the hiking boots and, upon examination, you notice that the insoles are worn out
This is a sign that the soles and other parts of the boots must have reached the end of their lifespan too—even if they are not showing signs yet.
Some of the signs of deterioration that you should look out for in insoles include hairline-like cracks, worn arch support, worn heel pad, and deformation in the shape of the insoles.
Bad insoles will increase your chances of getting blisters and calluses. Therefore, it is always important to change the insoles as soon as you notice any problems with them.
However, if even the most premium insoles get bad faster than you replace them, it is a sign that there is a deep-seated structural problem with your hiking boots. You will do yourself a lot of good by replacing the hiking boot rather than the insoles.
Signal 9: Faded outsole treads and lugs
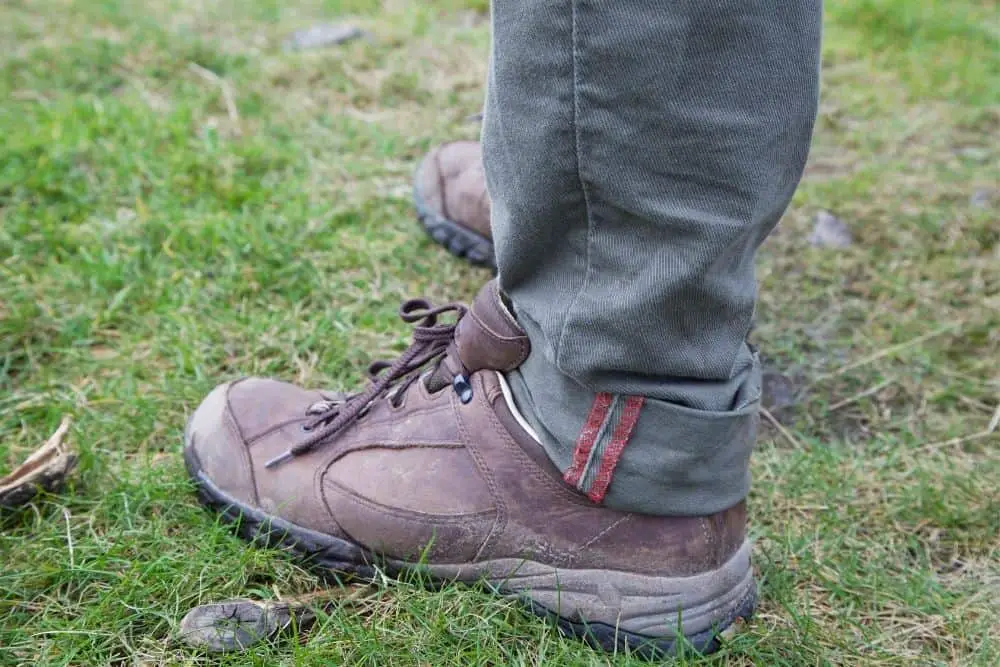
The threading of the outsoles is one of the important features to look out for when buying a hiking boot. It is also important to take the nature of the terrain that you will be hiking on into consideration when choosing the right tread for your boots.
For example, outsoles with deep and wide lugs are better for hiking on wet and muddy surfaces. The wider and deeper lugs allow water to pass through, giving you better traction on such surfaces.
This is also why hiking boots come in different tread patterns. Like car tires, once the treads start fading, you will lose your grip, leading to an increase in the risk of slip and fall when hiking certain surfaces—especially smooth or wet surfaces.
In addition to the increased risk of slipping and falling, wear on the outsoles that change the shape of the boots can lead to deformation in posture or pain in the thighs and calves as you try to balance your weight.
Taking the boots to a cobbler to change the soles in this case—although possible—may not be a smart choice because of how expensive that can be. The more sensible thing to do would be to replace the boots.
Signal 10: Increasing foot pain
Aching feet, blisters, back pain, joint pain, knee pain and hot spots are some of the ways your feet tell you that your boots are worn and need replacement. You should never ignore any of this, especially if the boots used to be comfortable but suddenly started giving you problems.
If your boots suddenly start getting uncomfortable, it may be because of one or a combination of factors arising from the deterioration of one or more areas of the boots. You should hit the alarm button if new foot pain seems to develop almost every time you put on the boots.
Sometimes, it is easy to point the pain to one fault in the boots and get the problem fixed. However, if you are unable to identify the source of the pain or discover that the pain is coming from two or more faults in the boots, the best thing to do would be to change the boots.
It may surprise you to know that the risk of wearing worn-out boots can extend beyond the feet to the thighs and hips. With this knowledge in mind, you may want to ask yourself if wearing worn-out boots is worth it.
Signal 11: Loss of waterproofing
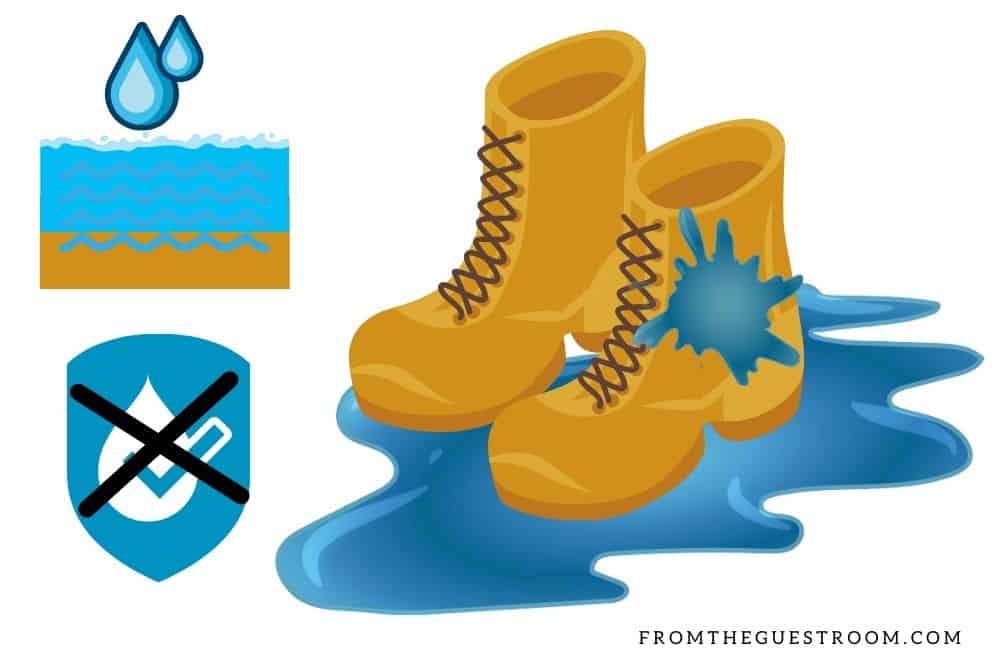
If the primary reason why you purchased your hiking boots is the waterproofing, which is probably because you love hiking on wet terrain, the moment the boots lose their waterproofing property, they will become useless to you.
Using a boot that is not waterproof to hike in wet, cold terrain is a risky gamble. Water will easily get into the boots and cause problems for your feet.
In mild cases, you will end up with smelly boots and socks. In more severe cases, you may experience frostbite or hypothermia.
Sadly, there is no easy way to permanently restore the waterproofing properties of boots. All the available techniques, including the use of waterproofing sprays, are only temporary.
What tests can you use to check if your boots need replacement?
Experts in the hiking industry have come up with casual tests that can be helpful in determining if the integrity of your boots is still intact or whether you need to replace them. We are going to talk about two such tests.
1. Bend test
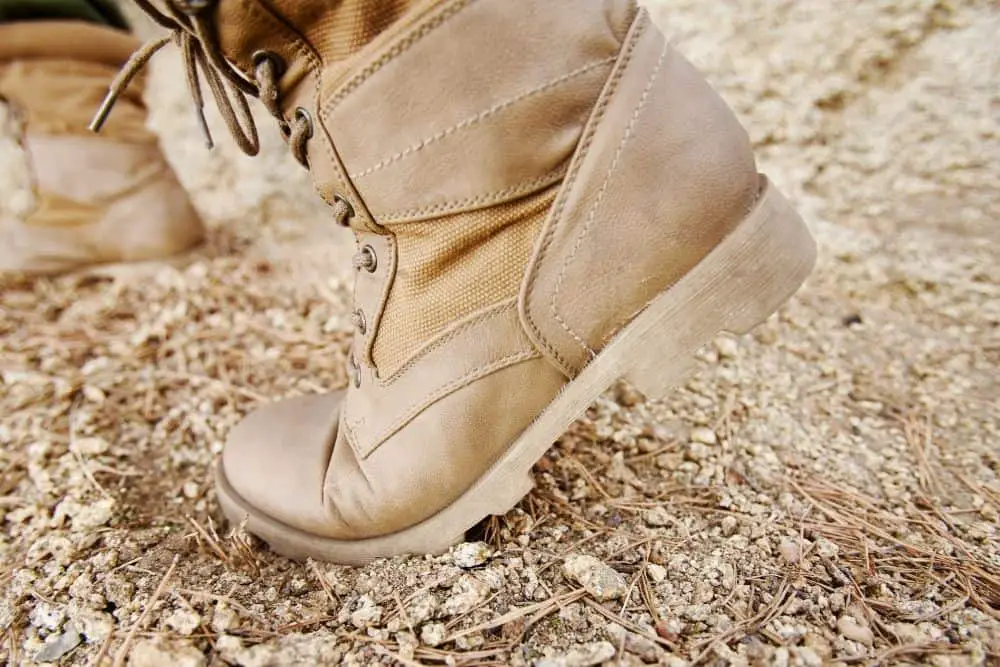
The bend test is a casual test to know if the boots are still strong enough to support your body. The test lacks sophistication, and anyone can easily perform it in a few easy steps.
- Hold the boots on both ends; that is, one hand holding the heels and the other holding the toes.
- Try bending or folding the boots upwards.
- As your hands get closer, the bending should become more difficult.
- If the boots are worn out, your hands will easily touch them without much resistance. The harder it is for your hands to touch, the better the integrity of your boots.
- While holding the boots in the bent position, check the soles for cracks or breaks.
2. Press test
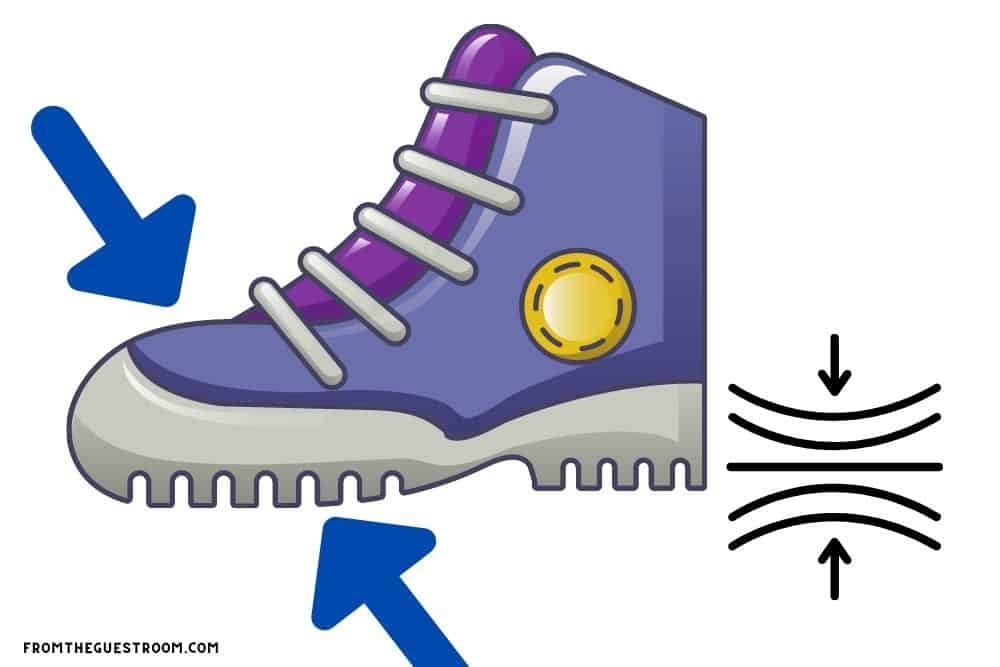
The press test is another easy test that can help you determine the efficiency of the cushioning offered by the soles of your boots, especially the midsoles.
As the name implies, the press test helps to check the compression status of your midsoles. To carry out this test, follow the instructions below.
- Place your thumb on the tread pattern on the edge of the outsoles and attempt to press it upward into the midsole.
- Examine the side of the outsoles for compression lines.
- If there are lines left on the side of the outsoles or your outsoles refuse to rebound after you have removed the pressure, it is a sign that your boots are due for replacement because the integrity of the outsoles has been compromised.
A new hiking boot should only have a faint compression line and should rebound to its initial form the moment you remove the pressure.
Conclusion
There is always that legitimate concern of tossing away your hiking boots too early. This would likely be the concern of any environmentalist who knows that these boots may end up in landfills and increase environmental pollution.
The essence of this post is not to encourage you to toss out your boots through the window at any slight fault. Whenever a fault develops on your hiking boot, it is always important to examine it critically to see if it is something that can be fixed with ease.
However, when you discover that your boots spend more time at the cobbler’s shop than they do in your closet, you need to think twice about keeping them.
As a rule of thumb, once you have spent an amount that is equal to or over the price you paid for the hiking boots, it is time to let them go.
While you think about the environment—which is a humane thing to do—make sure that you do not neglect your health.
Also, your level of hiking is another point to consider when thinking about keeping or tossing your boots. If you are a heavy hiker who hikes in difficult terrain, the smallest fault in a hiking boot can have a big impact on you.
Proper hiking boot care routines like cleaning them properly after a hike, using them on suitable terrain, and storing them in the proper condition can improve the lifespan of your hiking boots and reduce how frequently you will need to replace them.
Those that are really concerned about the environment should consider giving out their boots to those who may need them and wouldn’t mind the fault or taking them to recycling centers rather than just tossing them in the trash can. Either way, it is a win-win for all.

